
Final
For the final physical computation, I initially had the idea of making a game that explains the formation of stars and the concepts of nuclear fusion, since I studied physics for 2 years in undergrad and wanted to incorporate those concepts. During the speed collab event, I met Nava, who is also interested in quantum physics. Then I told Nava about my idea, and she was really excited, so we decided to work on it together. I asked Galt, too, since he worked with gesture and light sensor for the midterm. Then the three of us met, and we explained the idea to Galt. However, eventually, Galt wanted to pivot and work on his own idea. Over the weekend, Nava and I did some research into nuclear fusion. On Monday, when we met, we quickly realised that our concepts weren’t quite clear, and that if we made a game, it might misinform. So we spent three hours ideating, and we came up with three ideas: explaining the cosine similarity concept and machine learning through physical computation; a Lissajous curve visualizer, and a game describing the standard model of particle physics. I wanted to do the third idea, because I wanted to develop on the skills that I already know, which are working with light and color sensors and exploration of different sensors, and build on those skills, and also make something educational and physics-based.
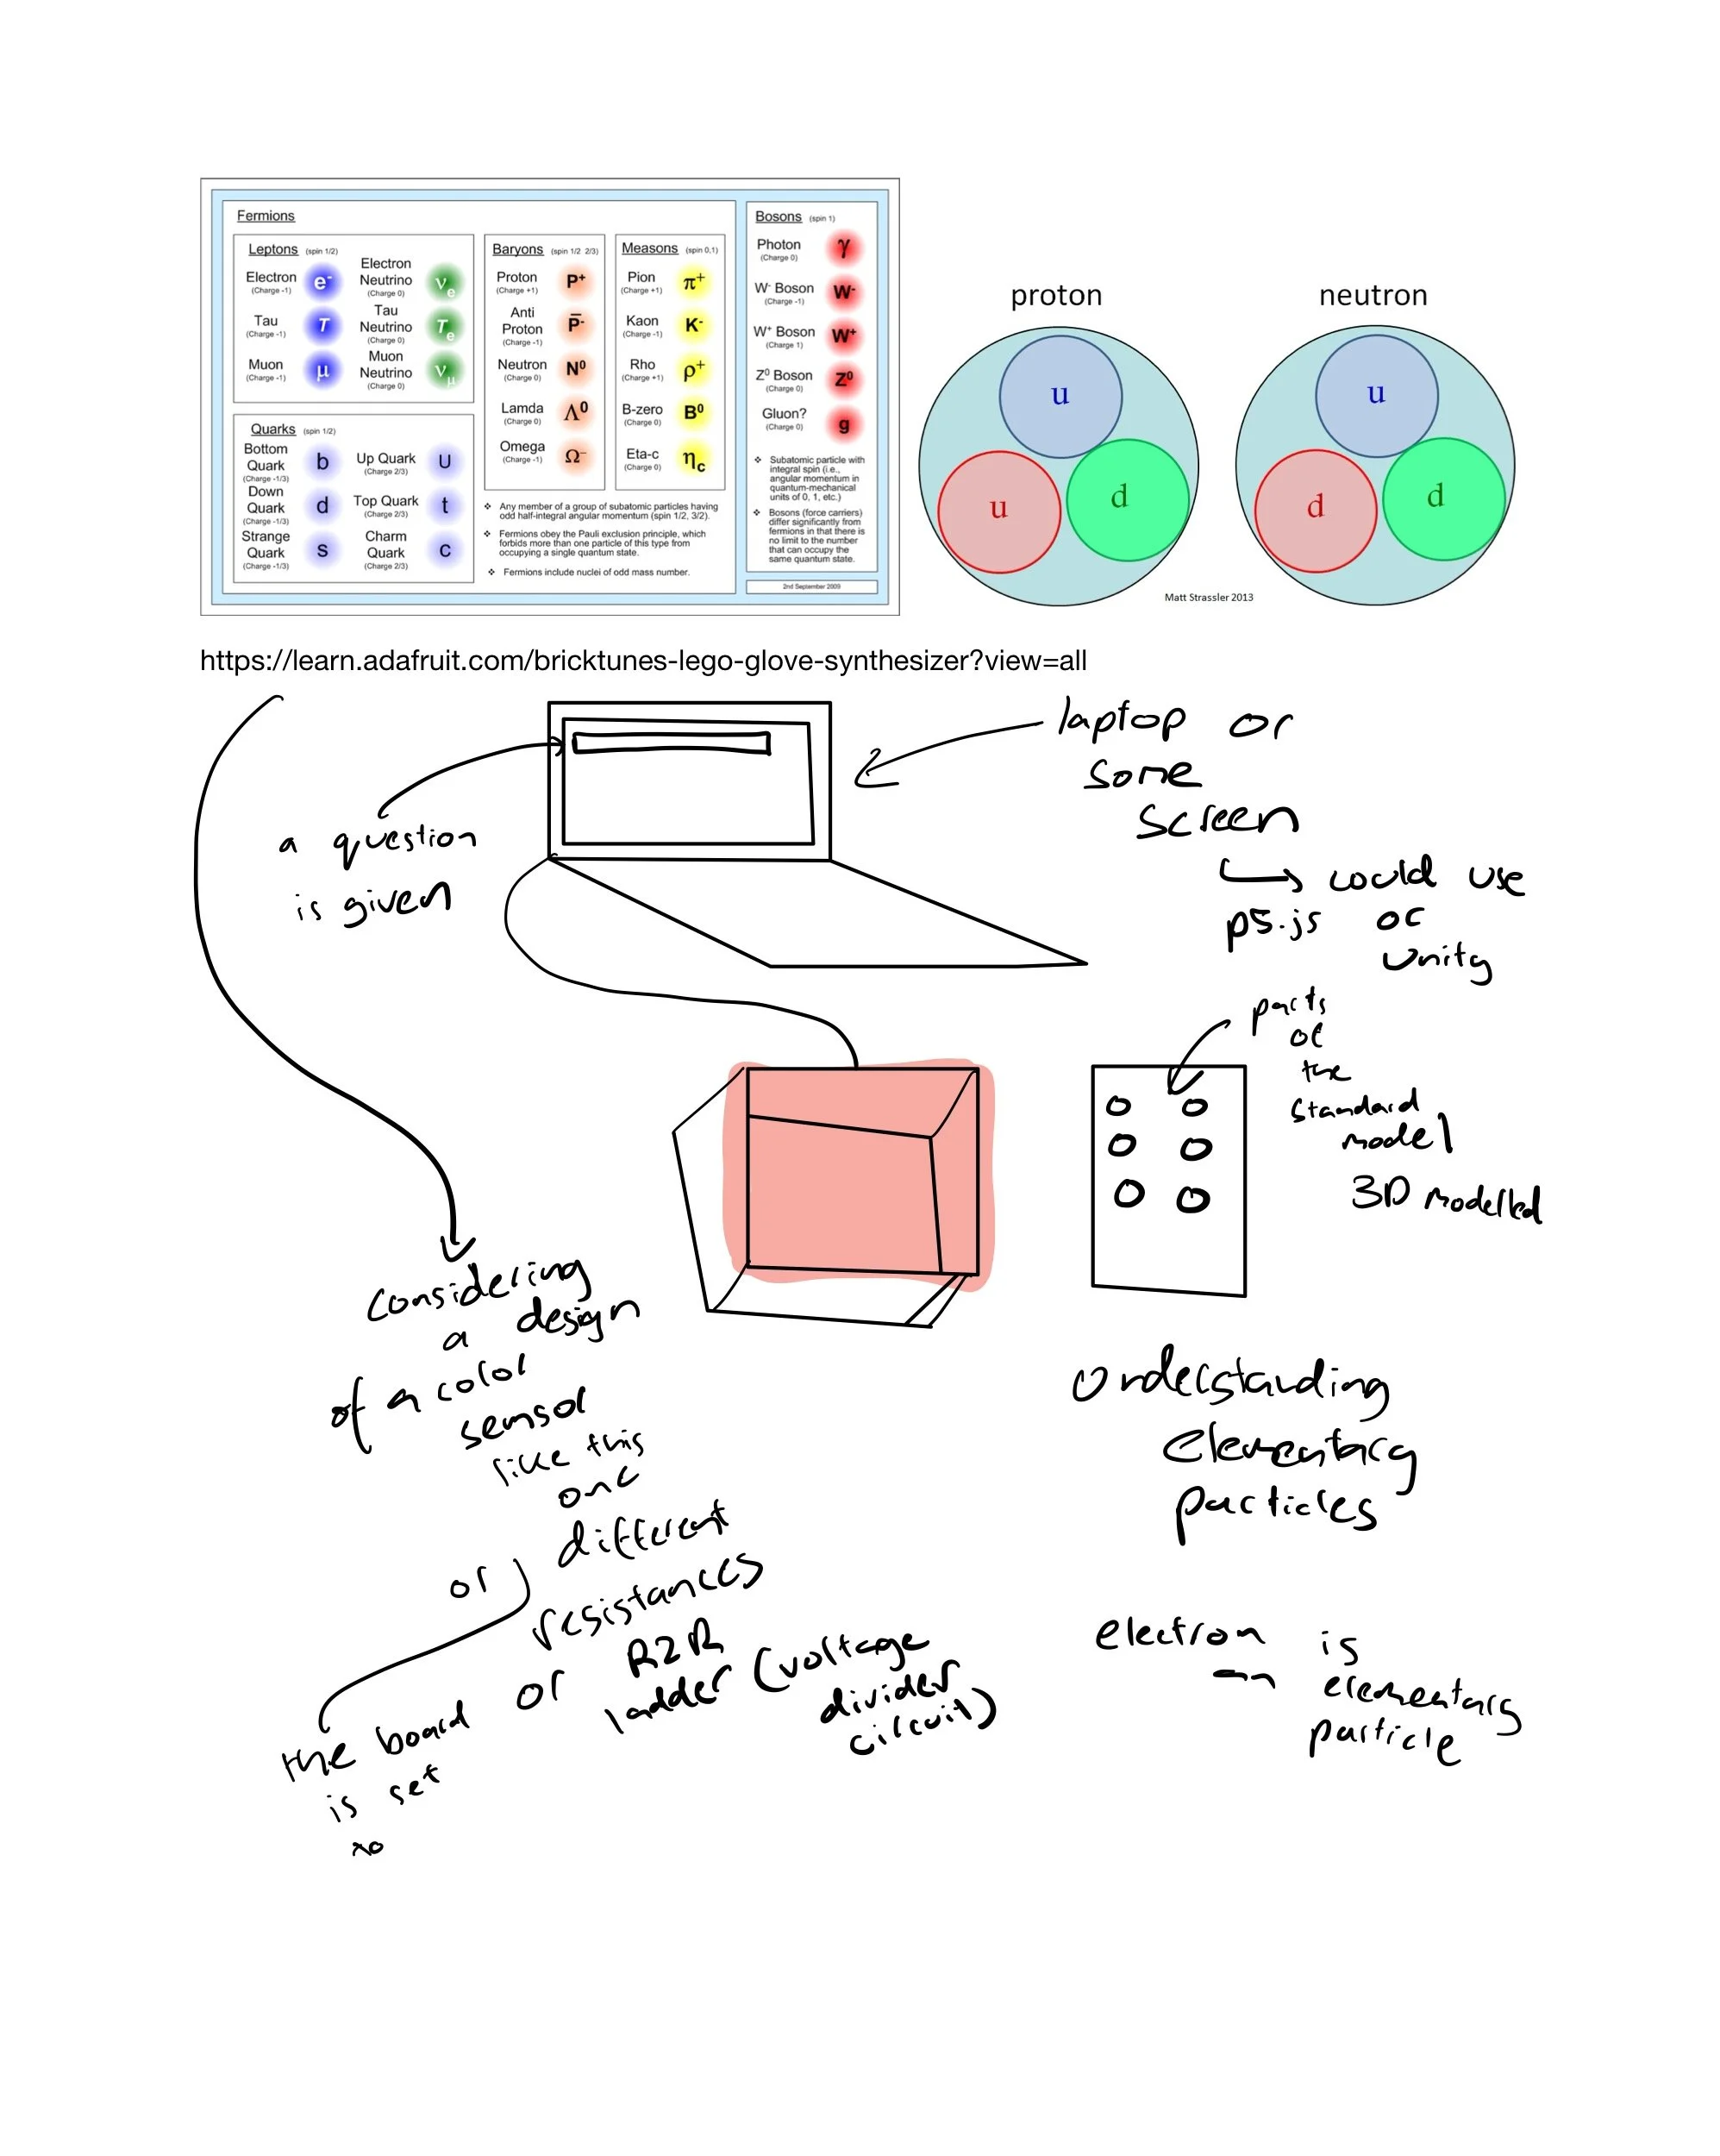
While working with the AS7341 sensor, I found the lego brick synthesizer, and I thought maybe using that as a method to sense the different quarks would work. So that was one of the ideas that I thought could be used to sense by color. Then the other idea that Nava suggested was using a R2R ladder, which, is a voltage divider circuit. Then the other idea was to use RFID or hall effect sensors.
Then, on the 17th of November, I met with Tom, and he asked me what my intent was for the final. I said that my intention with the final is mostly trying out different sensors, and developing an understanding to see which sensors I might want to use later in ITP. Then he said, like, for my midterm, I should be really thorough with my documentation, so when I look back in the future, I can remember how the sensor is used. Then we discussed further on which sensors, I should try out, he told me to try out RFID/NFC sensor, I thought that the sensor wouldn’t be challenging enough like the color sensor, and I wanted to work with a more challenging sensor, but then he explained that the RFID/NFC sensor has only a singular reader and with the way my game is set up, it would require multiple sensors, which would make the whole process really expensive and challenigng. He said to try out hall effect too, and color sensors. He said to work with the R2R ladder at the end, as that might be the most challenging one to crack.
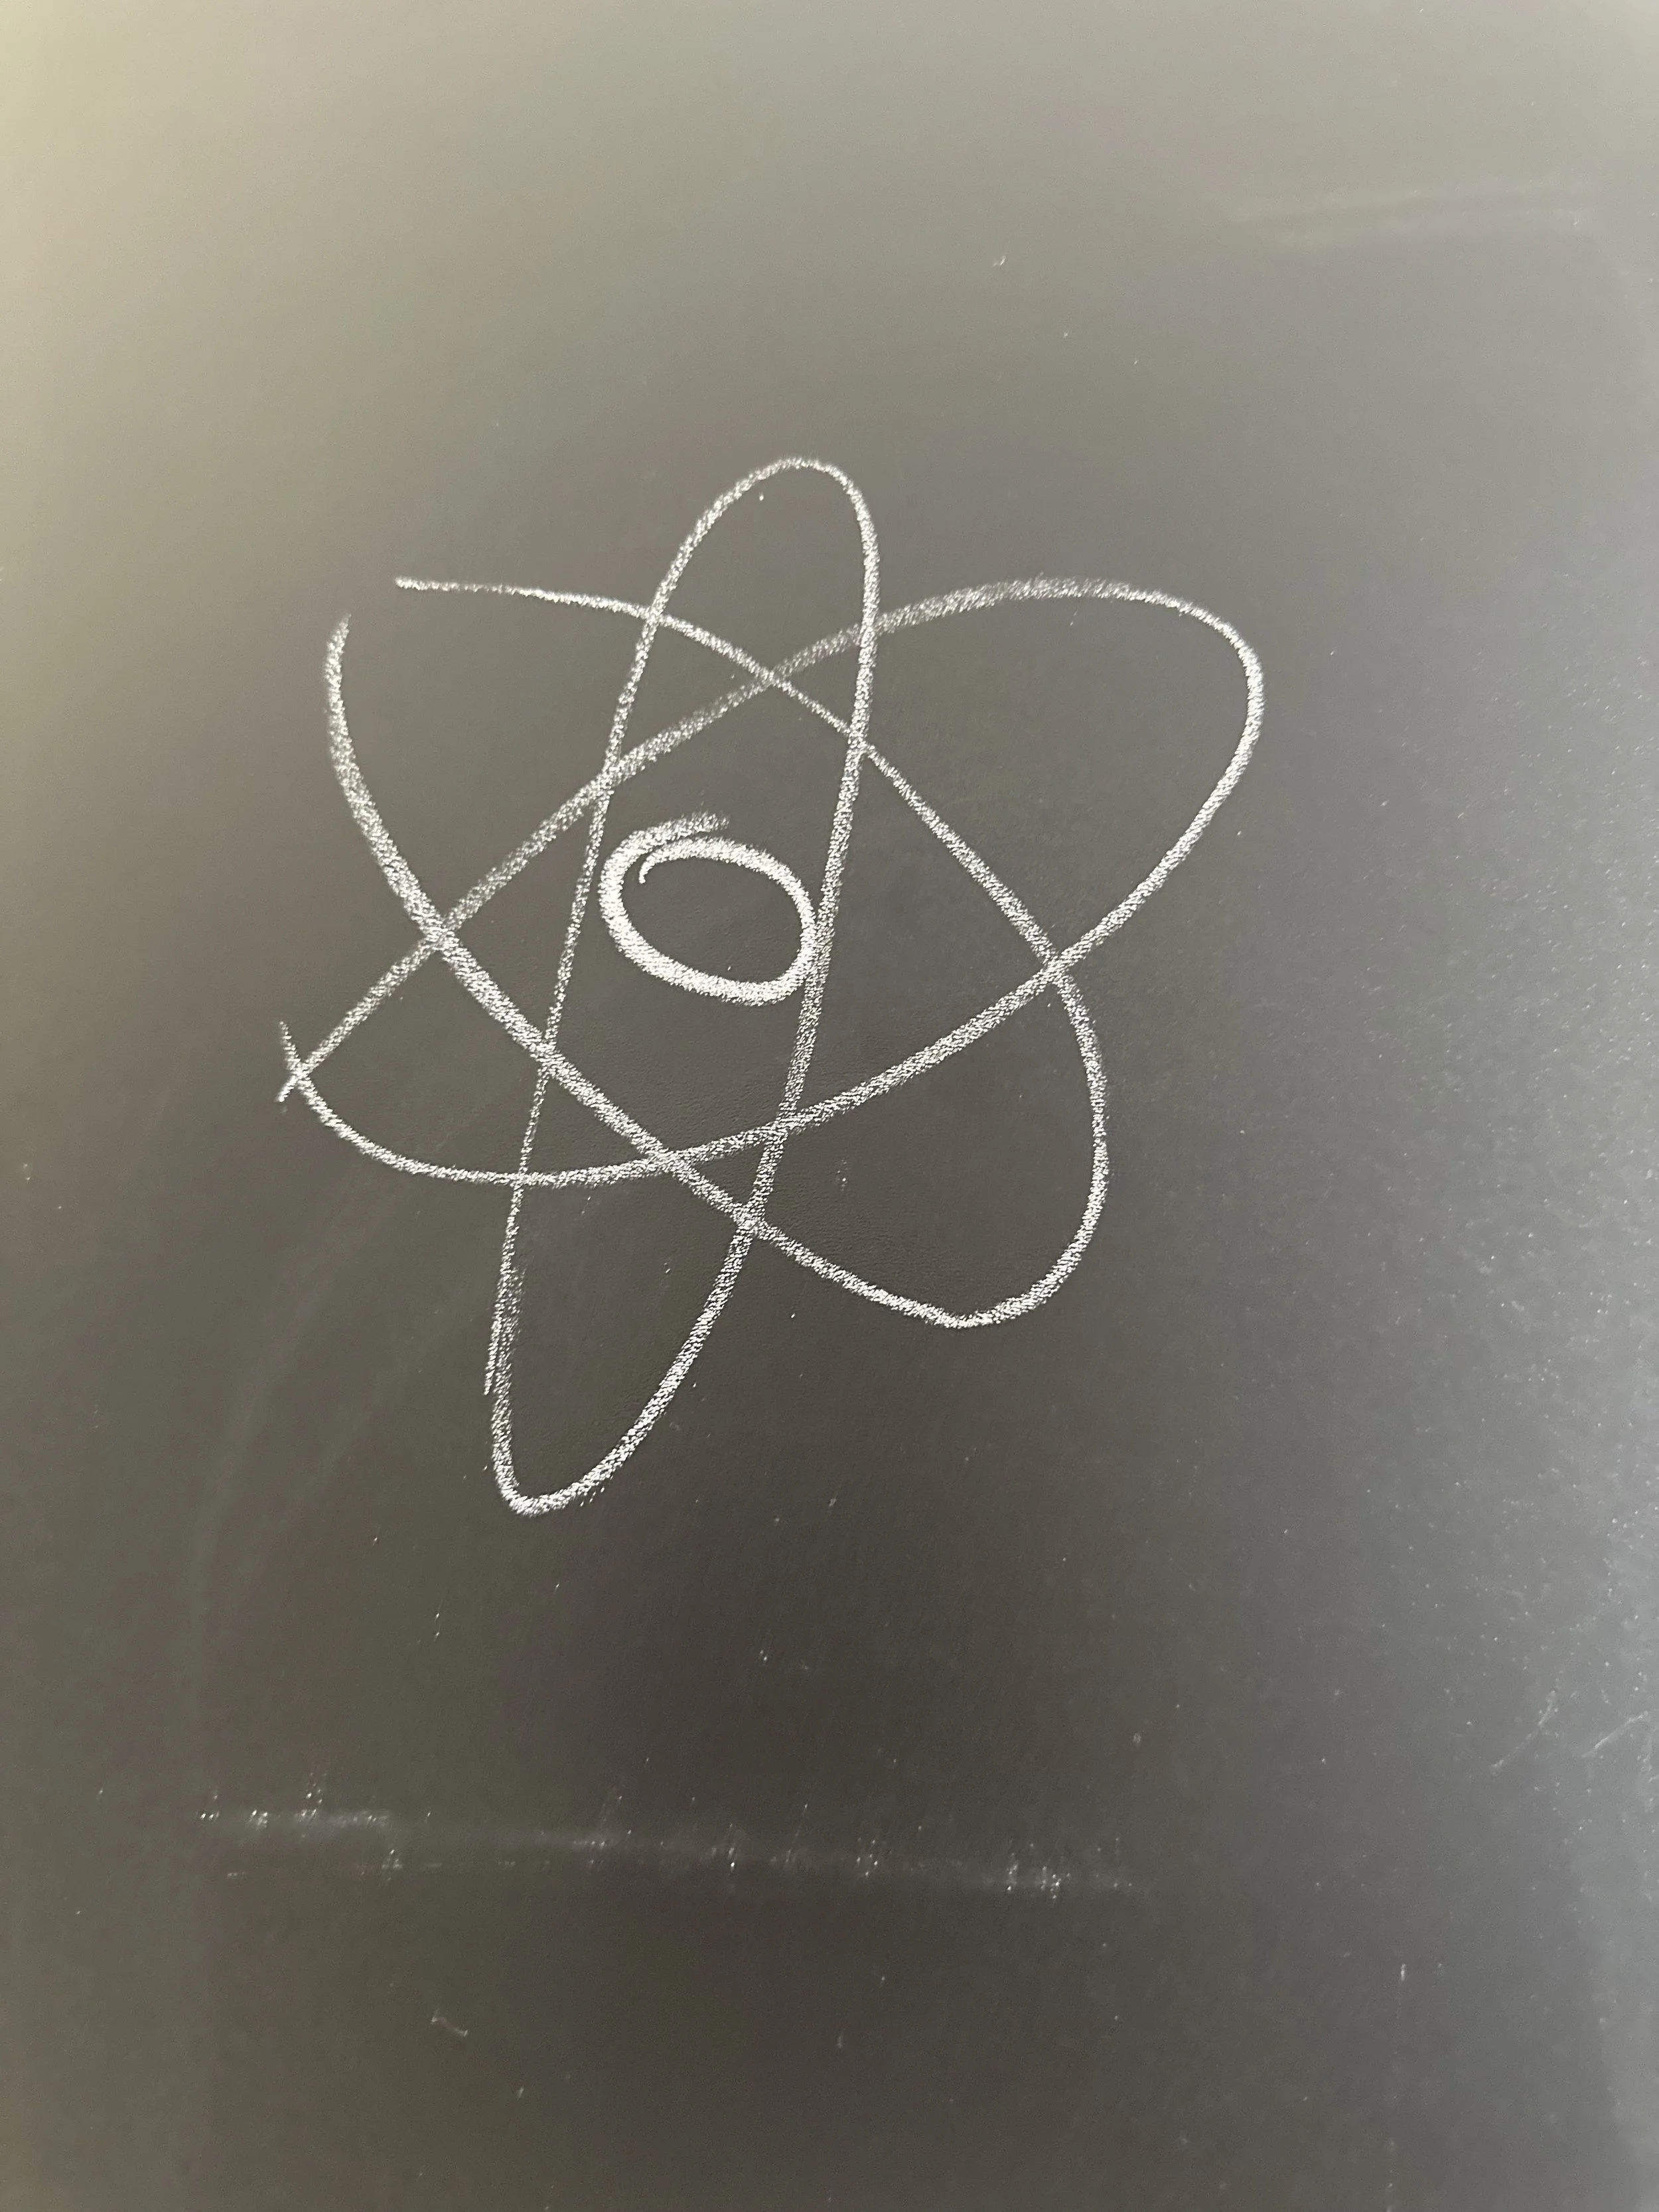
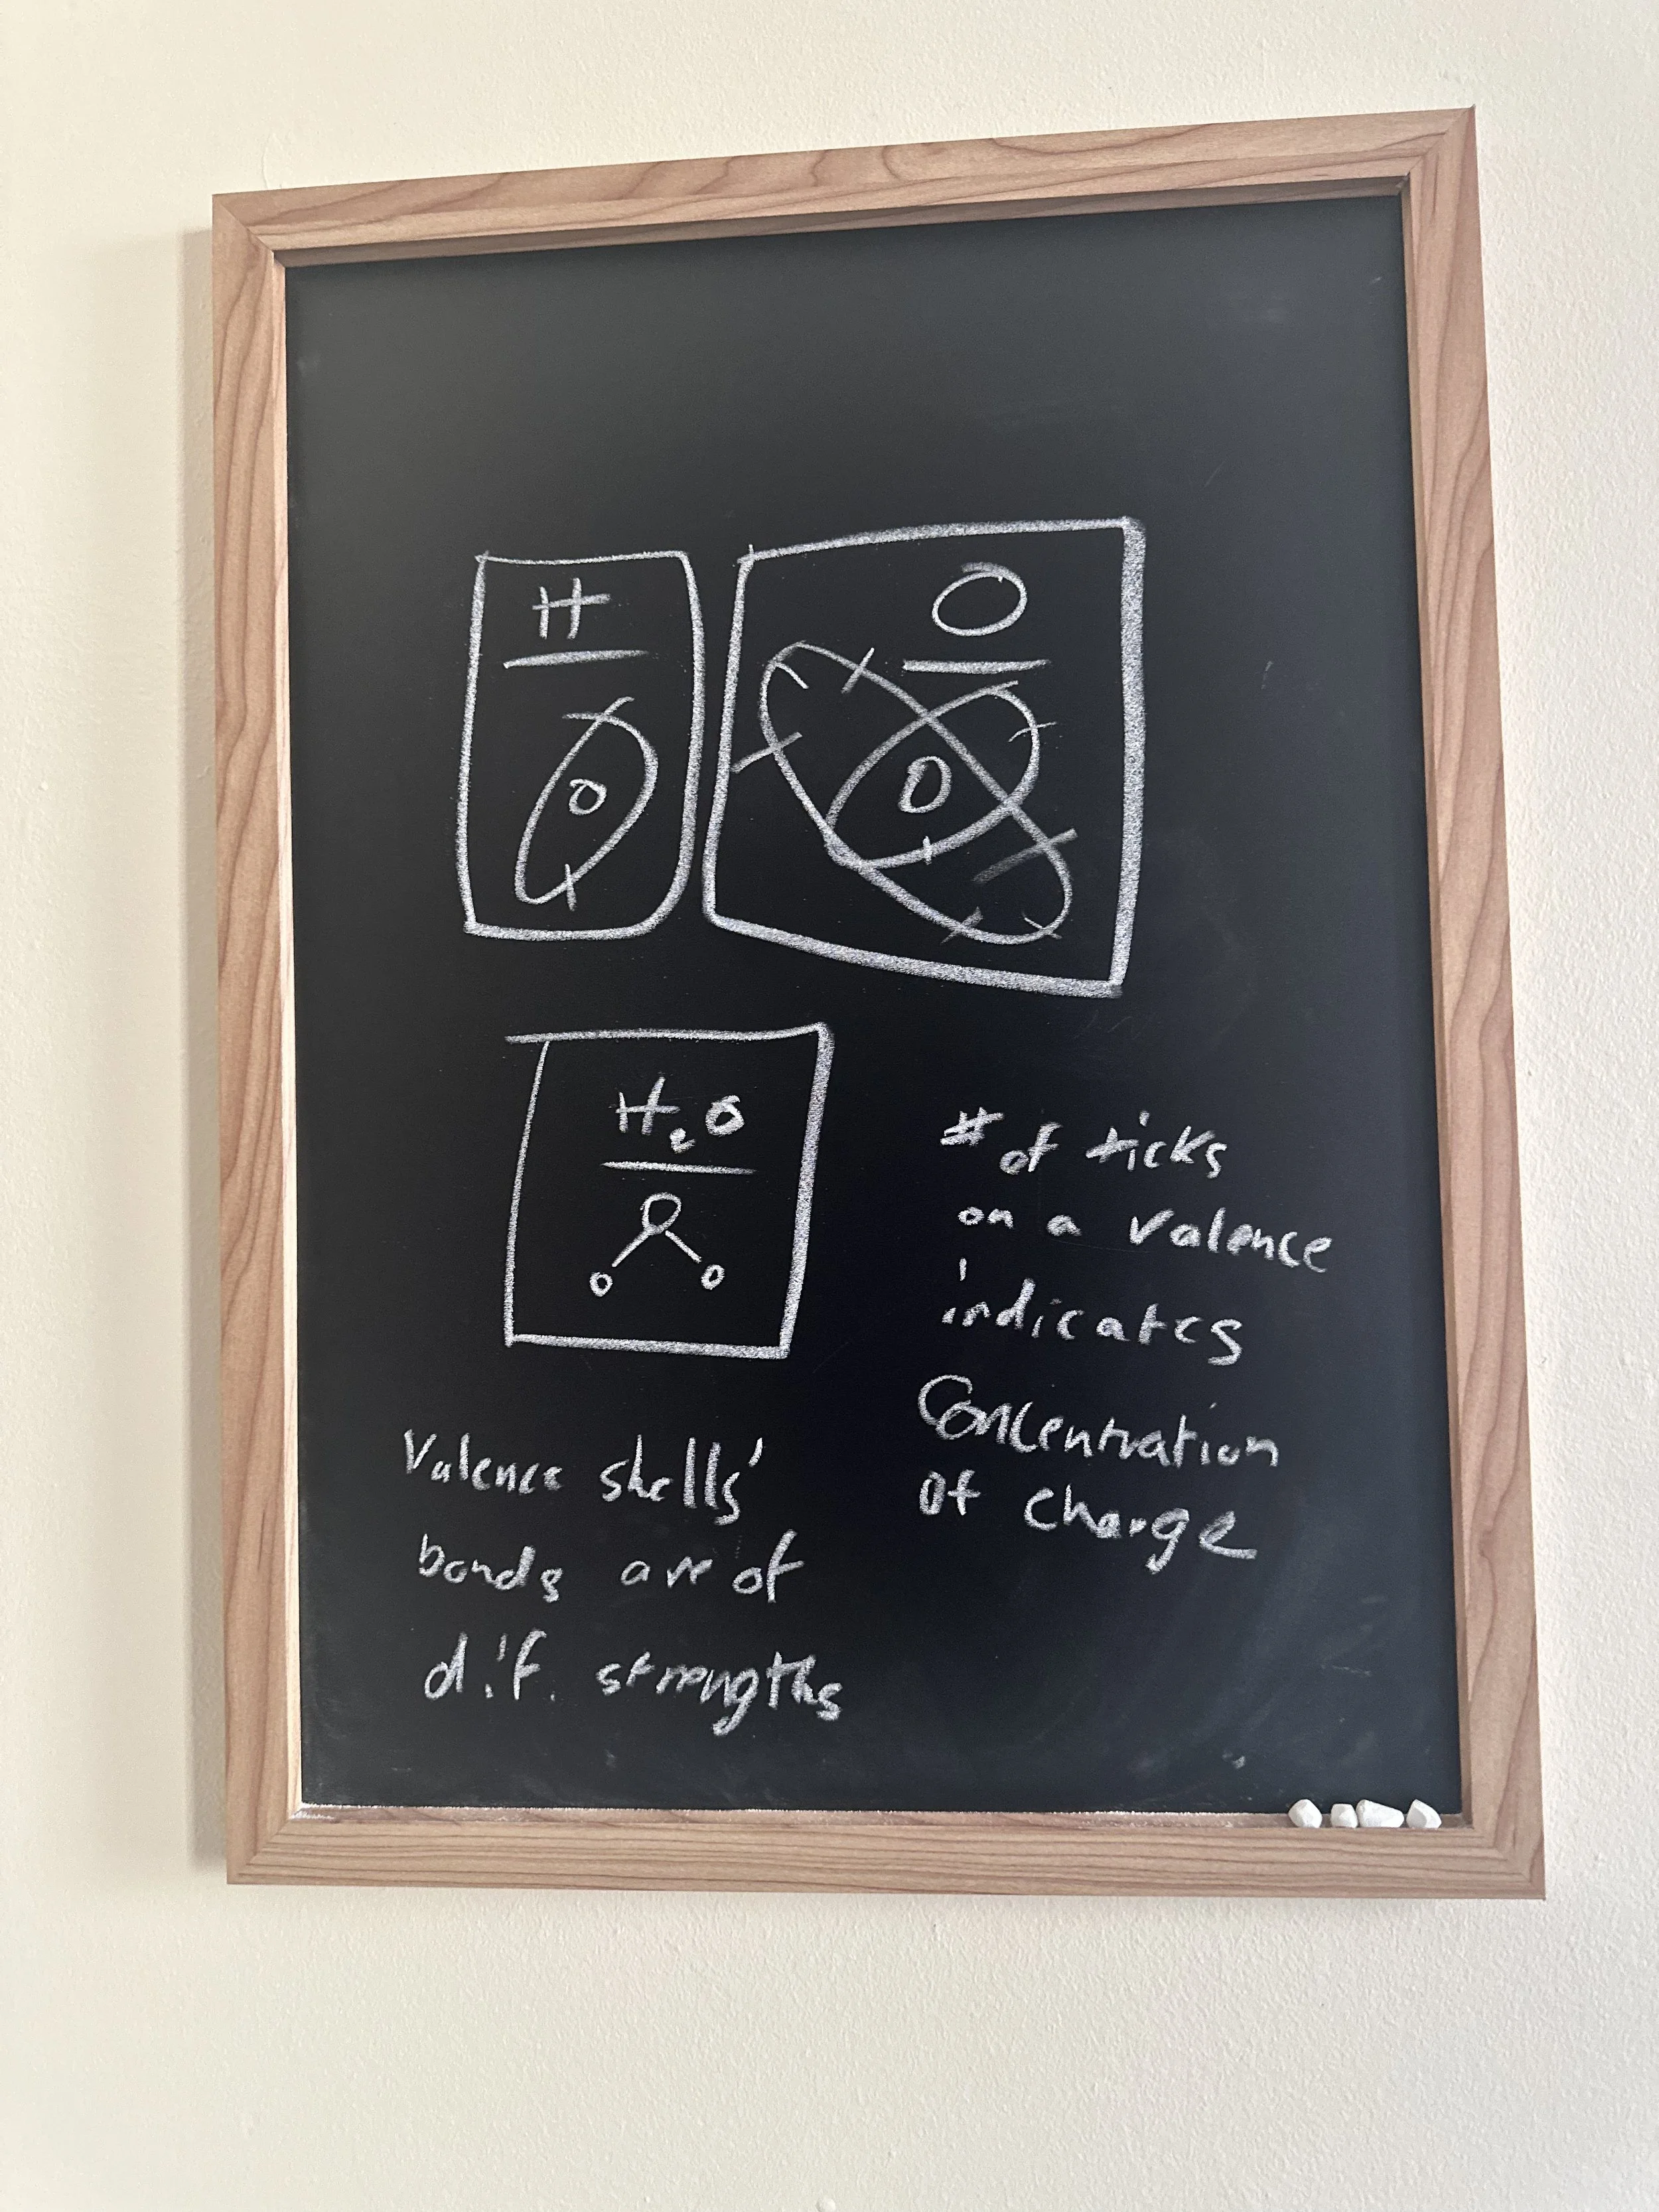
Then on the 18th, we had class where we had to present our idea. I was a little nervous during the presentation, as I hadn’t developed a thorough idea or concept as to how the game would work. I had a rougher idea about it. During the presentation, Tom asked the whole class if they knew the standard model of particle physics, and it turned out that most of the class didn’t. So then I tried to explain how subatomic particles can be broken down further to elementary particles. Neutrons and protons can be broken down further to quarks. An electron is a lepton and cannot be broken down further. Quarks and leptons come under the bigger umbrella of fermions. Jisoo wasn’t exactly sure what a proton or a neutron was, but she mentioned that she had learnt about this, but not in English. Then Tom asked me to come up to the whiteboard and draw an atom, but I was confused about which model to use while drawing it, since I’ve learnt both Bohr’s model and the electron cloud model. Then Arjun helped by showing the class what an atom looks like. Then Arjun also mentioned that the game can be pretty simple by just placing the quarks and trying a mechanism that checks if it's placed in the correct manner. Then, after the presentation, I started thinking further into how these questions need to be answered and how to improve the mechanics of the game.
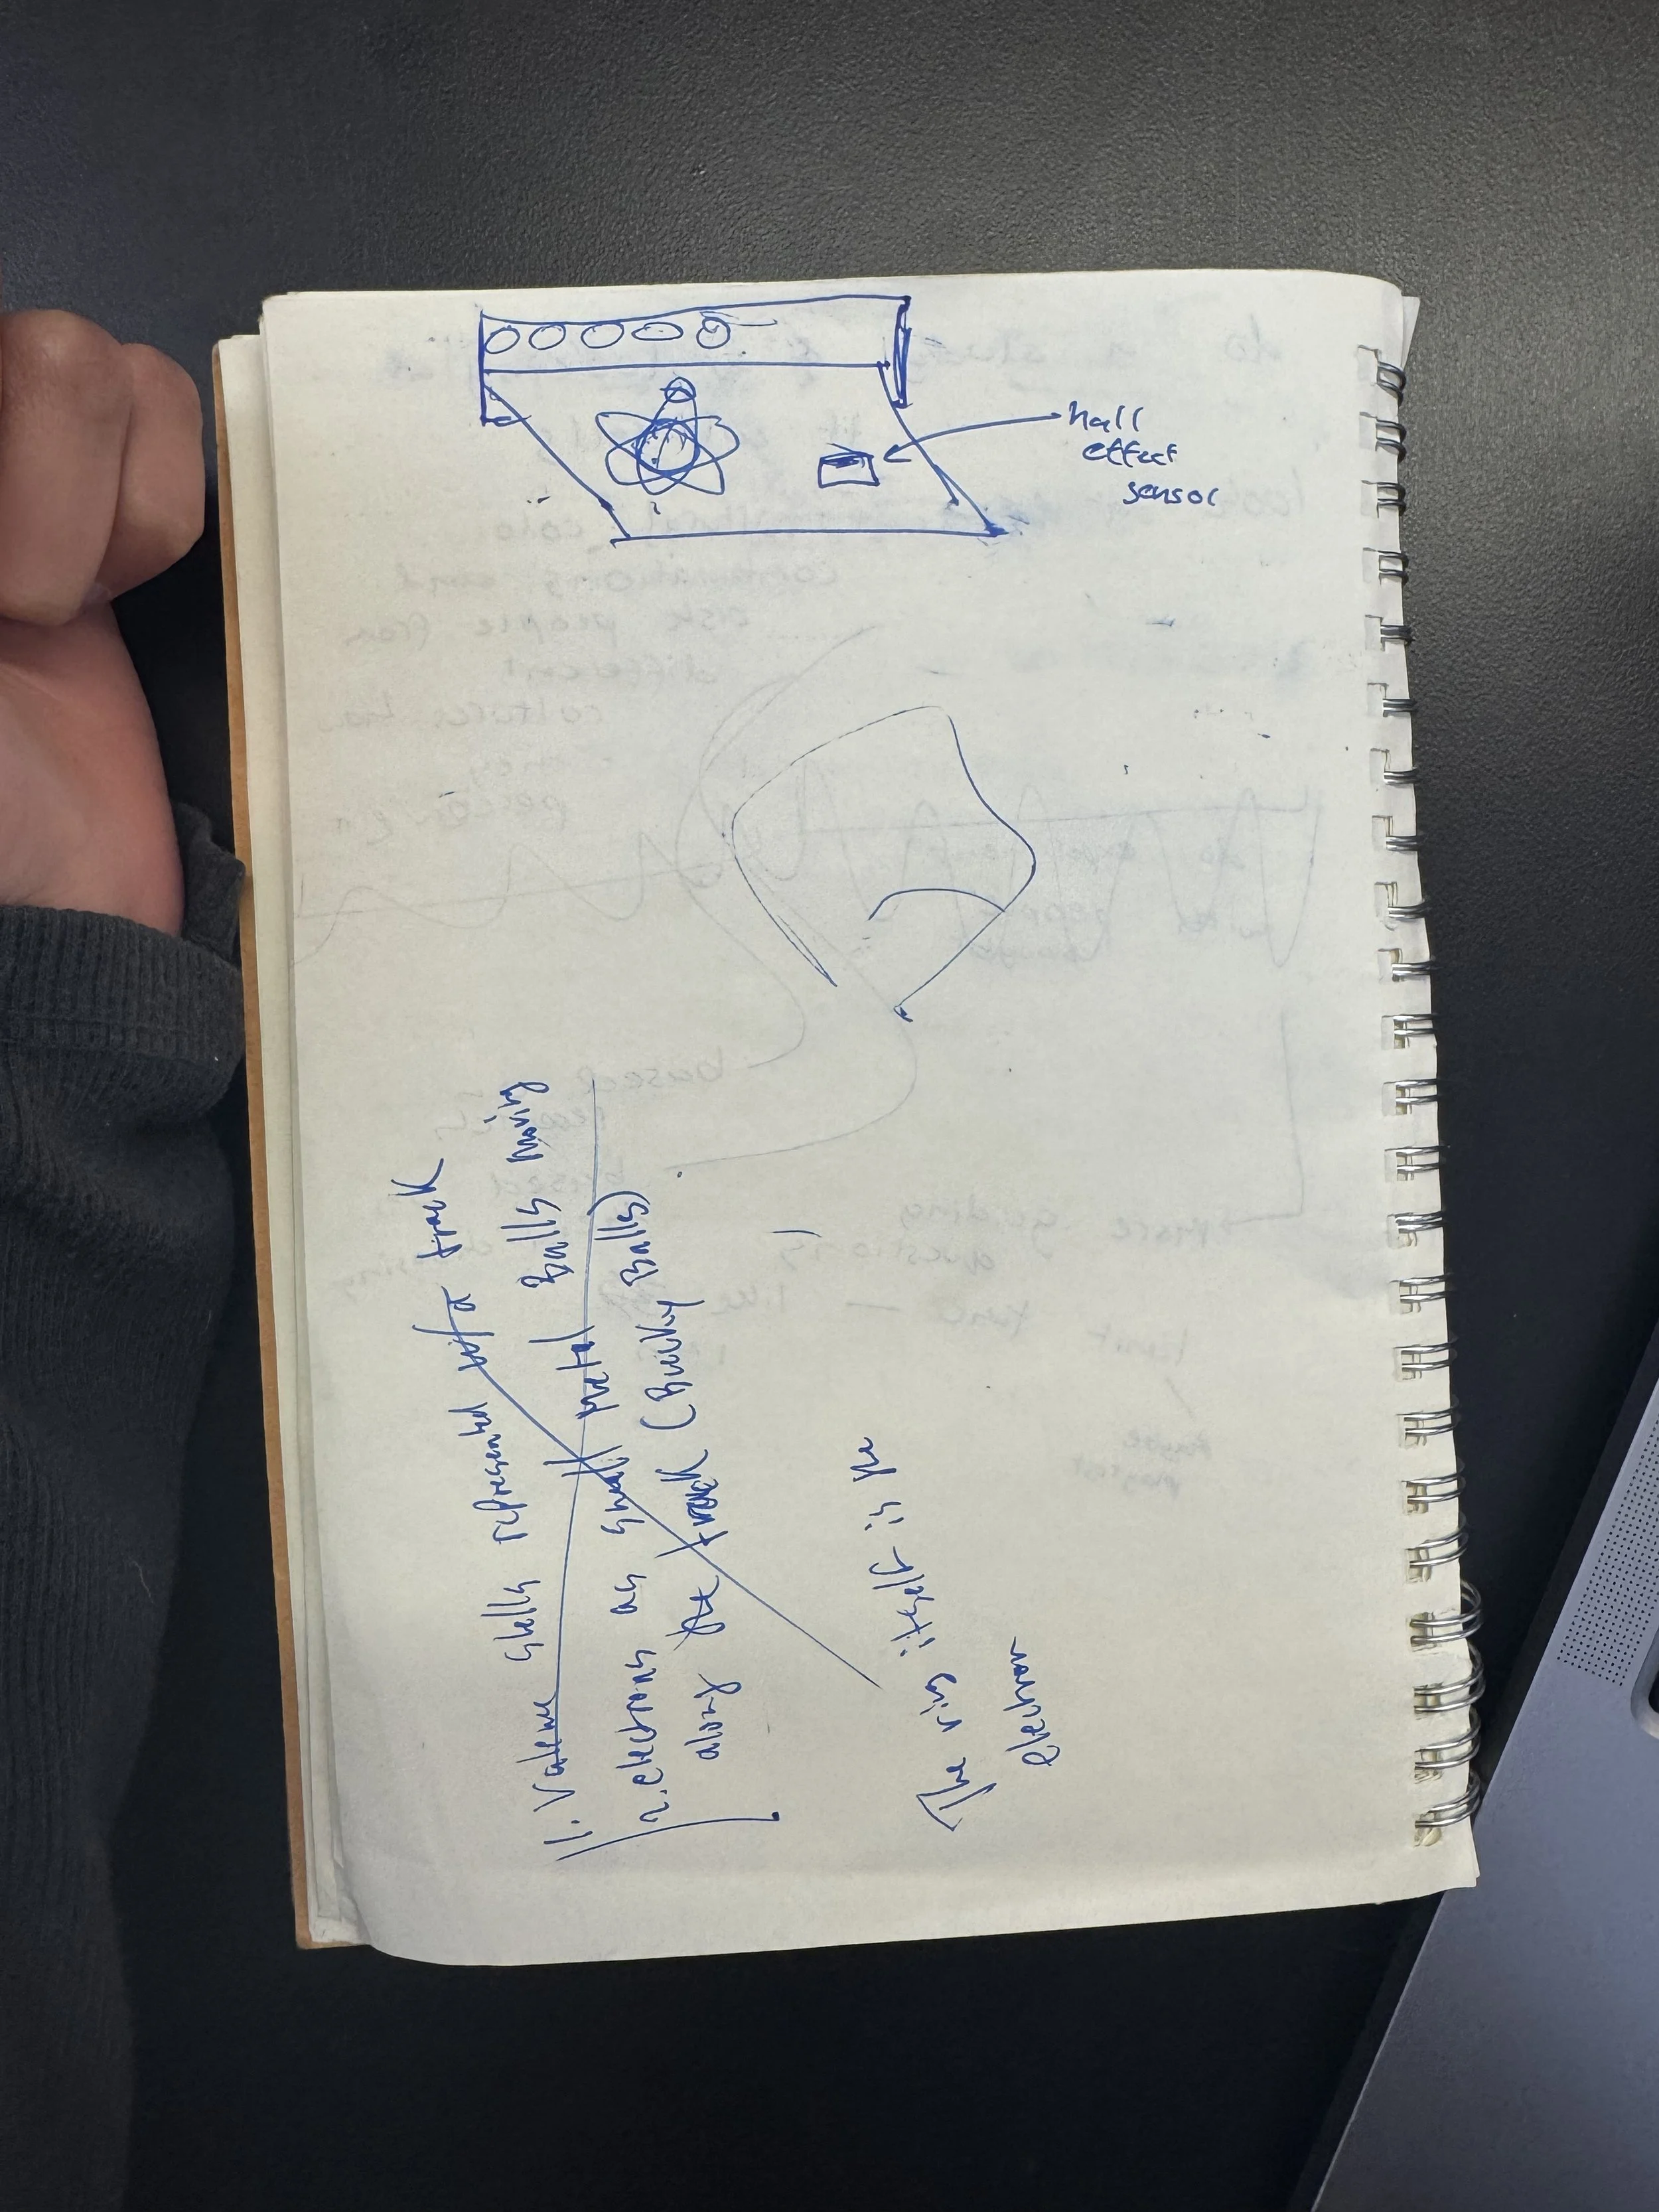
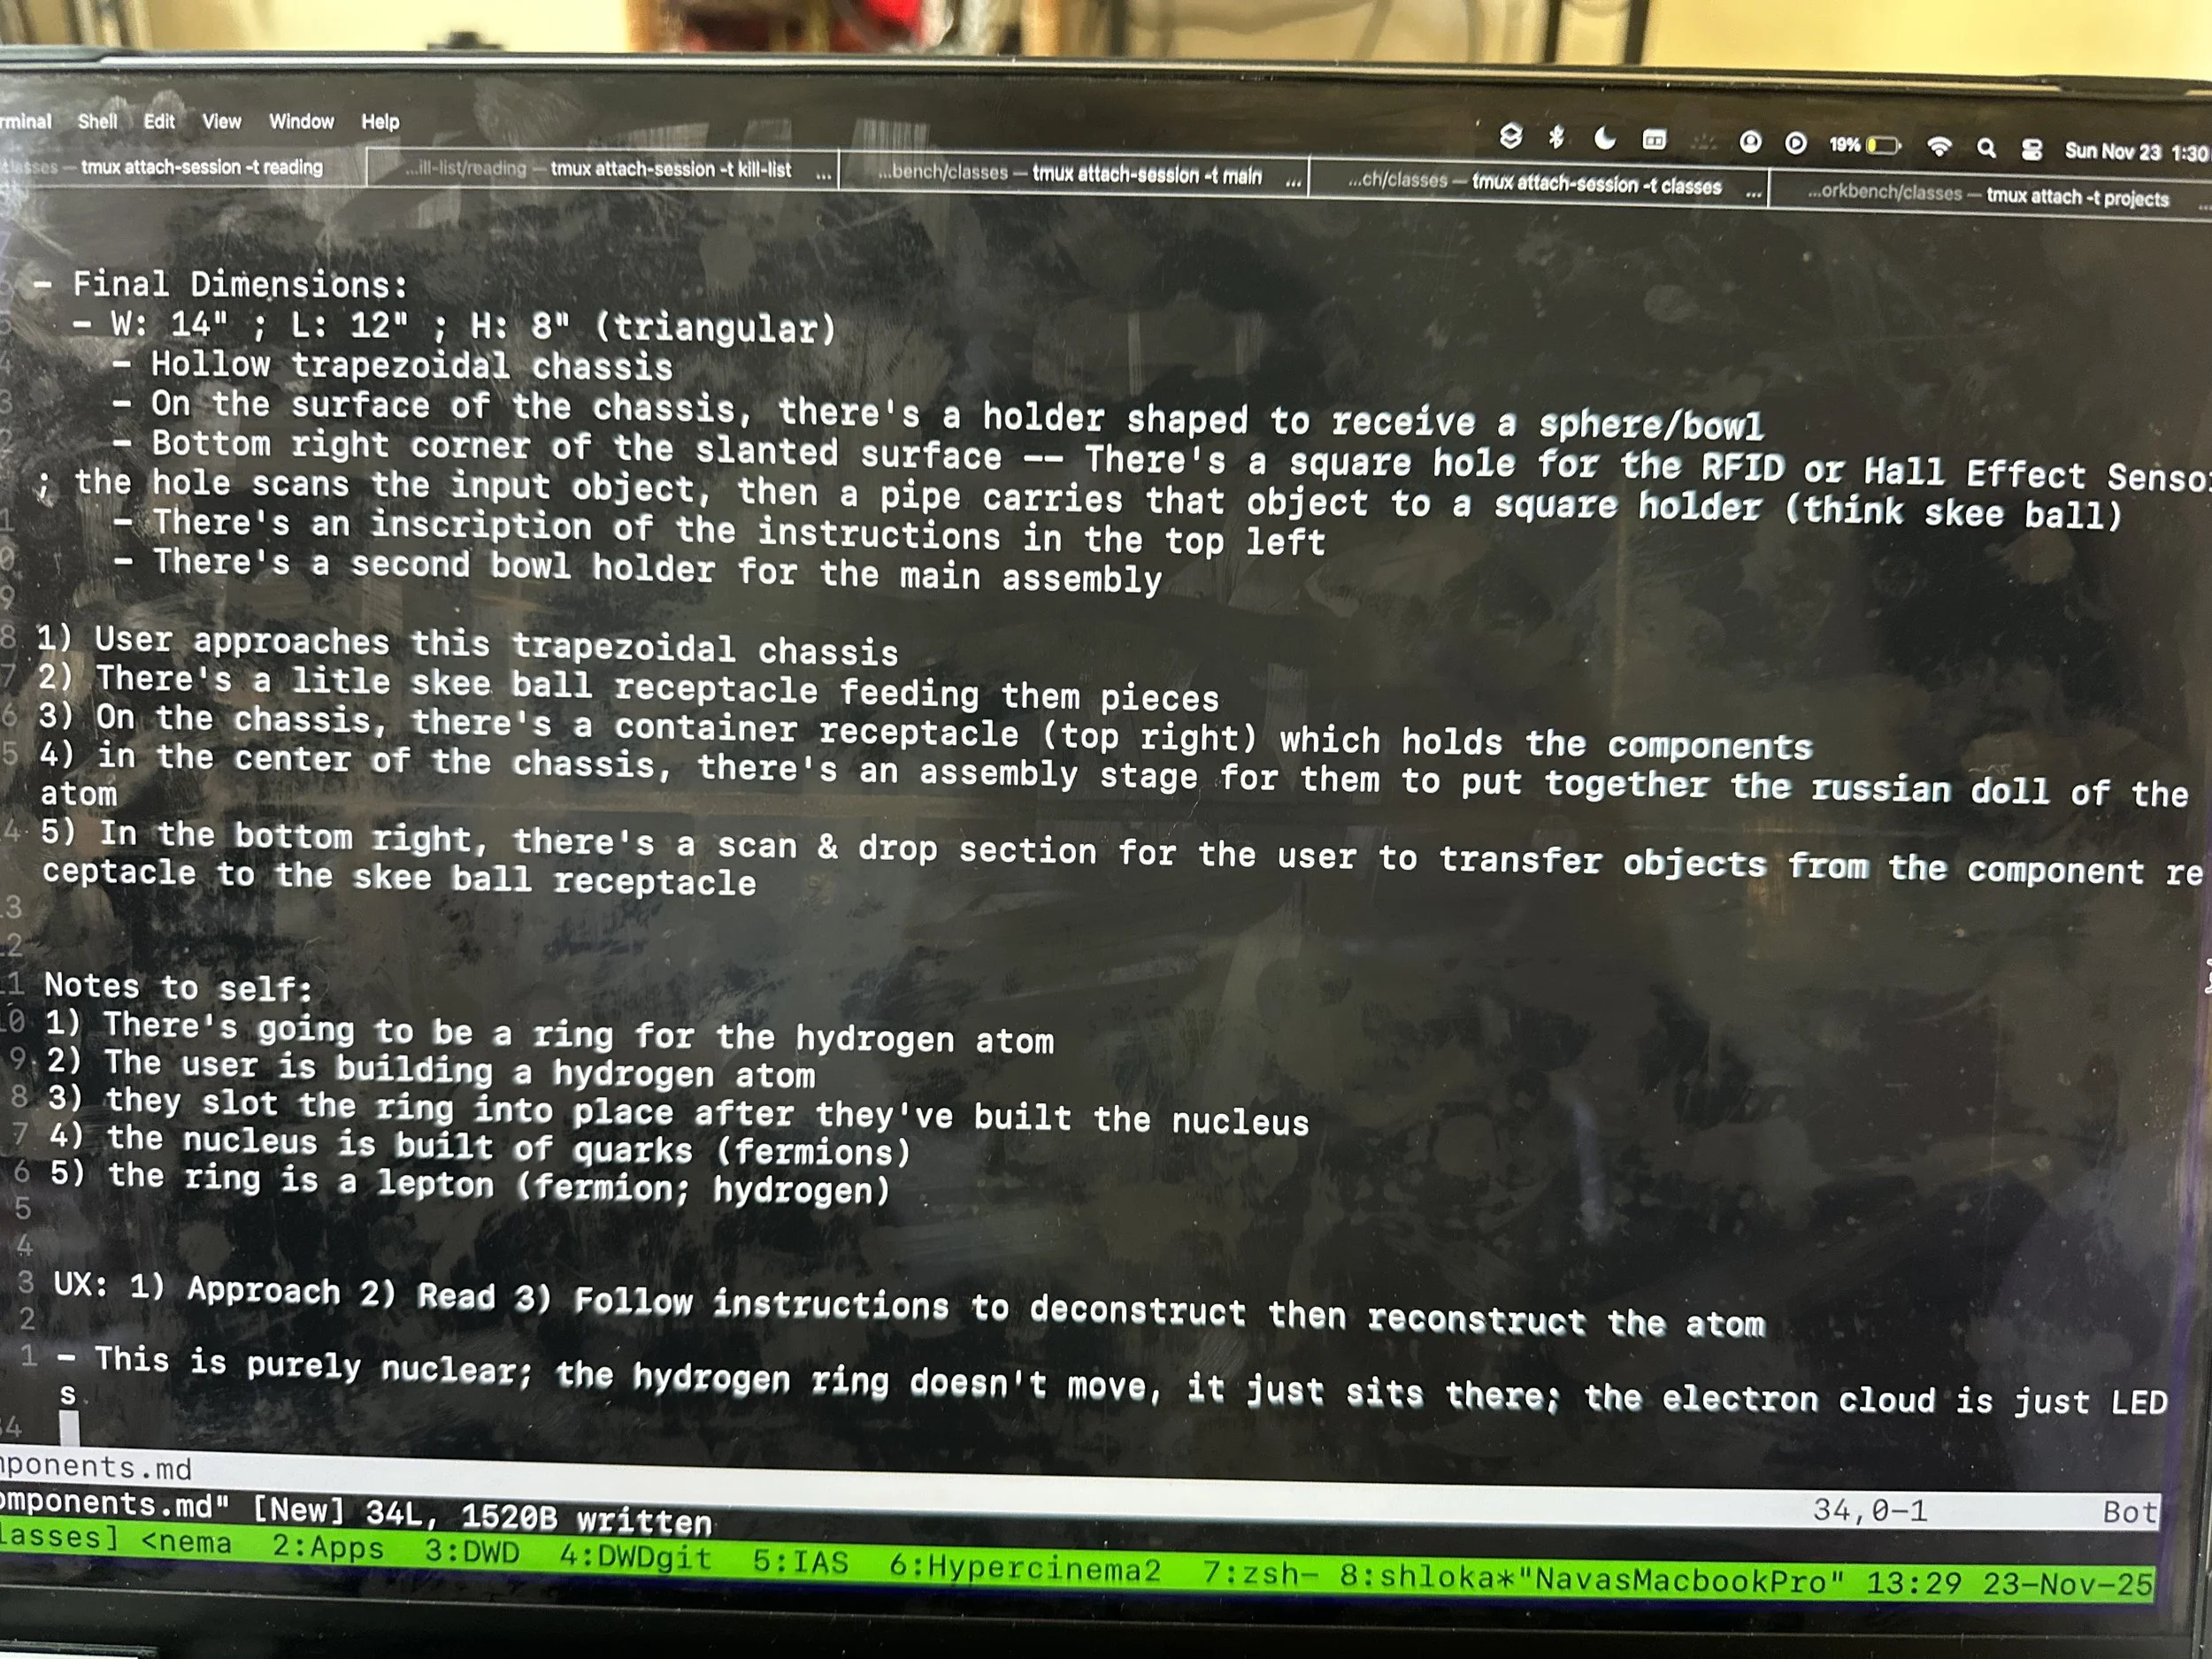
I met with Tom on the 18th to discuss ways in which I can improve the mechanics of my project. While talking to Tom, I was also simultaneously thinking of the mechanics of the game. I thought the game should involve deconstructing an atom, so while brainstorming with Tom, I was thinking of all the projects that were presented in the class, and the manner of this project was such that it was the opposite method from Minami’s project. Tom suggested that a way in which I can think of the design of the game would be to make people scan the object in a particular manner, so in that case, if I’m working with an RFID/NFC sensor, I’m using the reader only once. Then, during that conversation, I thought of the process of deconstruction of an atom, which can be similar to how you play with Russian dolls, and then, when you get to a quark, you can put it through a pipe, and it will go to the back like a pinball/bowling game. Then from there you can pick out the quark and place it to see whether you remember whether it is in the right position that it was. Tom said that he can tell that I’m excited about the game mechanics of the project, and he understands that I'm technically sound in the class, so he said that for the final, I should focus more on the game mechanics. So I pivoted my direction from focusing on working with the sensors to focusing more on how the game should work. Tom also said that I should use the Bohr model, since most people are familiar with that.
After my office hours with Tom. I was talking to Nava, and she said that she doesn’t want to work with Bohr’s model because it is really outdated. I agree with her. She explained to me the easiest way to draw an atom, and a molecule. Also showed me different ways to represent it.
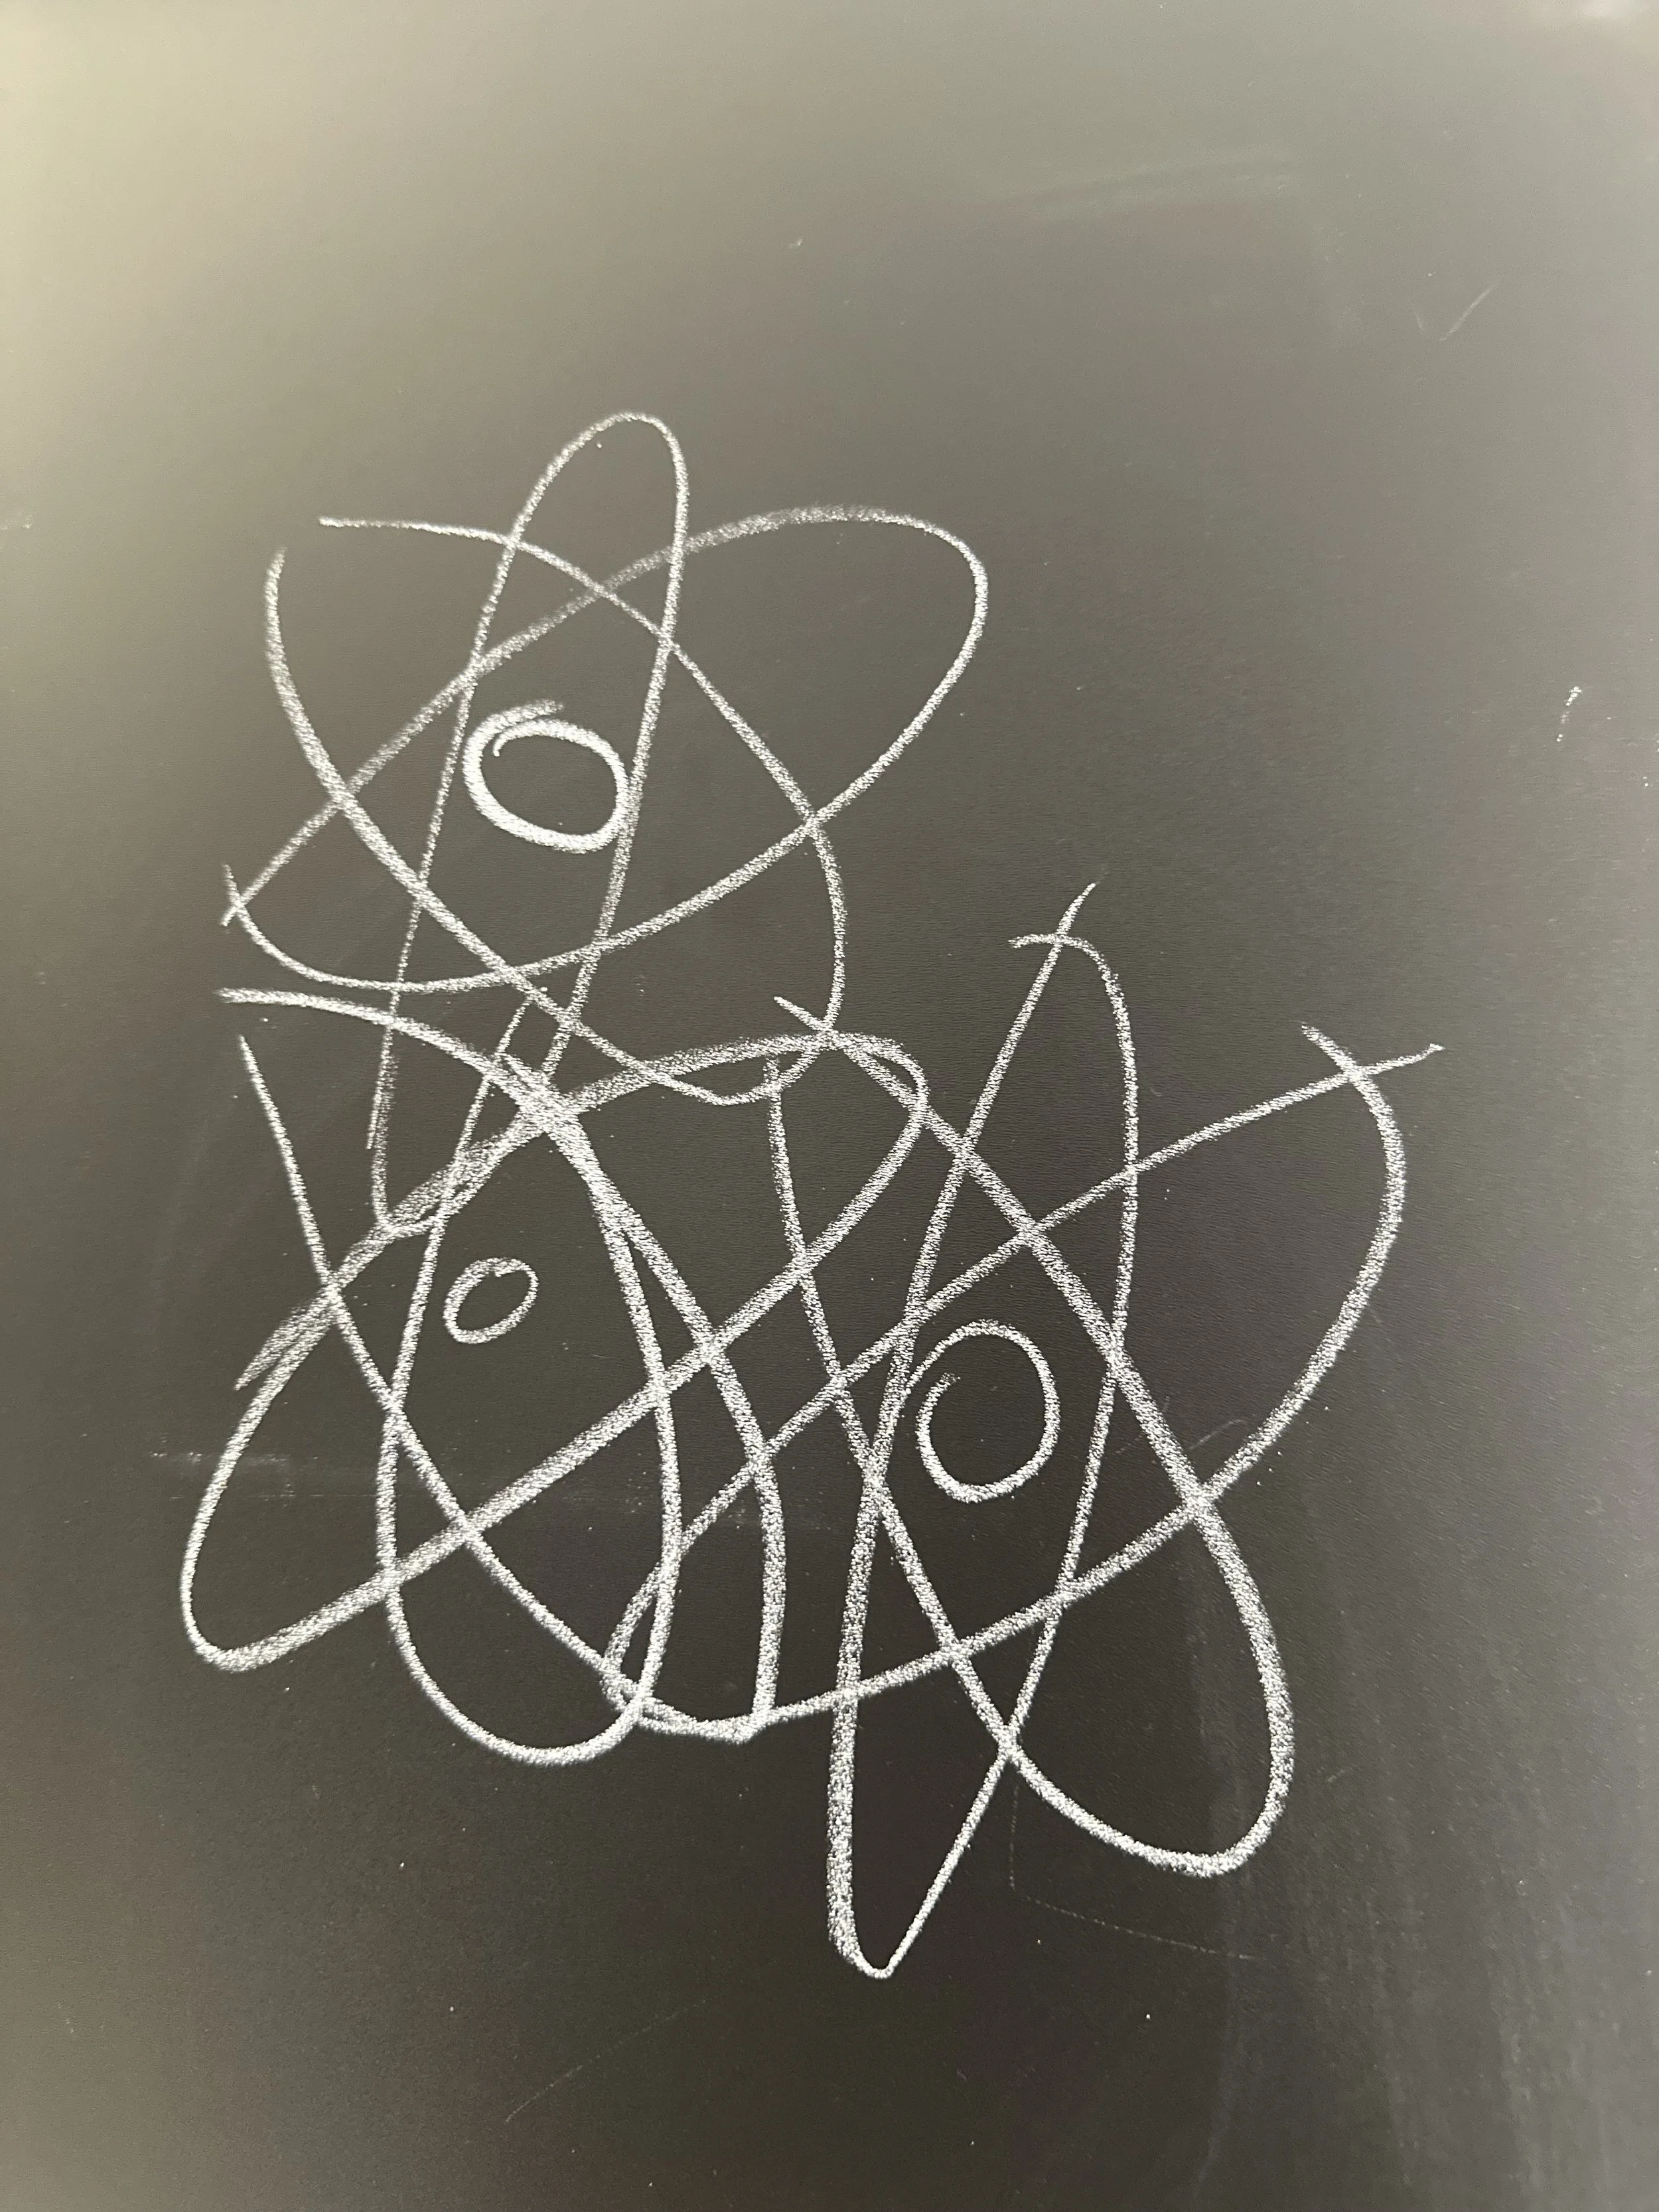
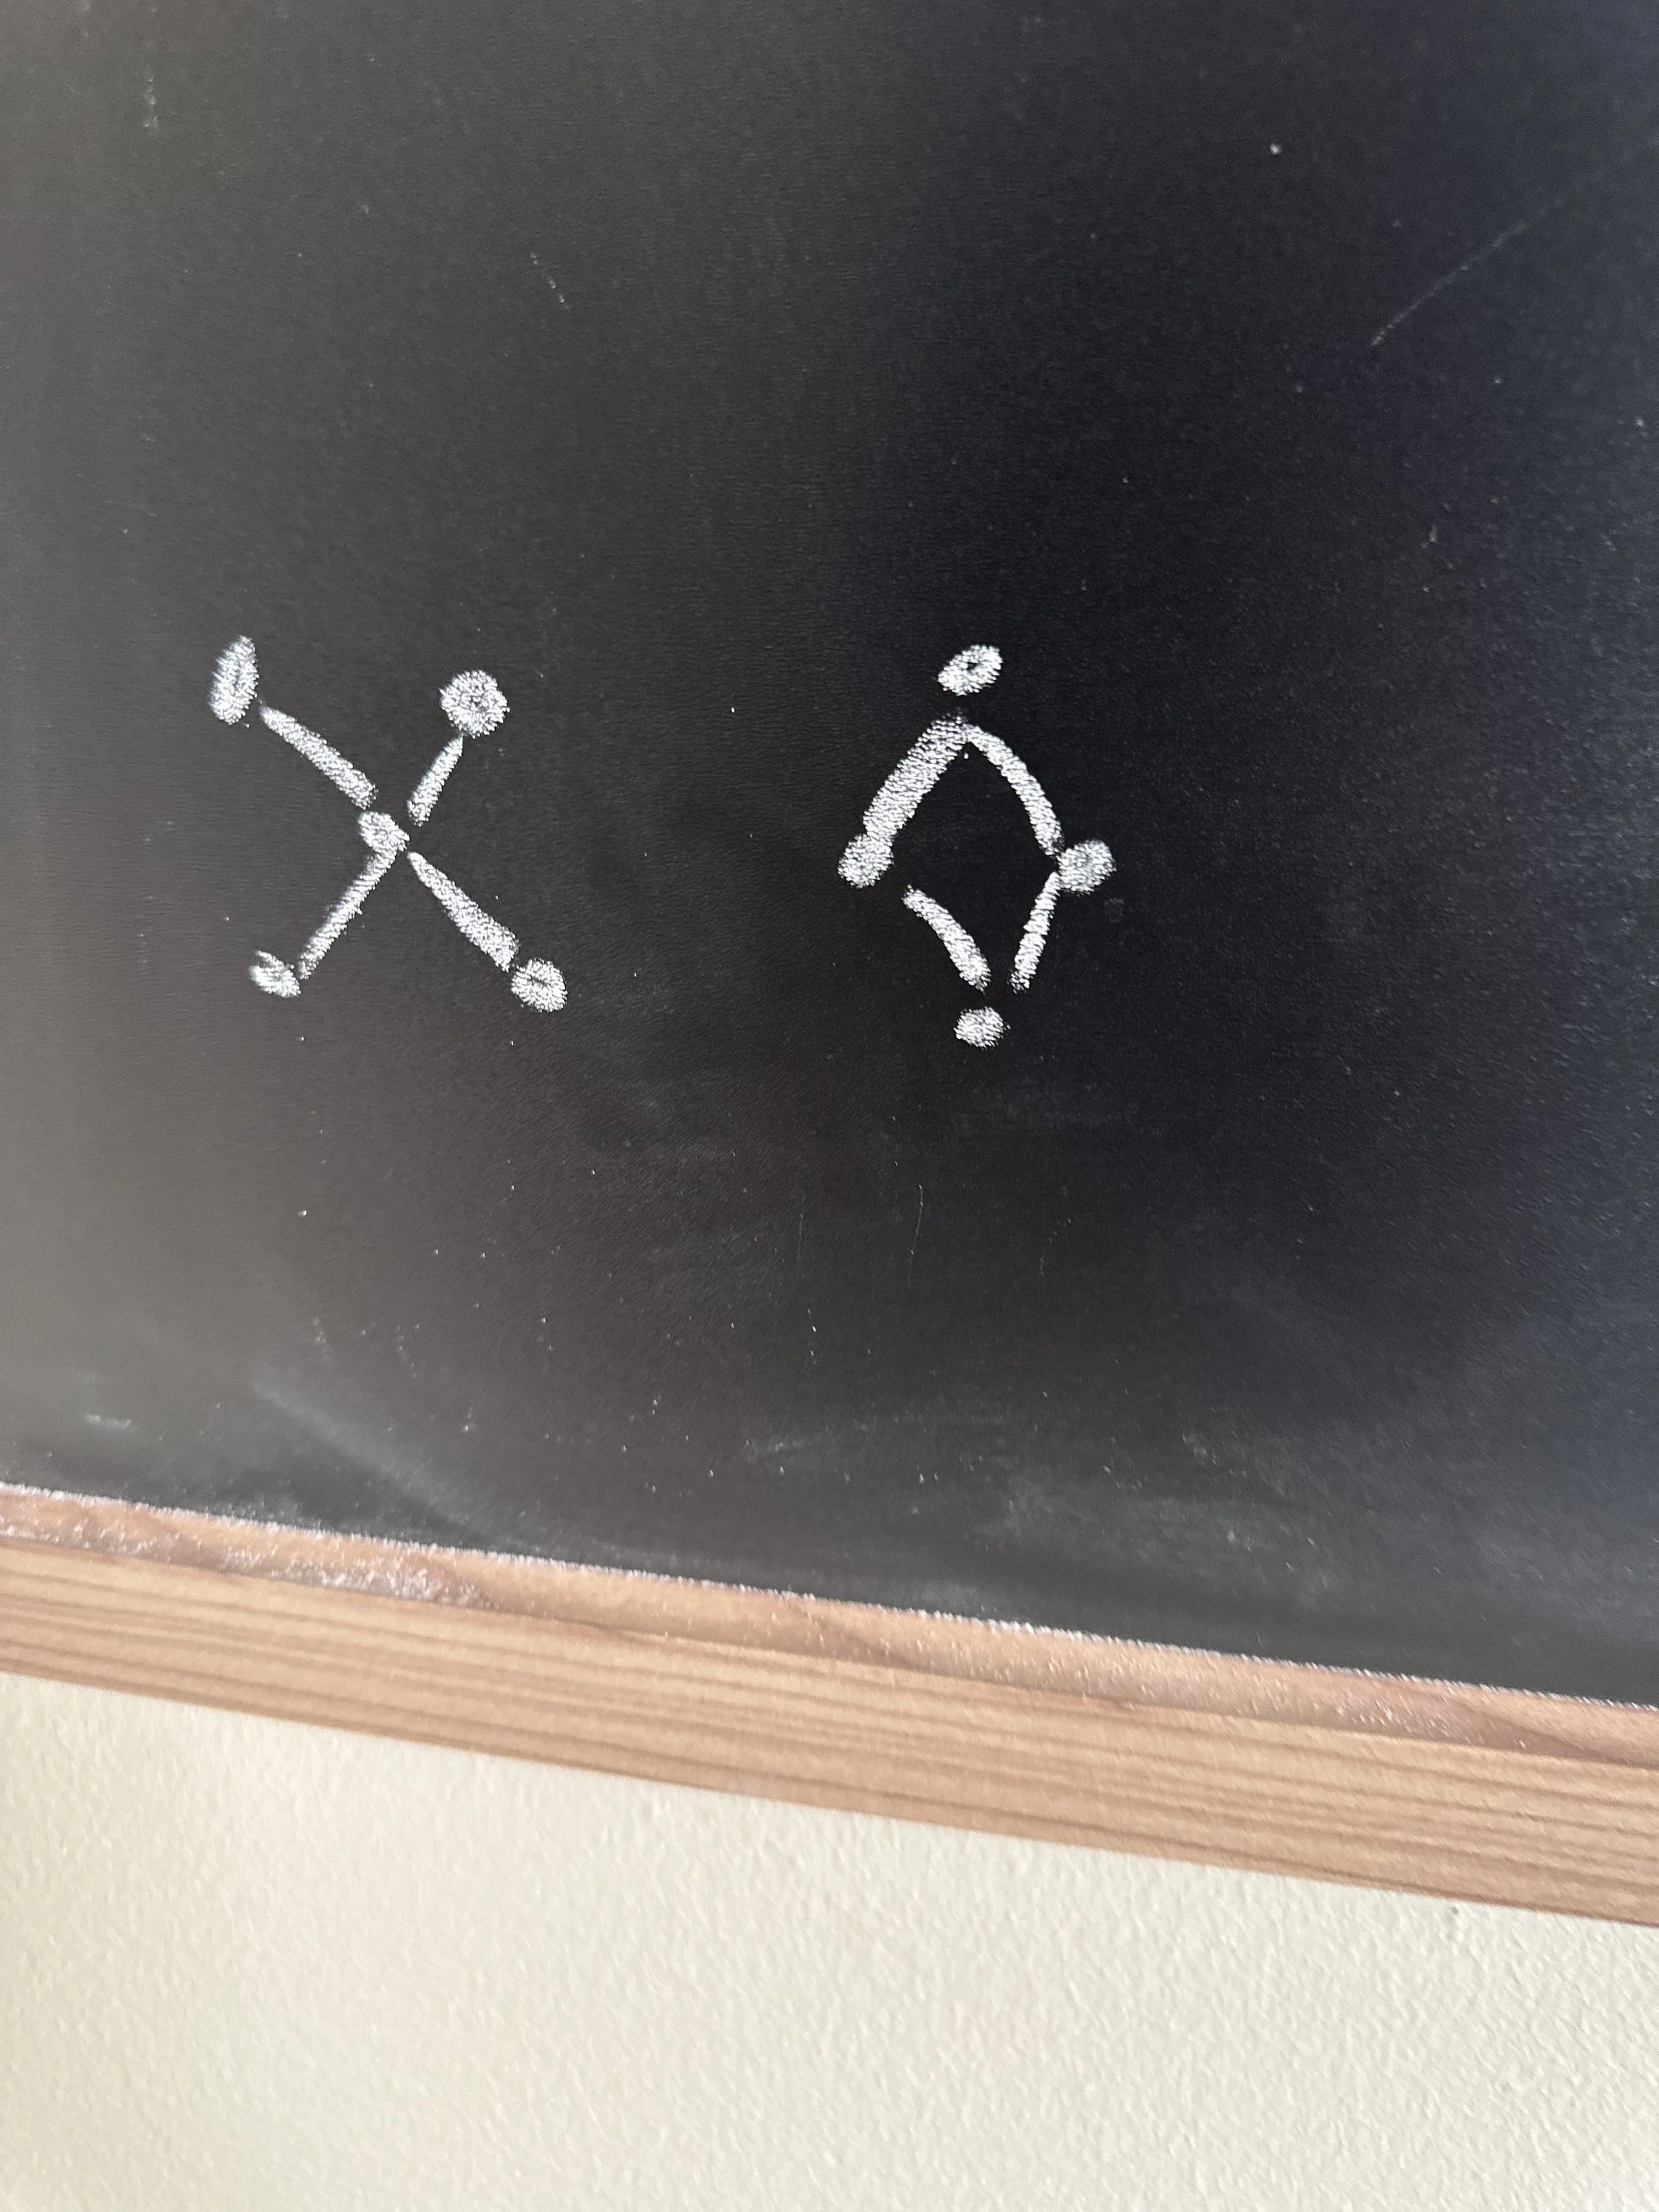
The same day, I met with Nava, during the applications break, and we came up with a rough sketch. While we cannot fully show the electron cloud model, we decided to use LED strip lights and animate it to show that the position of the electron cannot be determined with certainty. We decided to work on a game based on the hydrogen atom.
Then on Friday, we decided to meet and come up with a more detailed plan and an itemized of everything that we will need for our project.
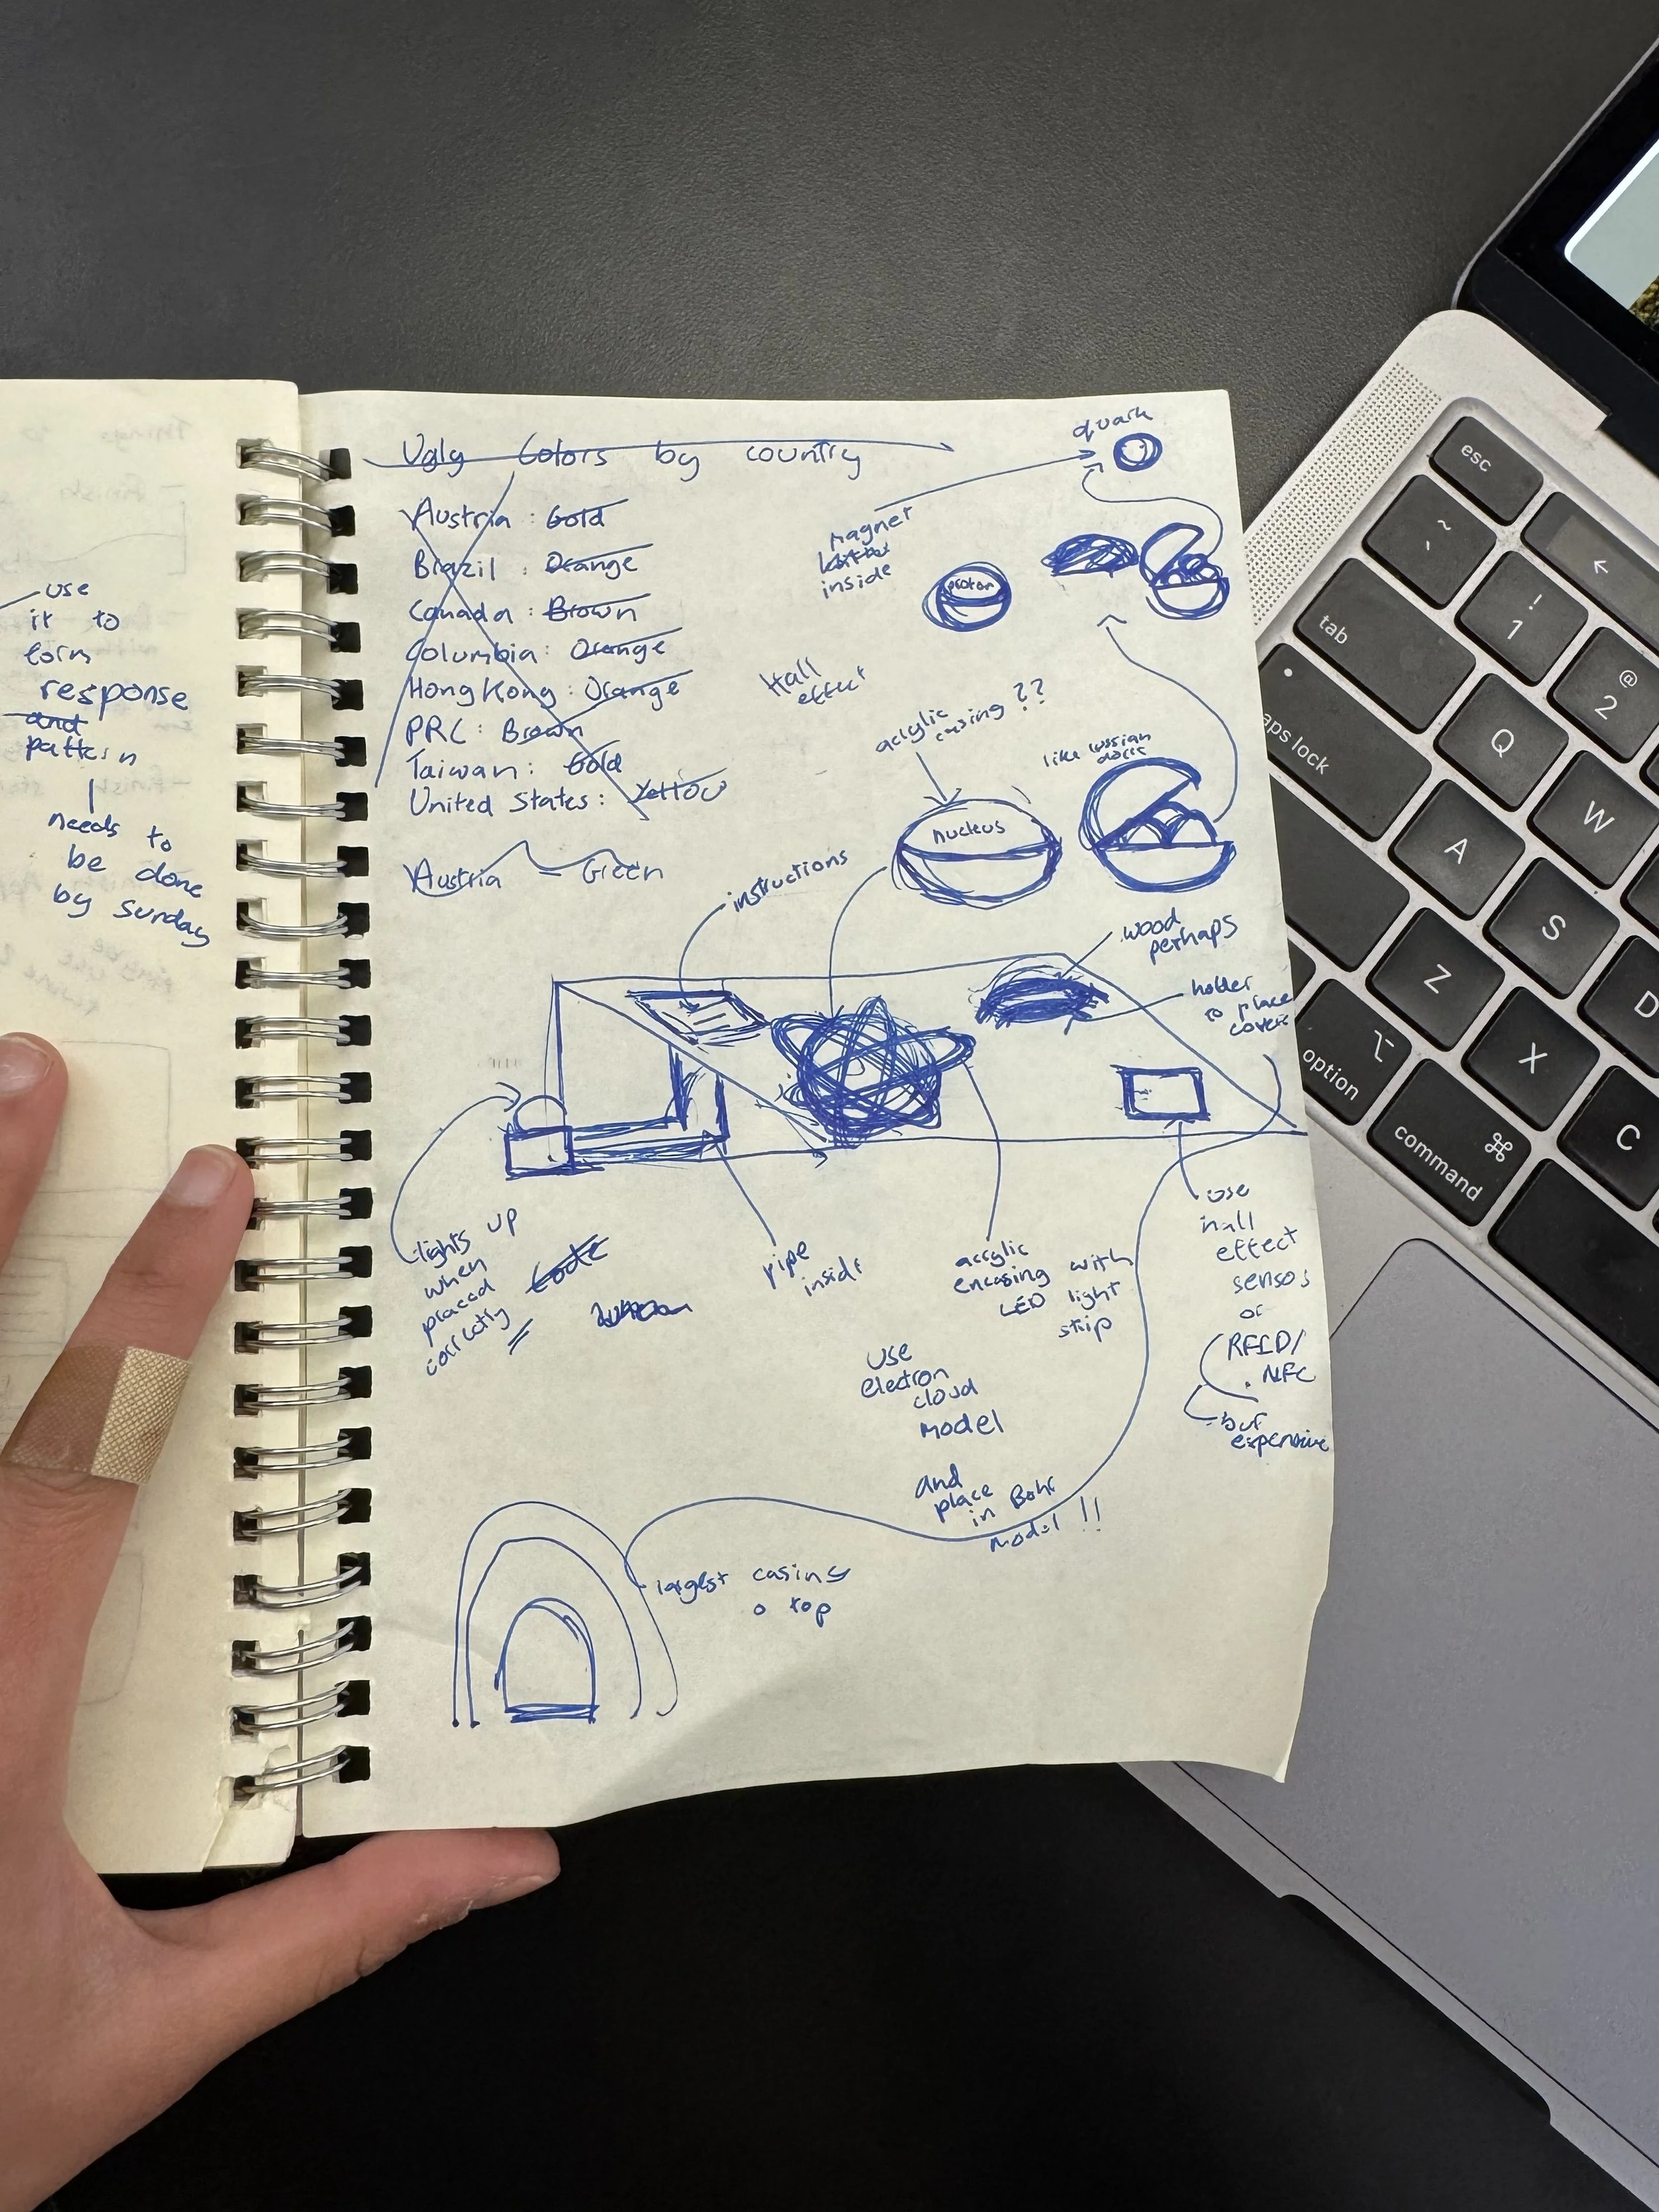
As well as a sketch of the game in more details.
I asked Ian, if I could use his RFID/NFC sensor to test it out, and he let me use it. But, I wasn’t able to test it out on Friday and Saturday.
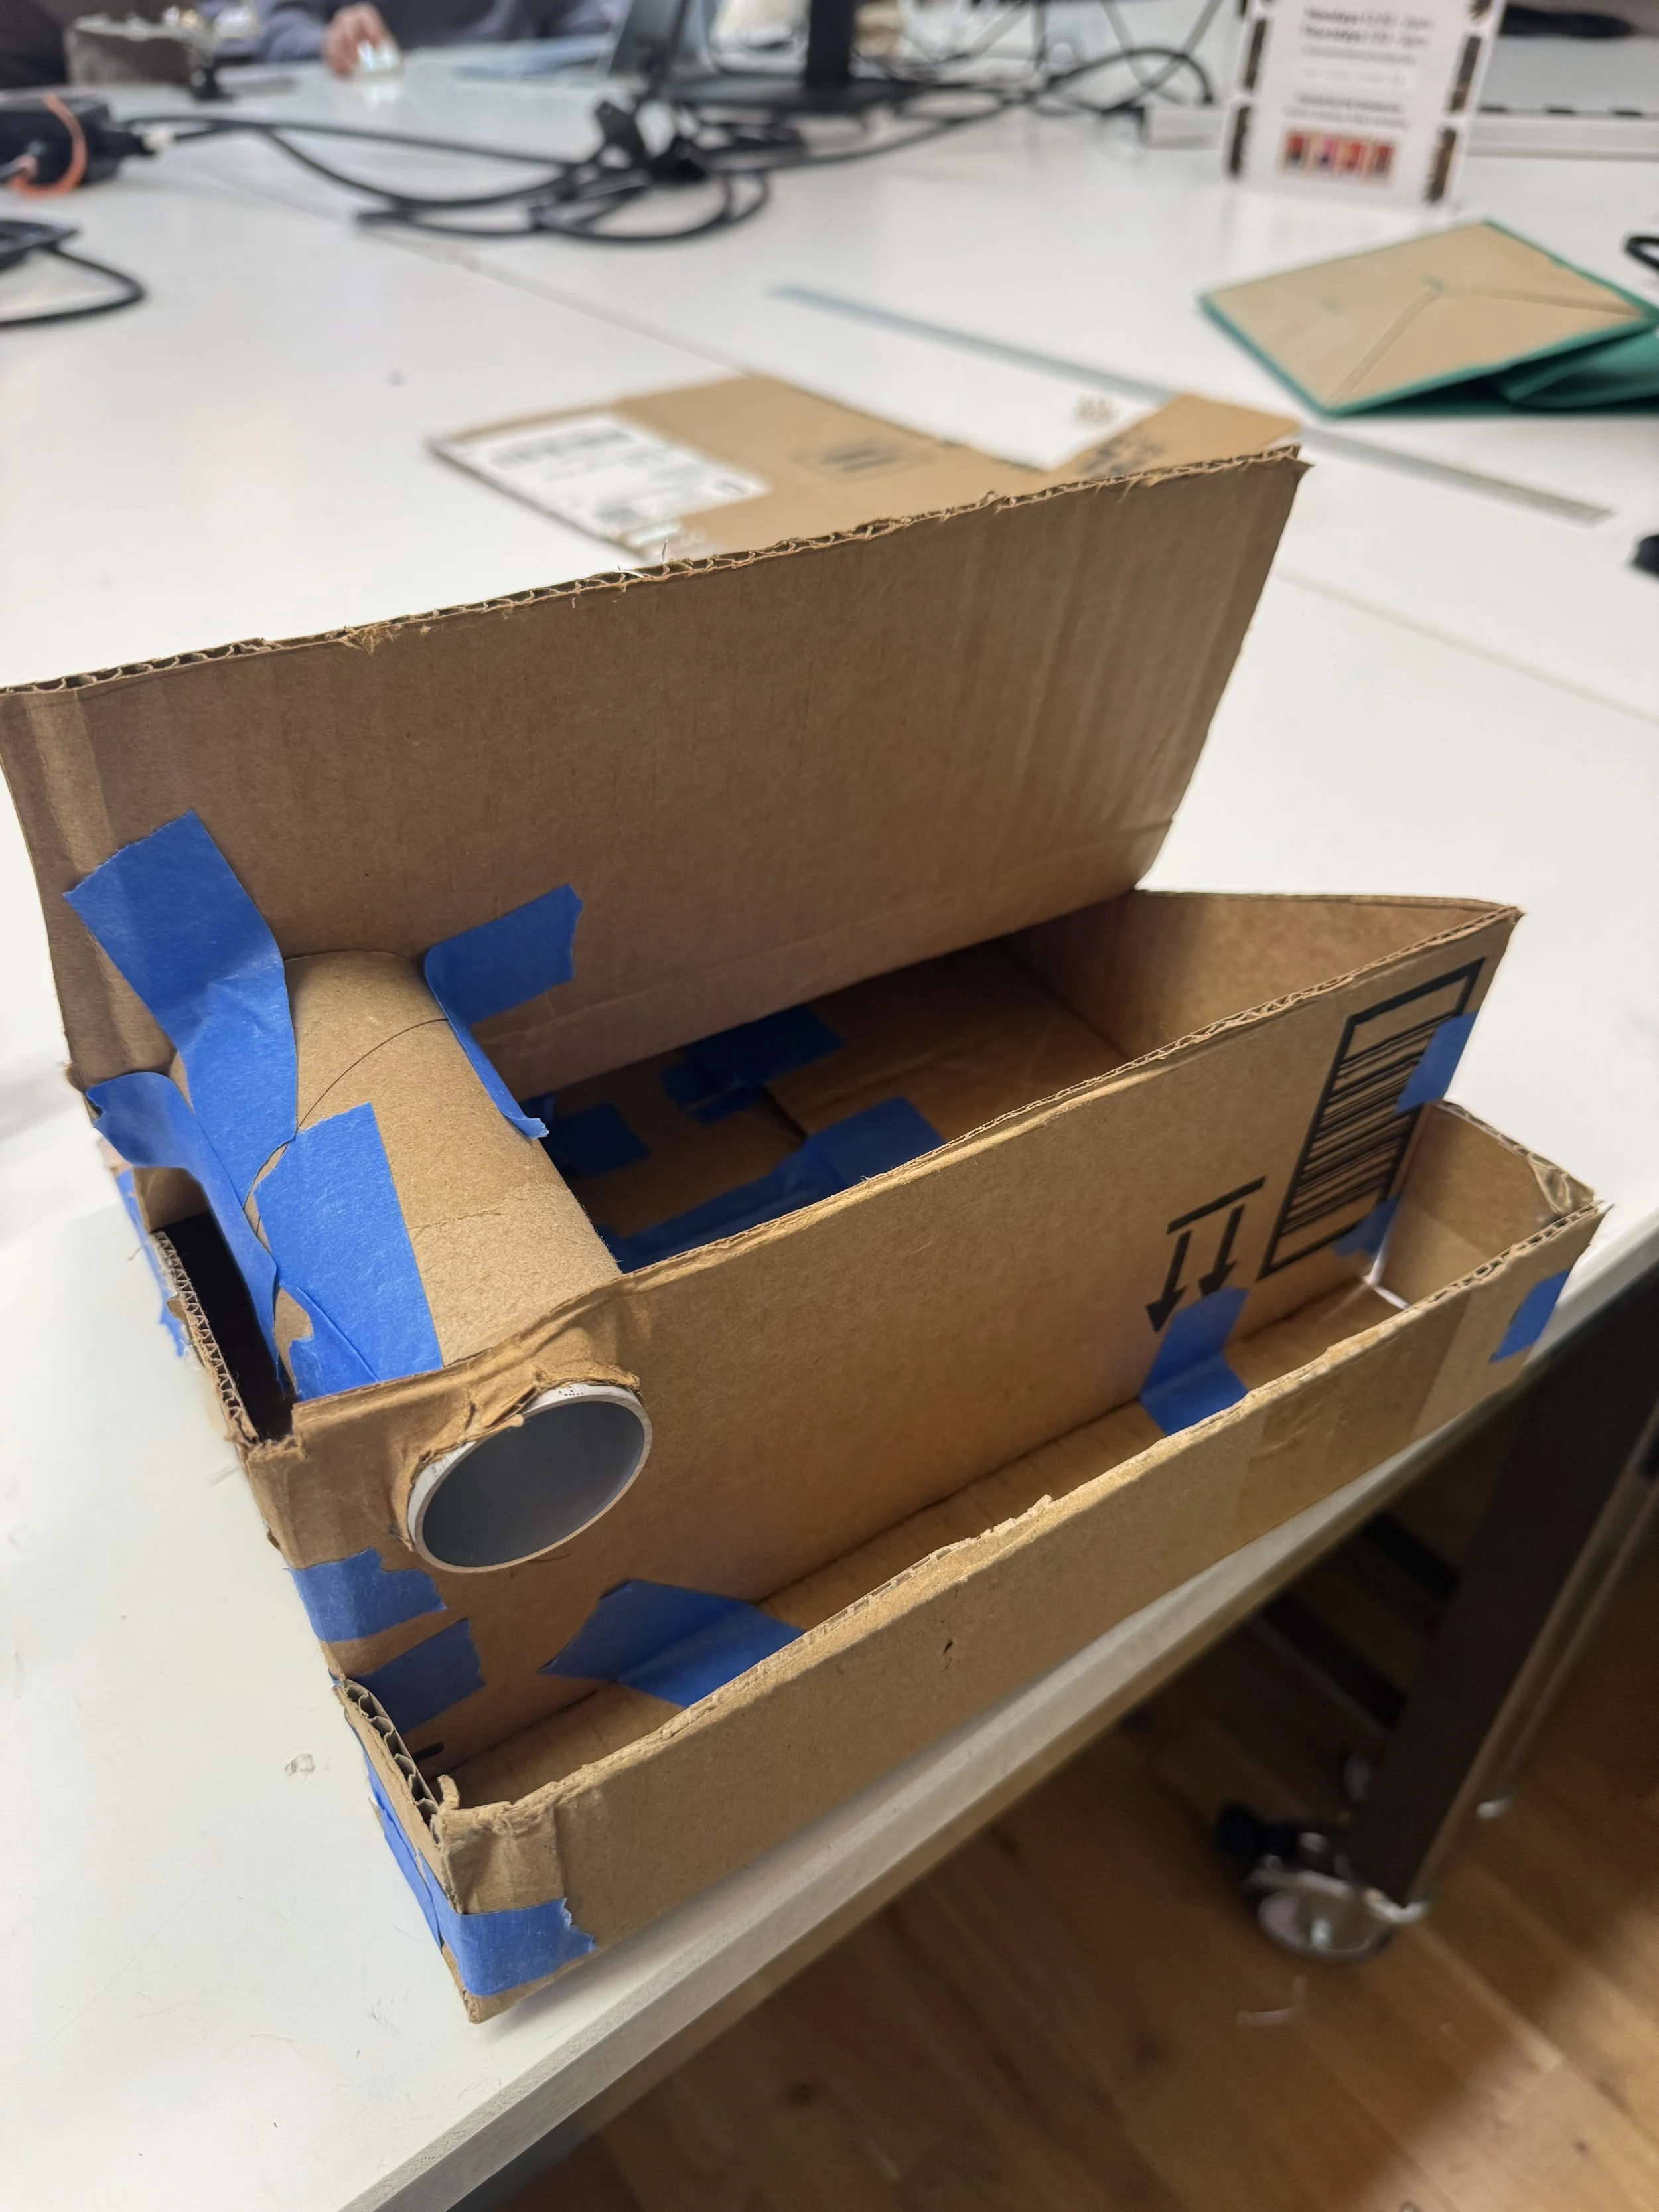
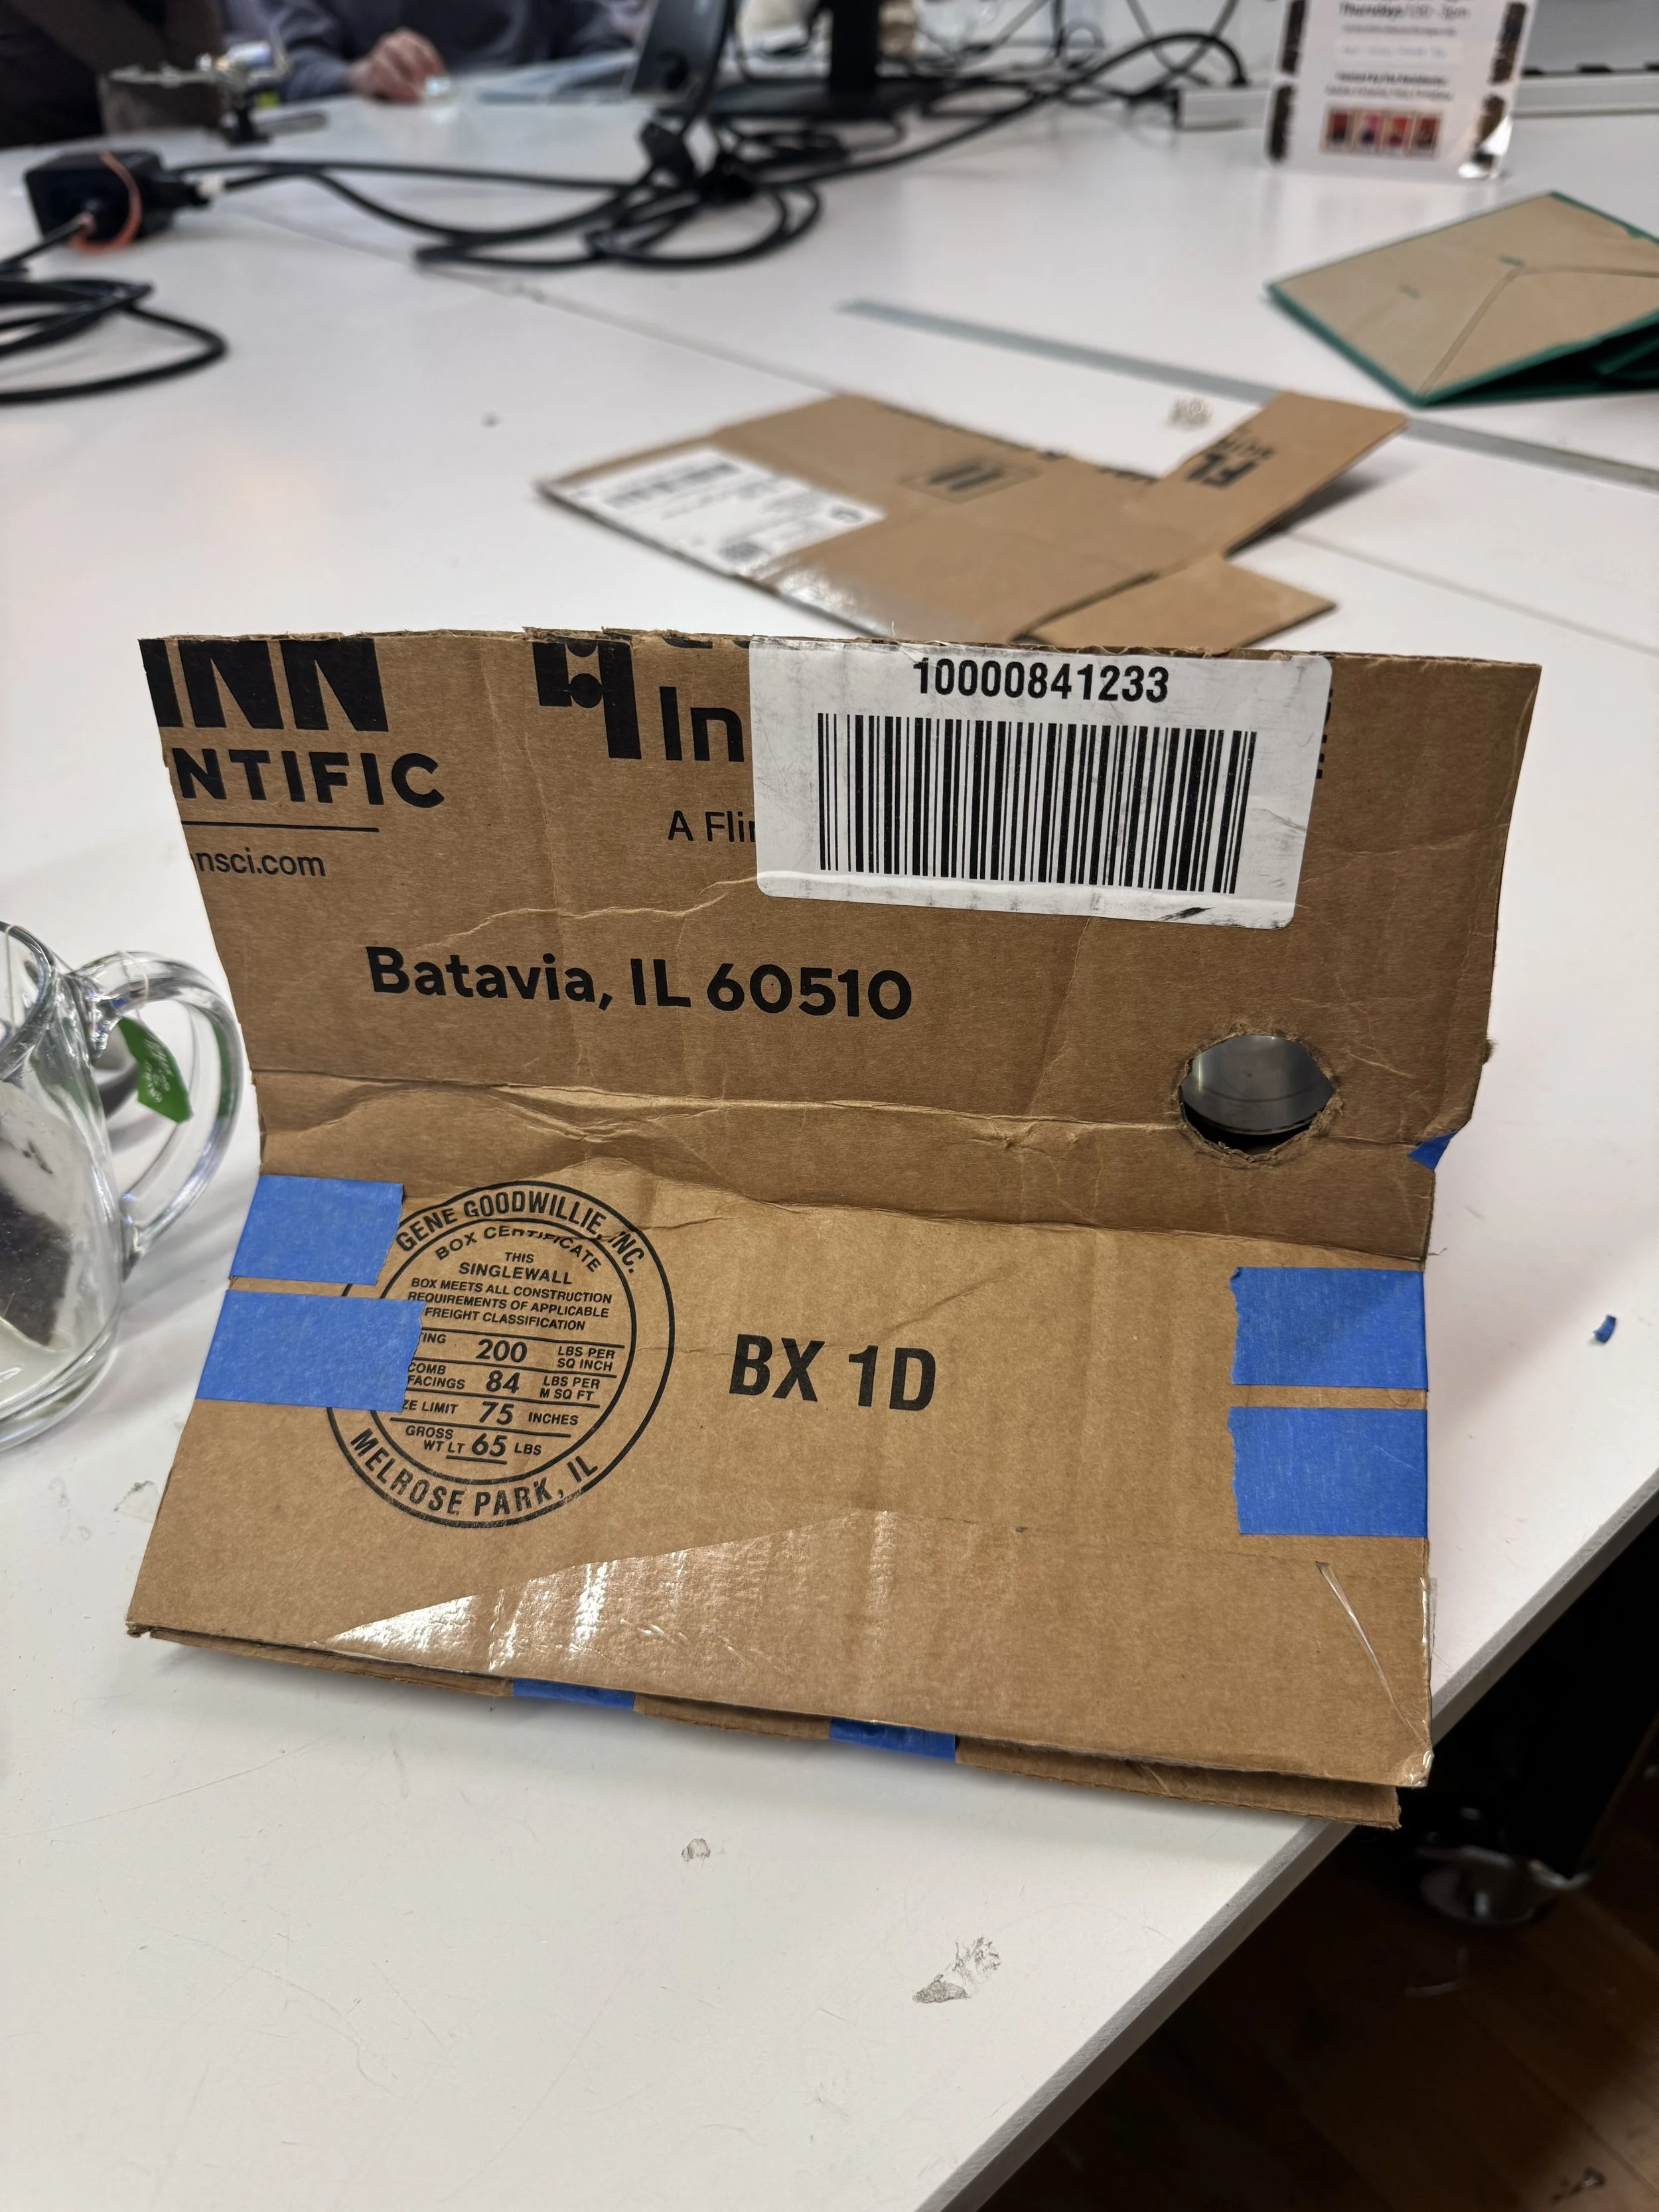
Then on Sunday, I started using cardboard to prototype the project. I spoke with Prisha on Sunday, and she introduced me to Hall effect sensors for my midterm. I explained to her my project in detail, and she told me to try out the Hall effect sensor for this project. I prefer the hall effect sensor over the RFID/NFC sensor because the RFID/NFC sensors have expensive readers.
She told me to check out her exhibit, “Girl Time “, to see how the Hall effect sensors are fabricated, which gave me a pretty good idea as to how to fabricate them in my game. Nevertheless, on Monday, I had office hours booked with Ian to understand more about what parts and methods I should use to fabricate my project.
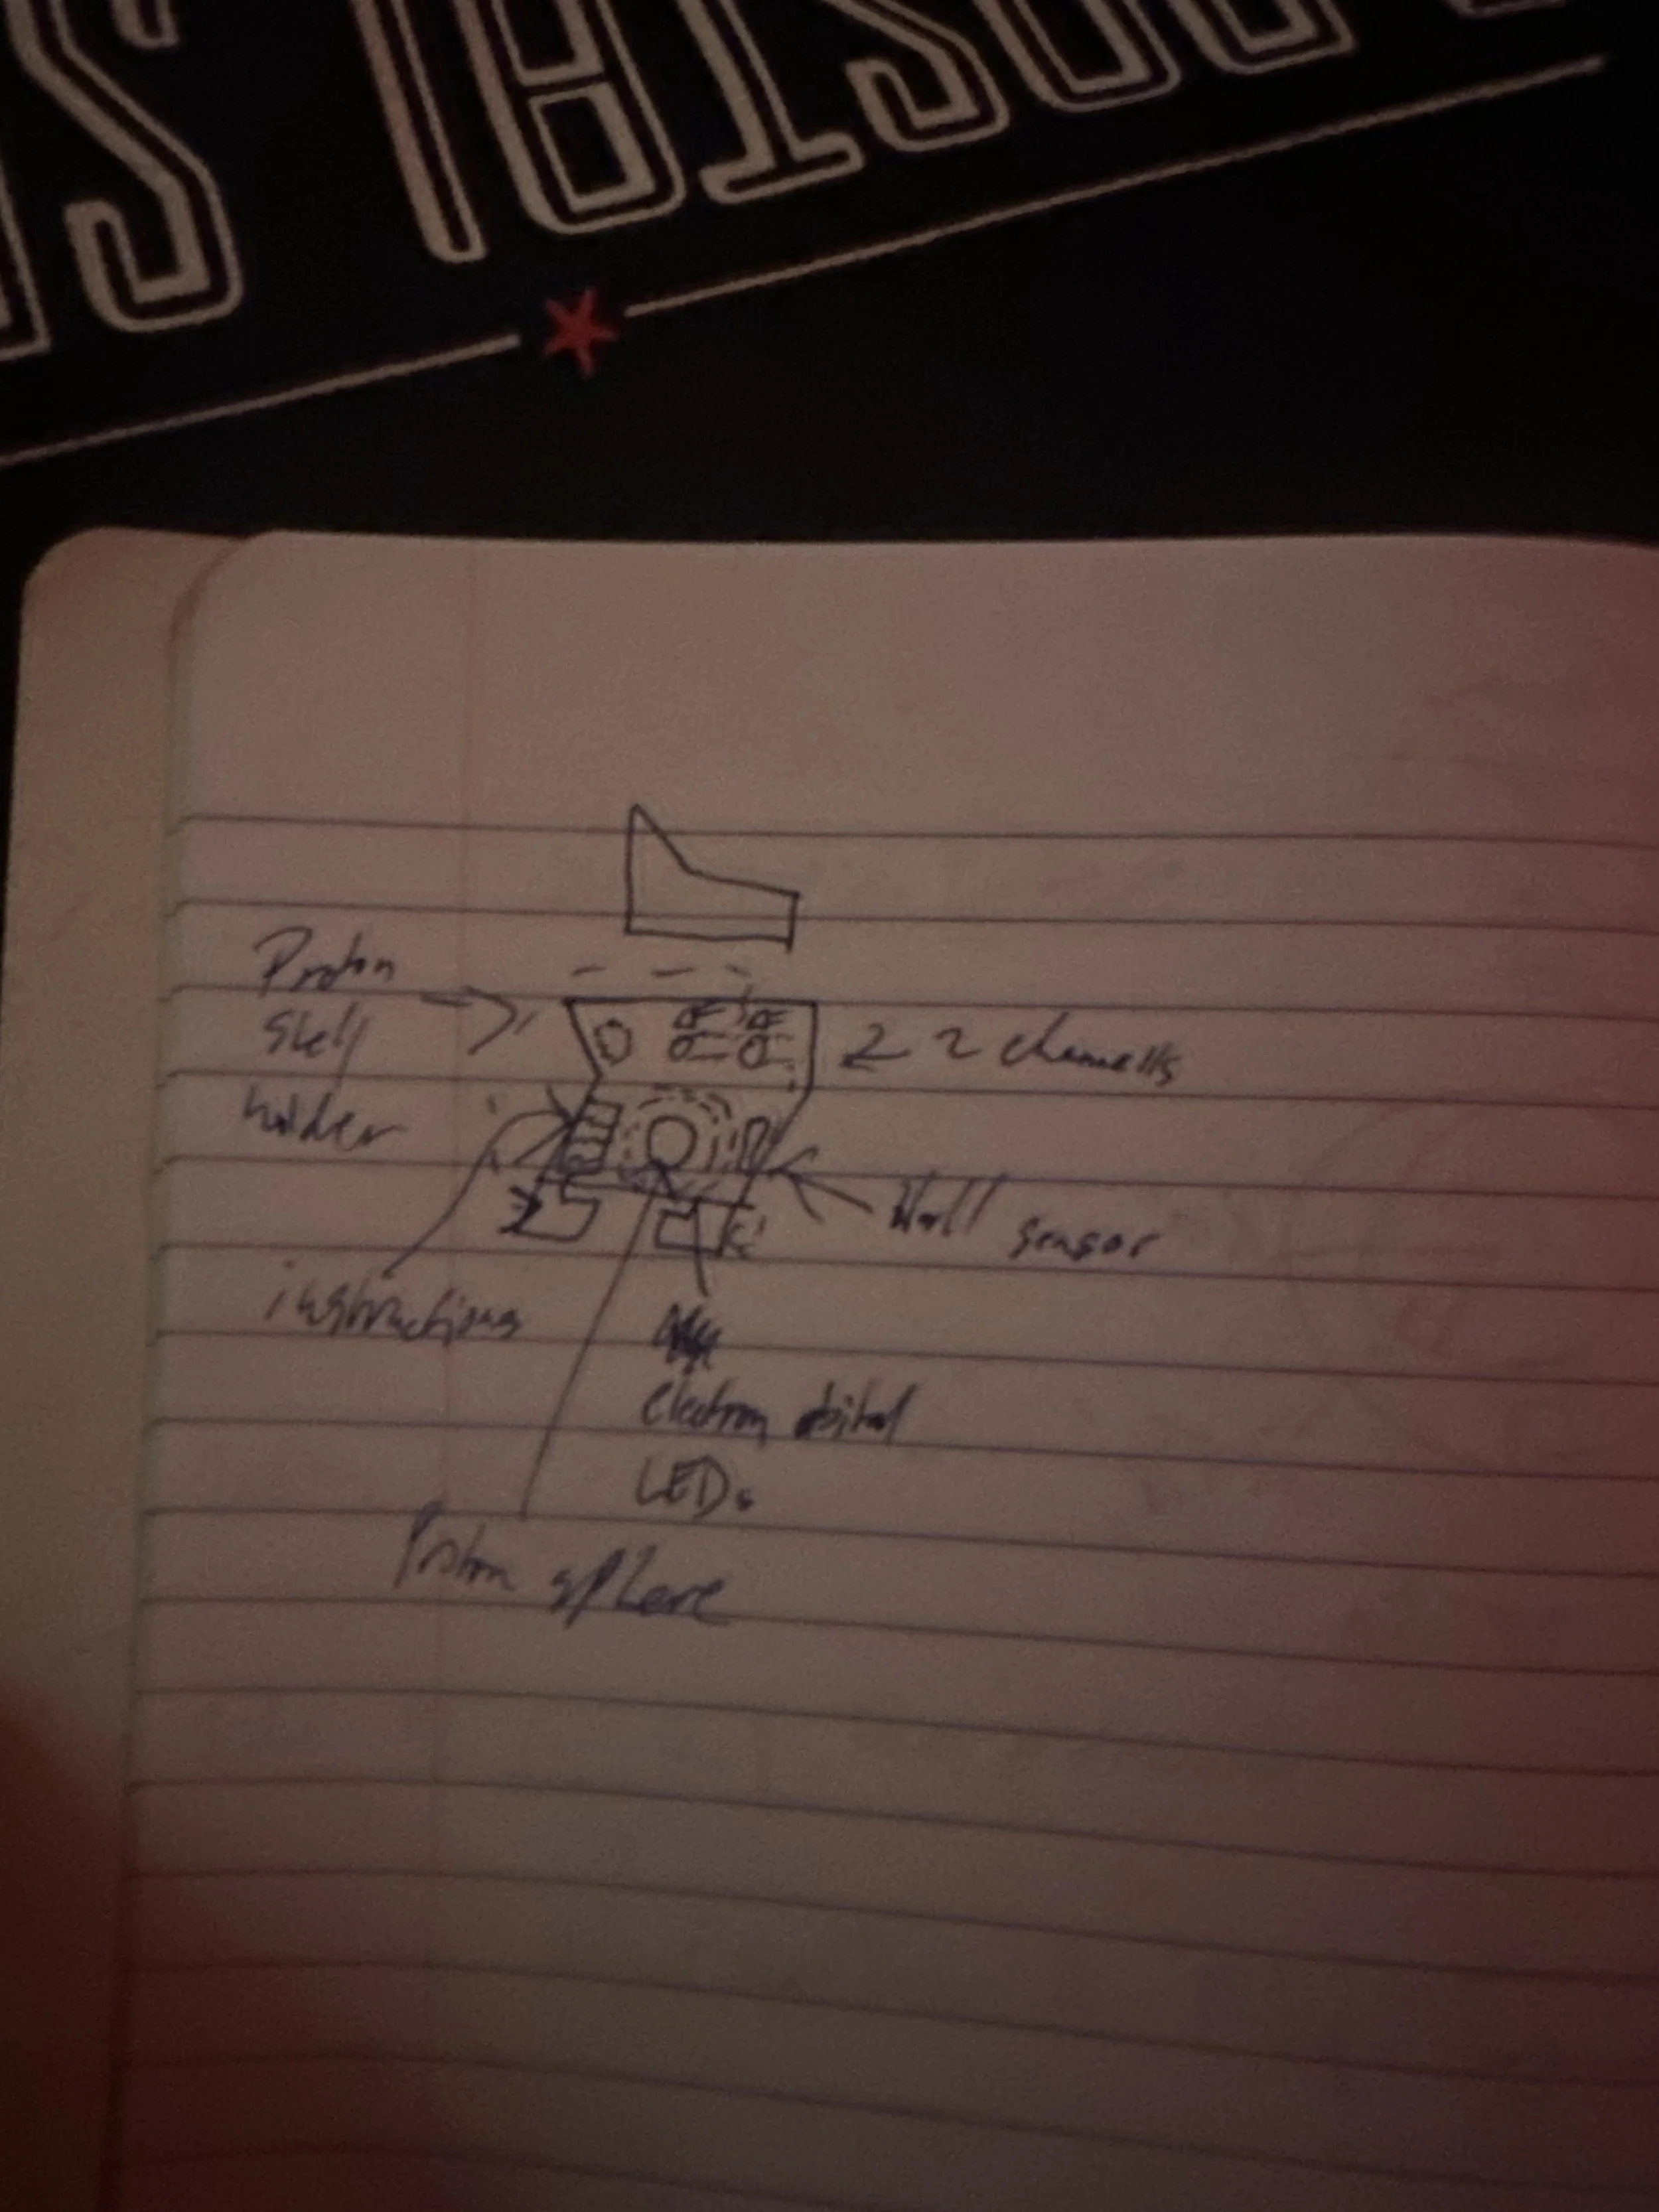
Nava realised quickly that the hydrogen atom has only a proton and no neutron, and came up with the idea that we can have two pipes to sort the up and down quarks separately. Nava suggested that as we add the quark in, the system would try to sort it out itself, but I thought it should be more of a mechanic where the LED over/on the pipe lights up and the user puts the up or down quark through the pipe.
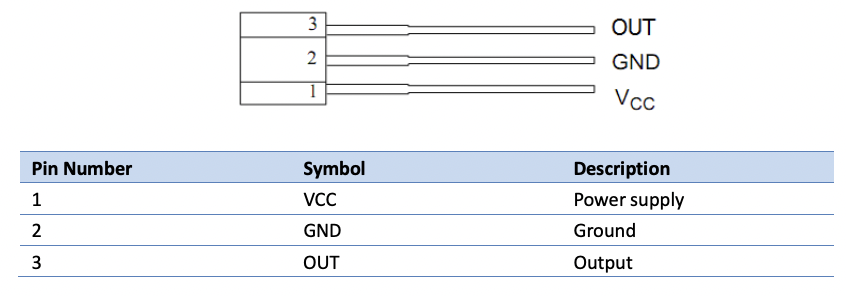
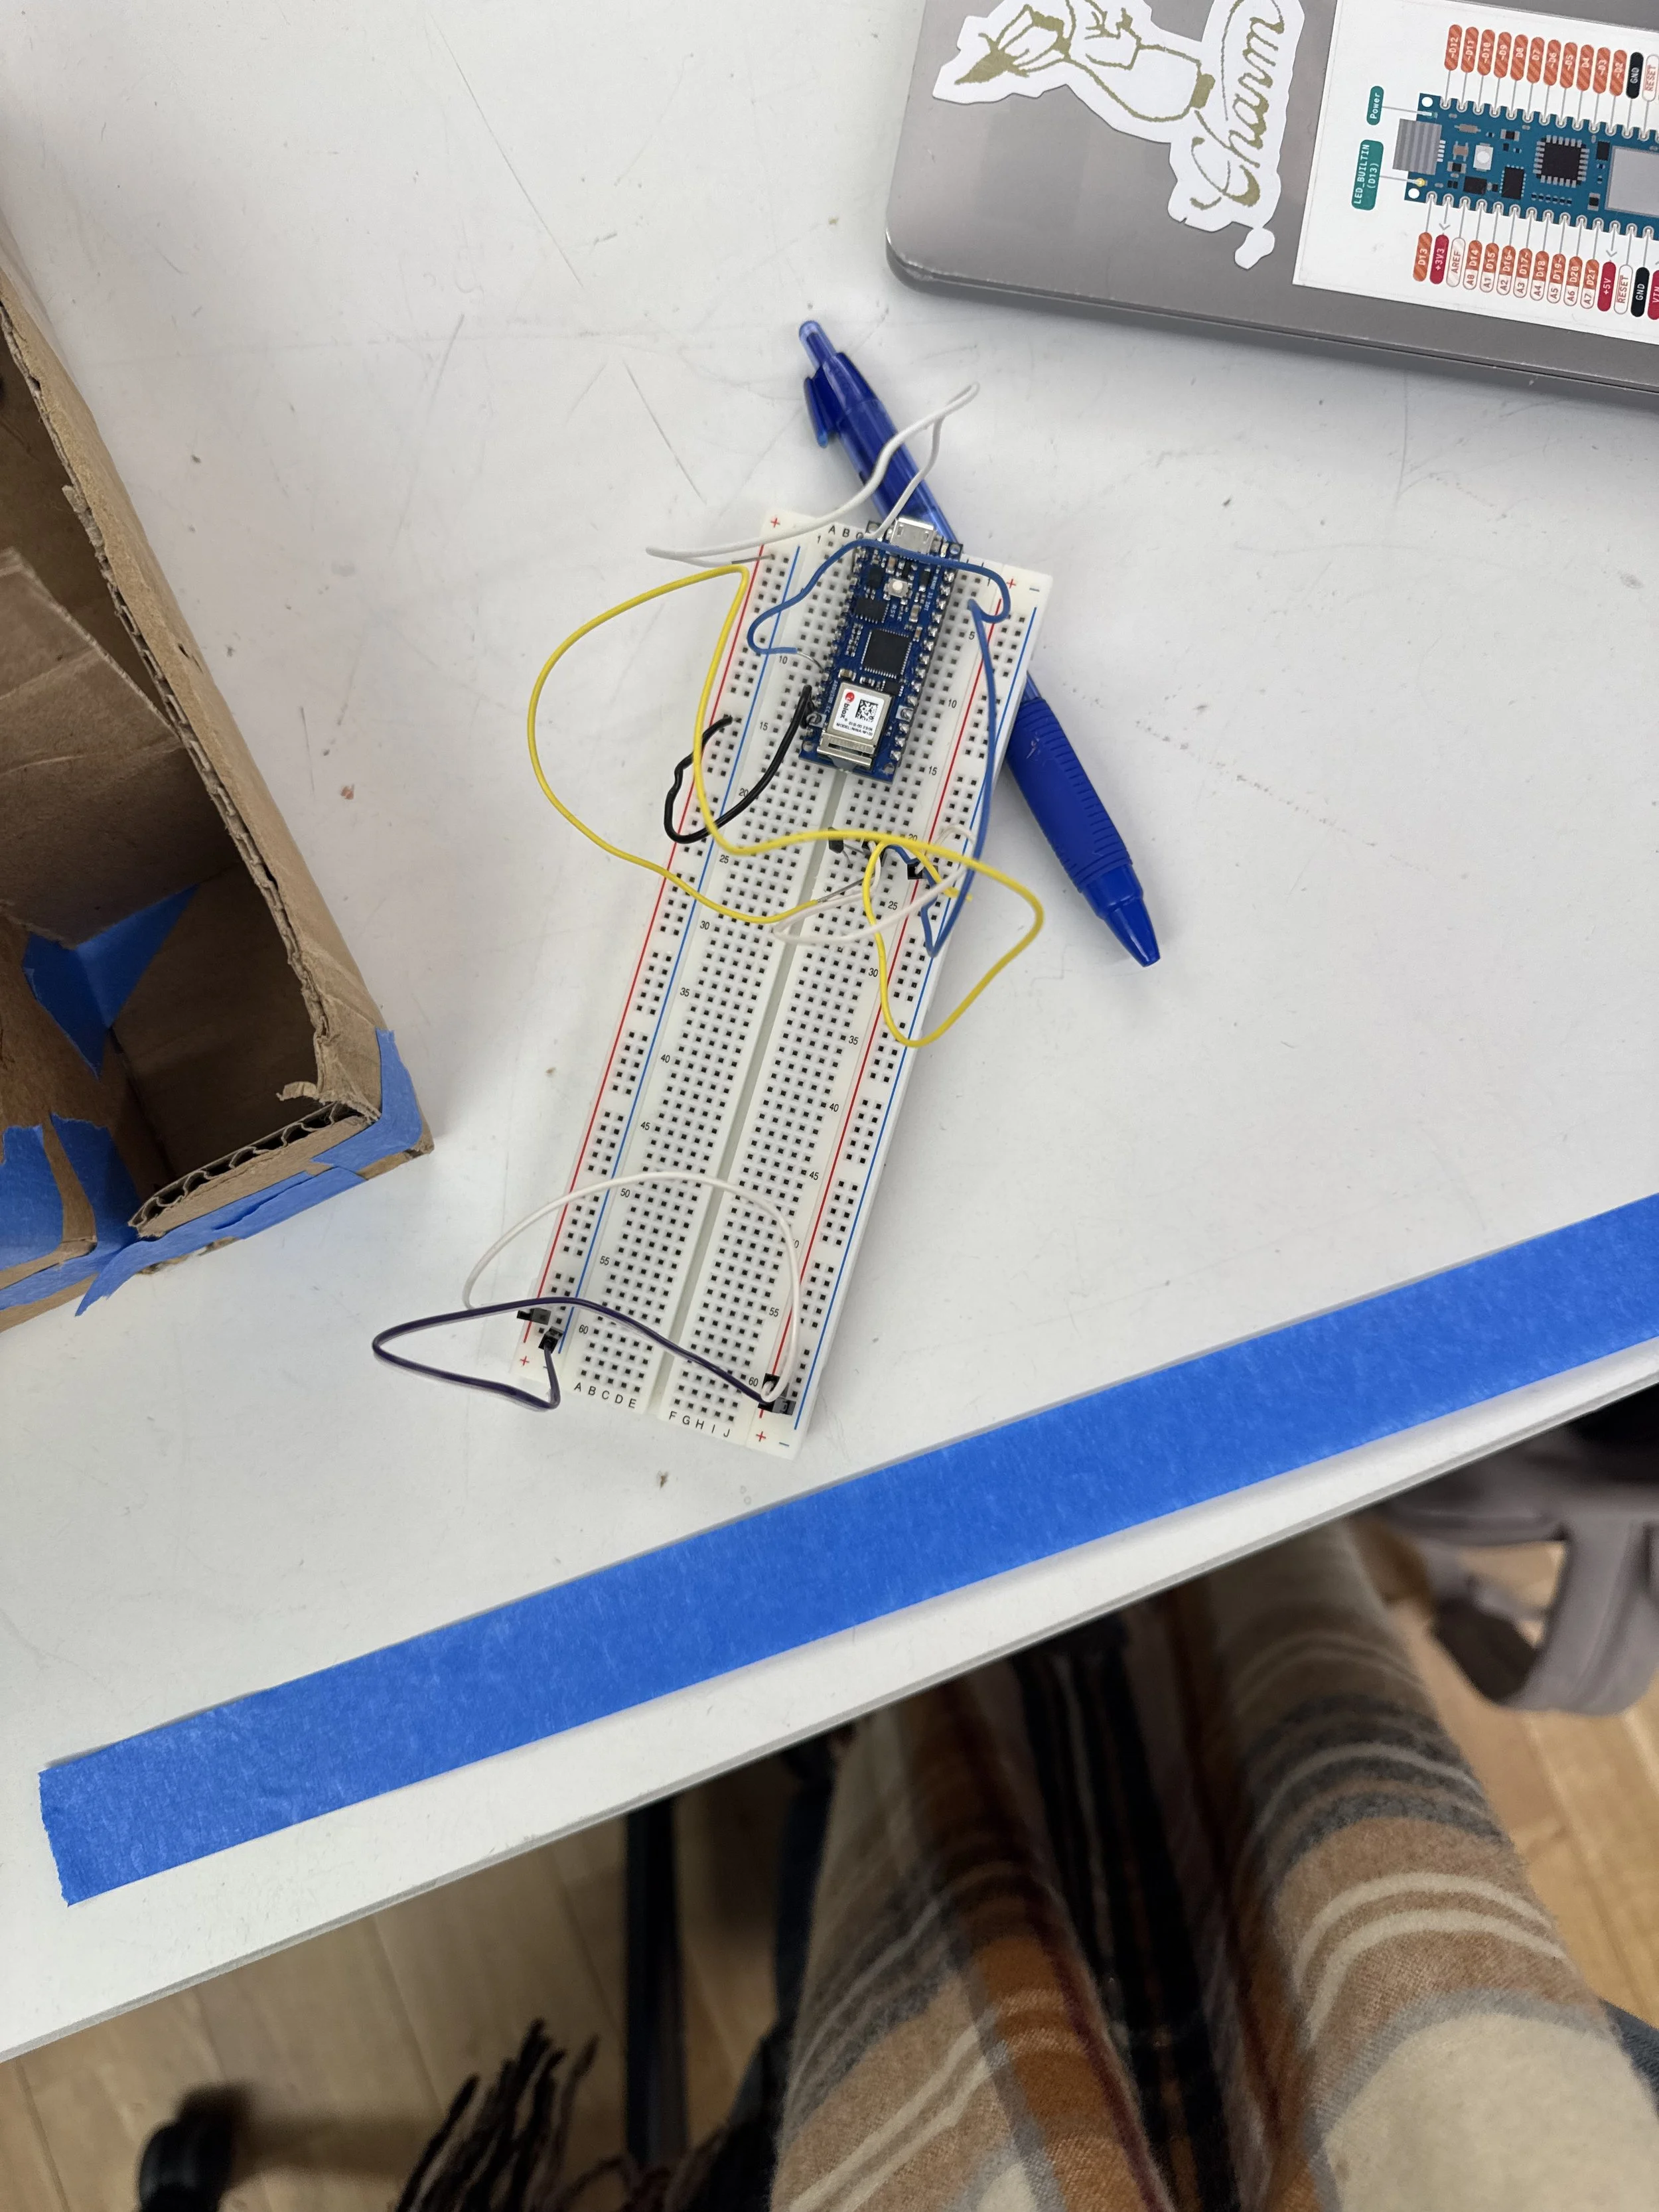
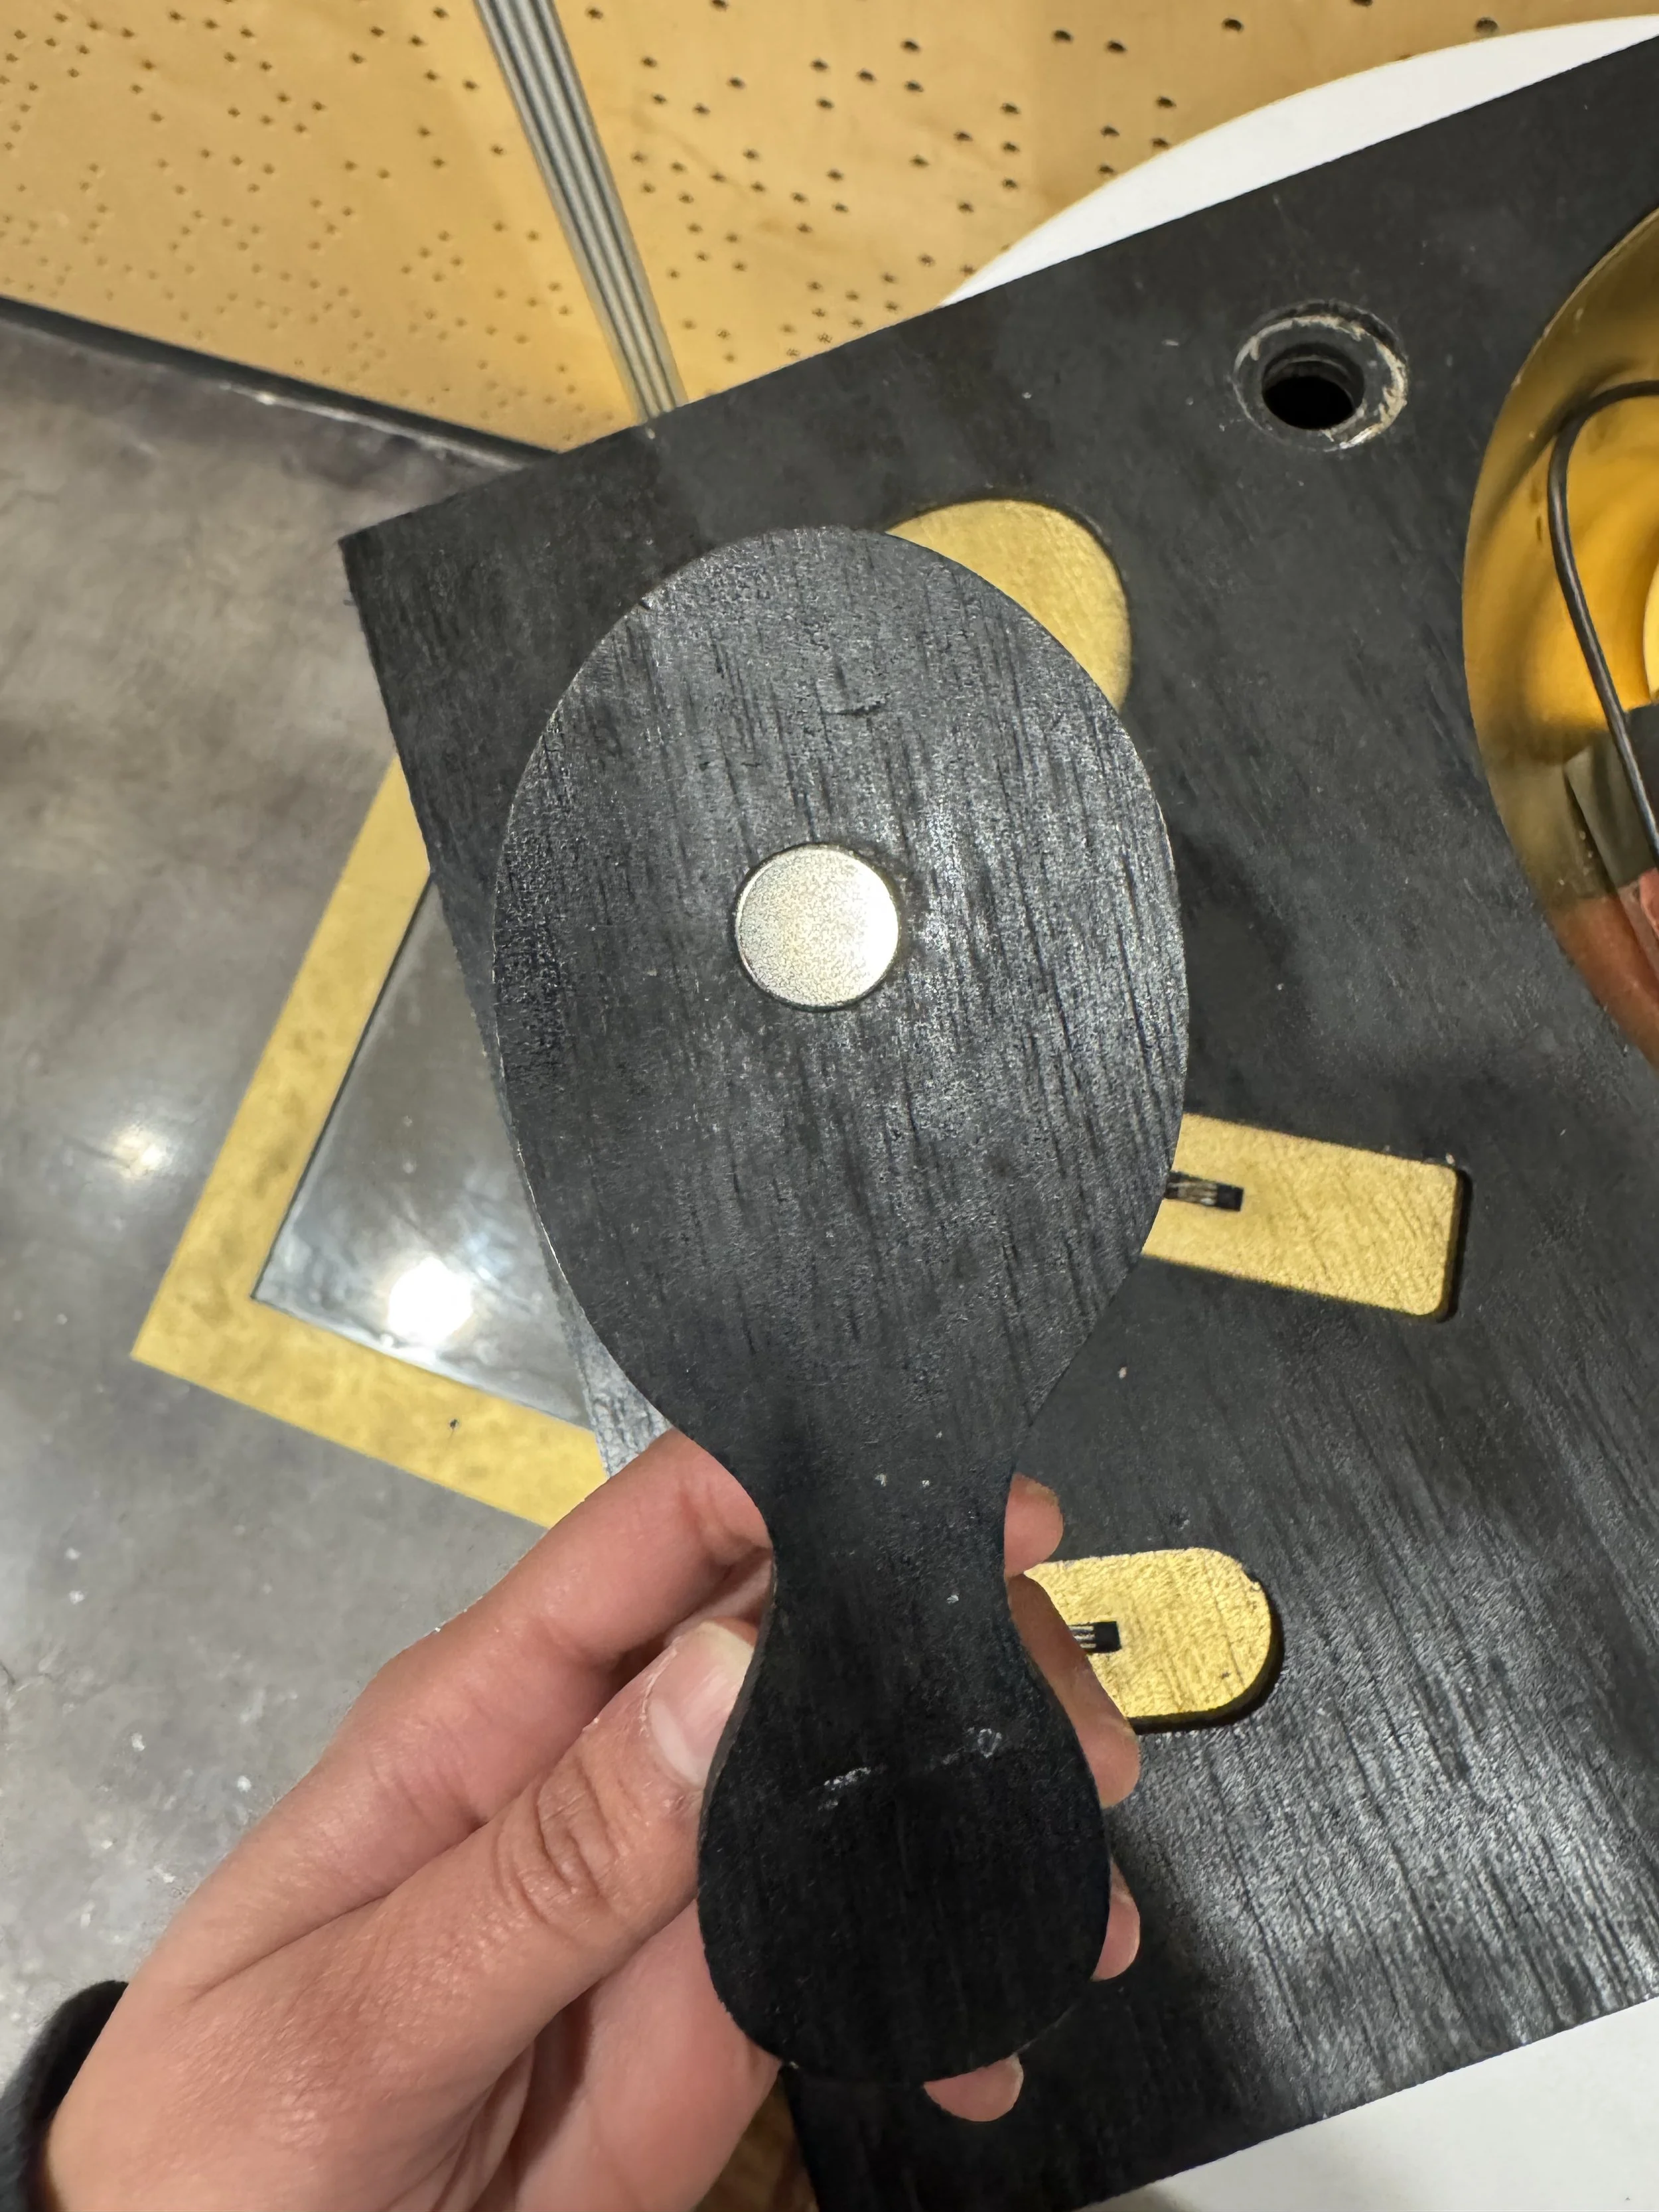
On Sunday, based on the datasheet, I wired up the hall effect sensor, and I made Prisha check my wiring for it. She told me I should use a pull-down resistor of 1K or 10K ohms resistance and try out craft or neodymium magnets. She told me to be really careful while using neodymium magnets, because they tend to stick together often, and the shards of magnets can get in your eyes.
Then on Monday, I had office hours with Christina Tang, who gave me really good advice, something that Nava also mentioned after the audience interaction in the class, that while the ITP audience is a good way to start projects, it’s more important to look at how projects would impact a general audience. She also told me that while scanning and reconstruction, it is important to have some feature that informs users what a quark is, or what a neutron is, etc. She suggested that we have the Bohr model and the cloud model in the game, since in many schools, they learn the Bohr model first. She said to use the quarks from the cloud model for deconstructing and constructing it into the Bohr model. Nava and I dicussed this further, I liked the idea but the depiction of cloud model itself is hard, the idea right now works better. But I was thinking that a speaker or a p5.js audio element could be added to the circuit, to inform the players, with more details on the parts of an atom.
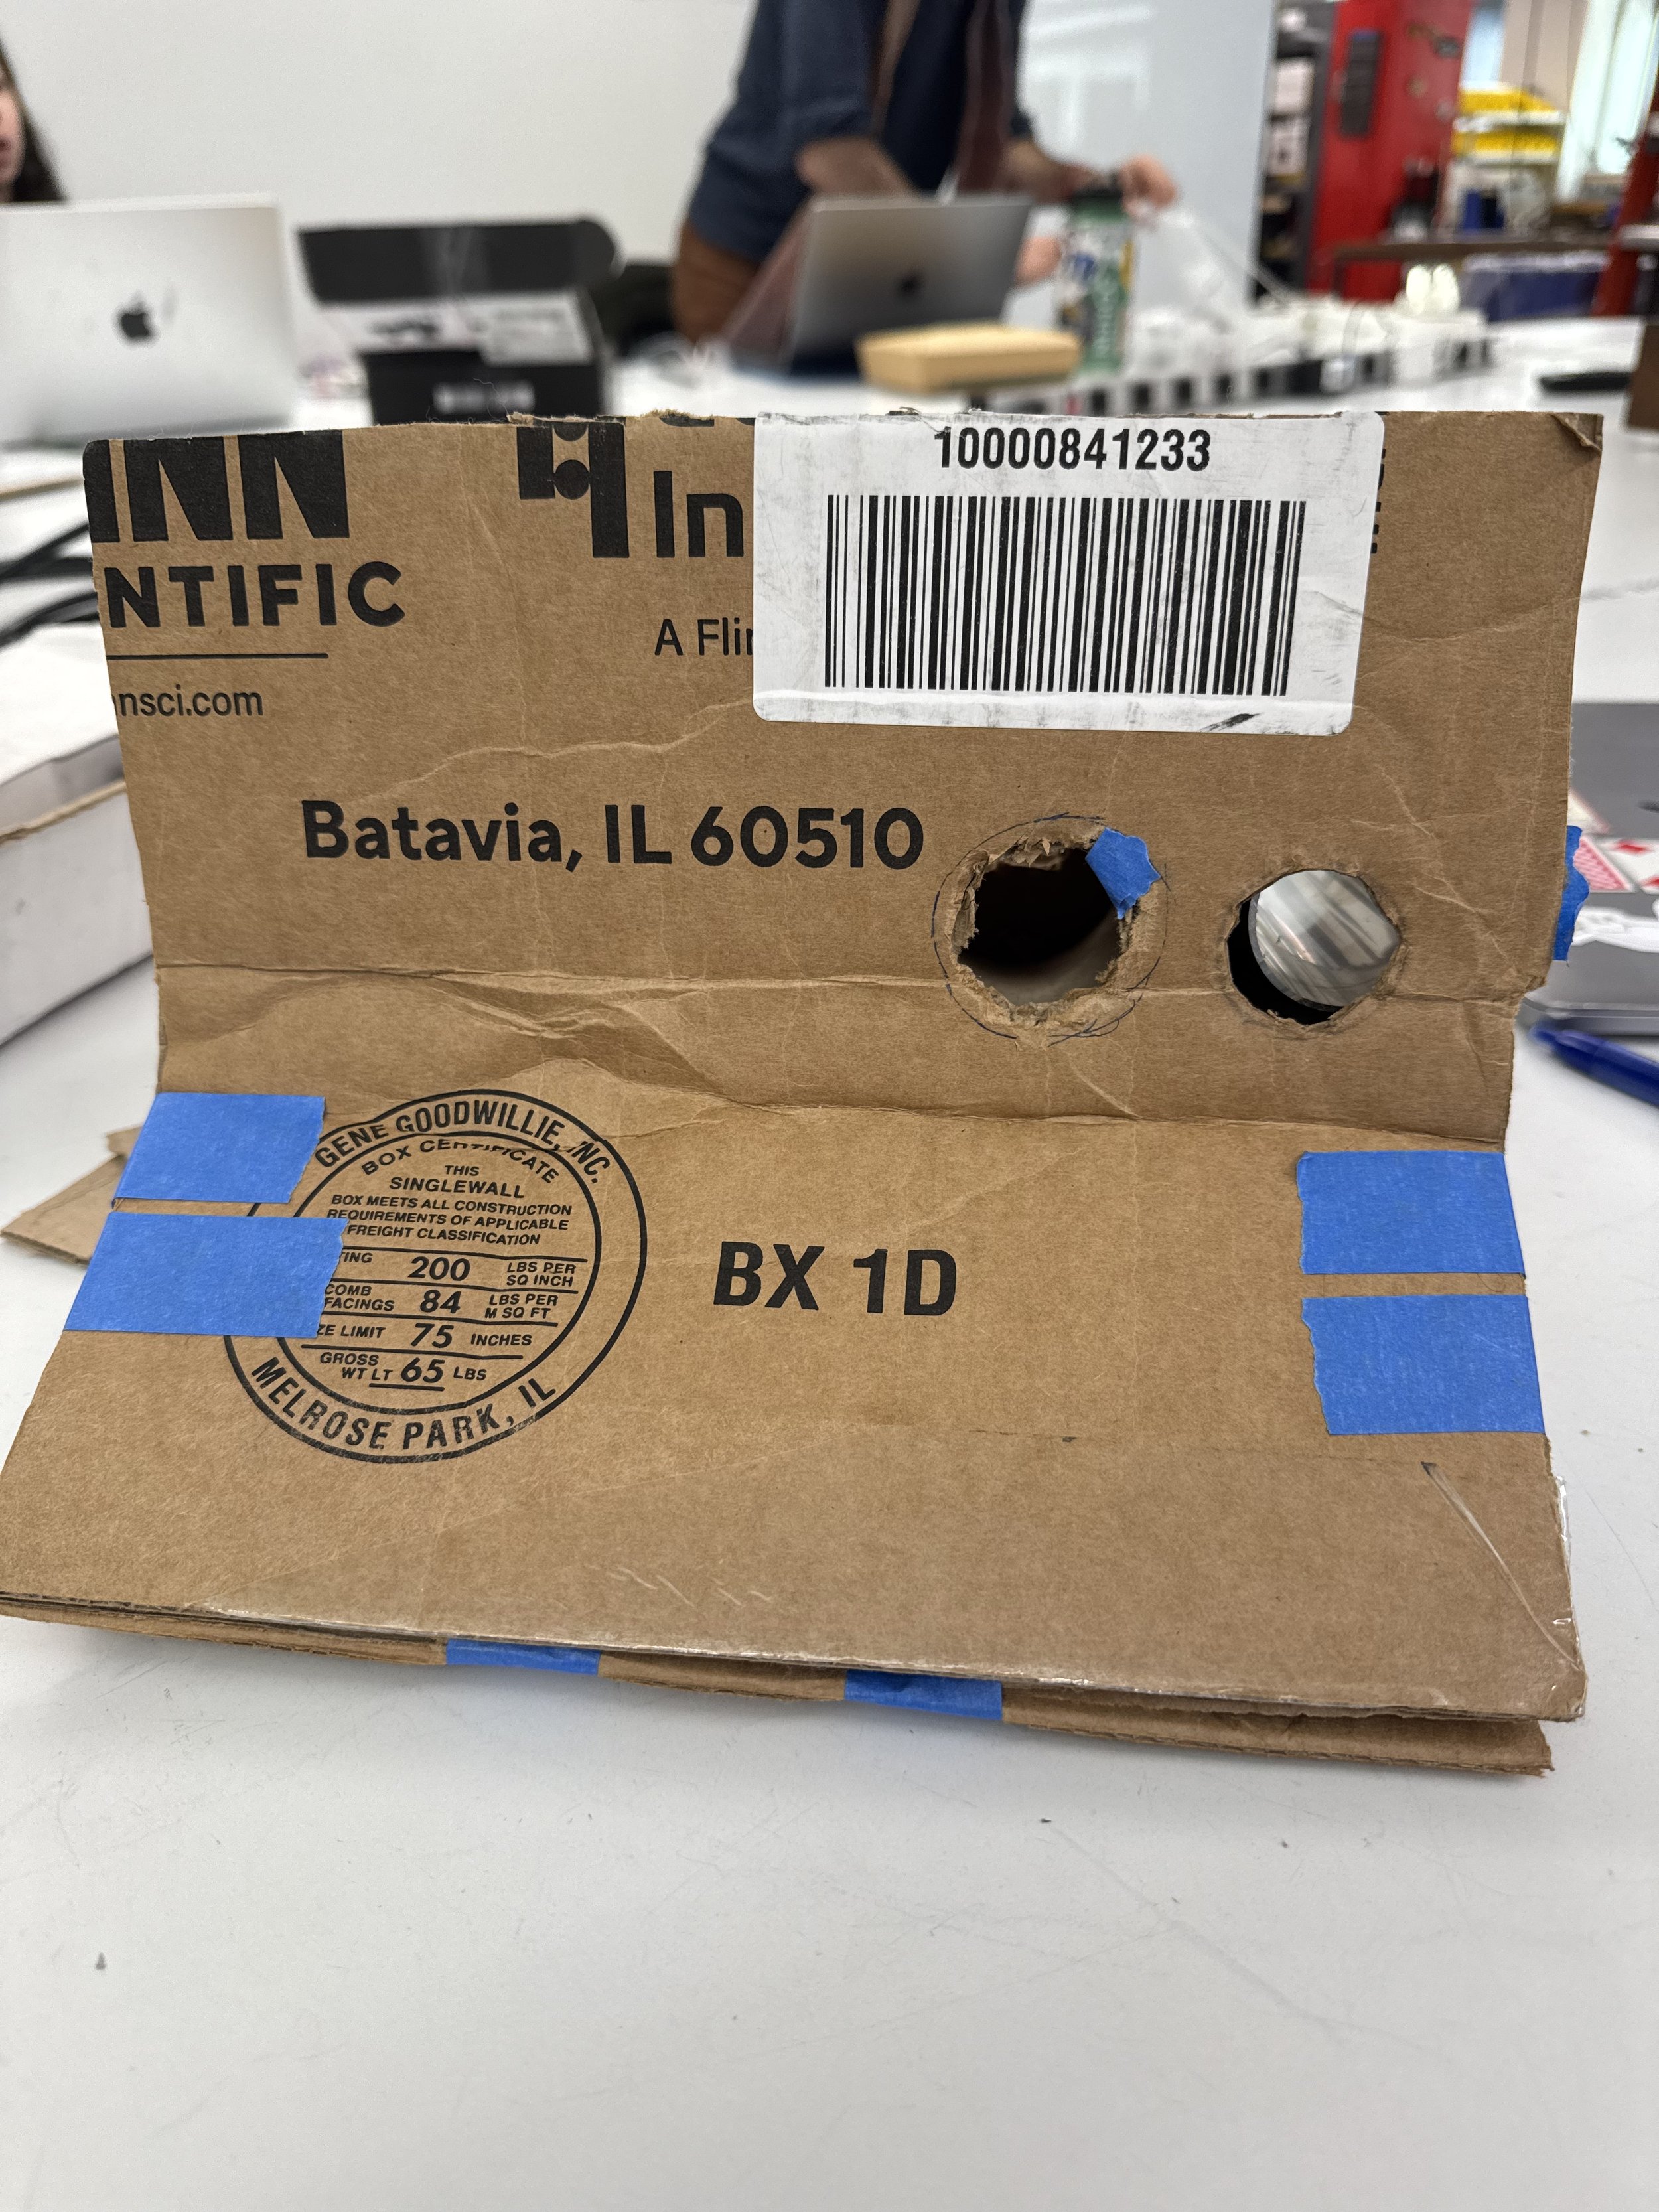
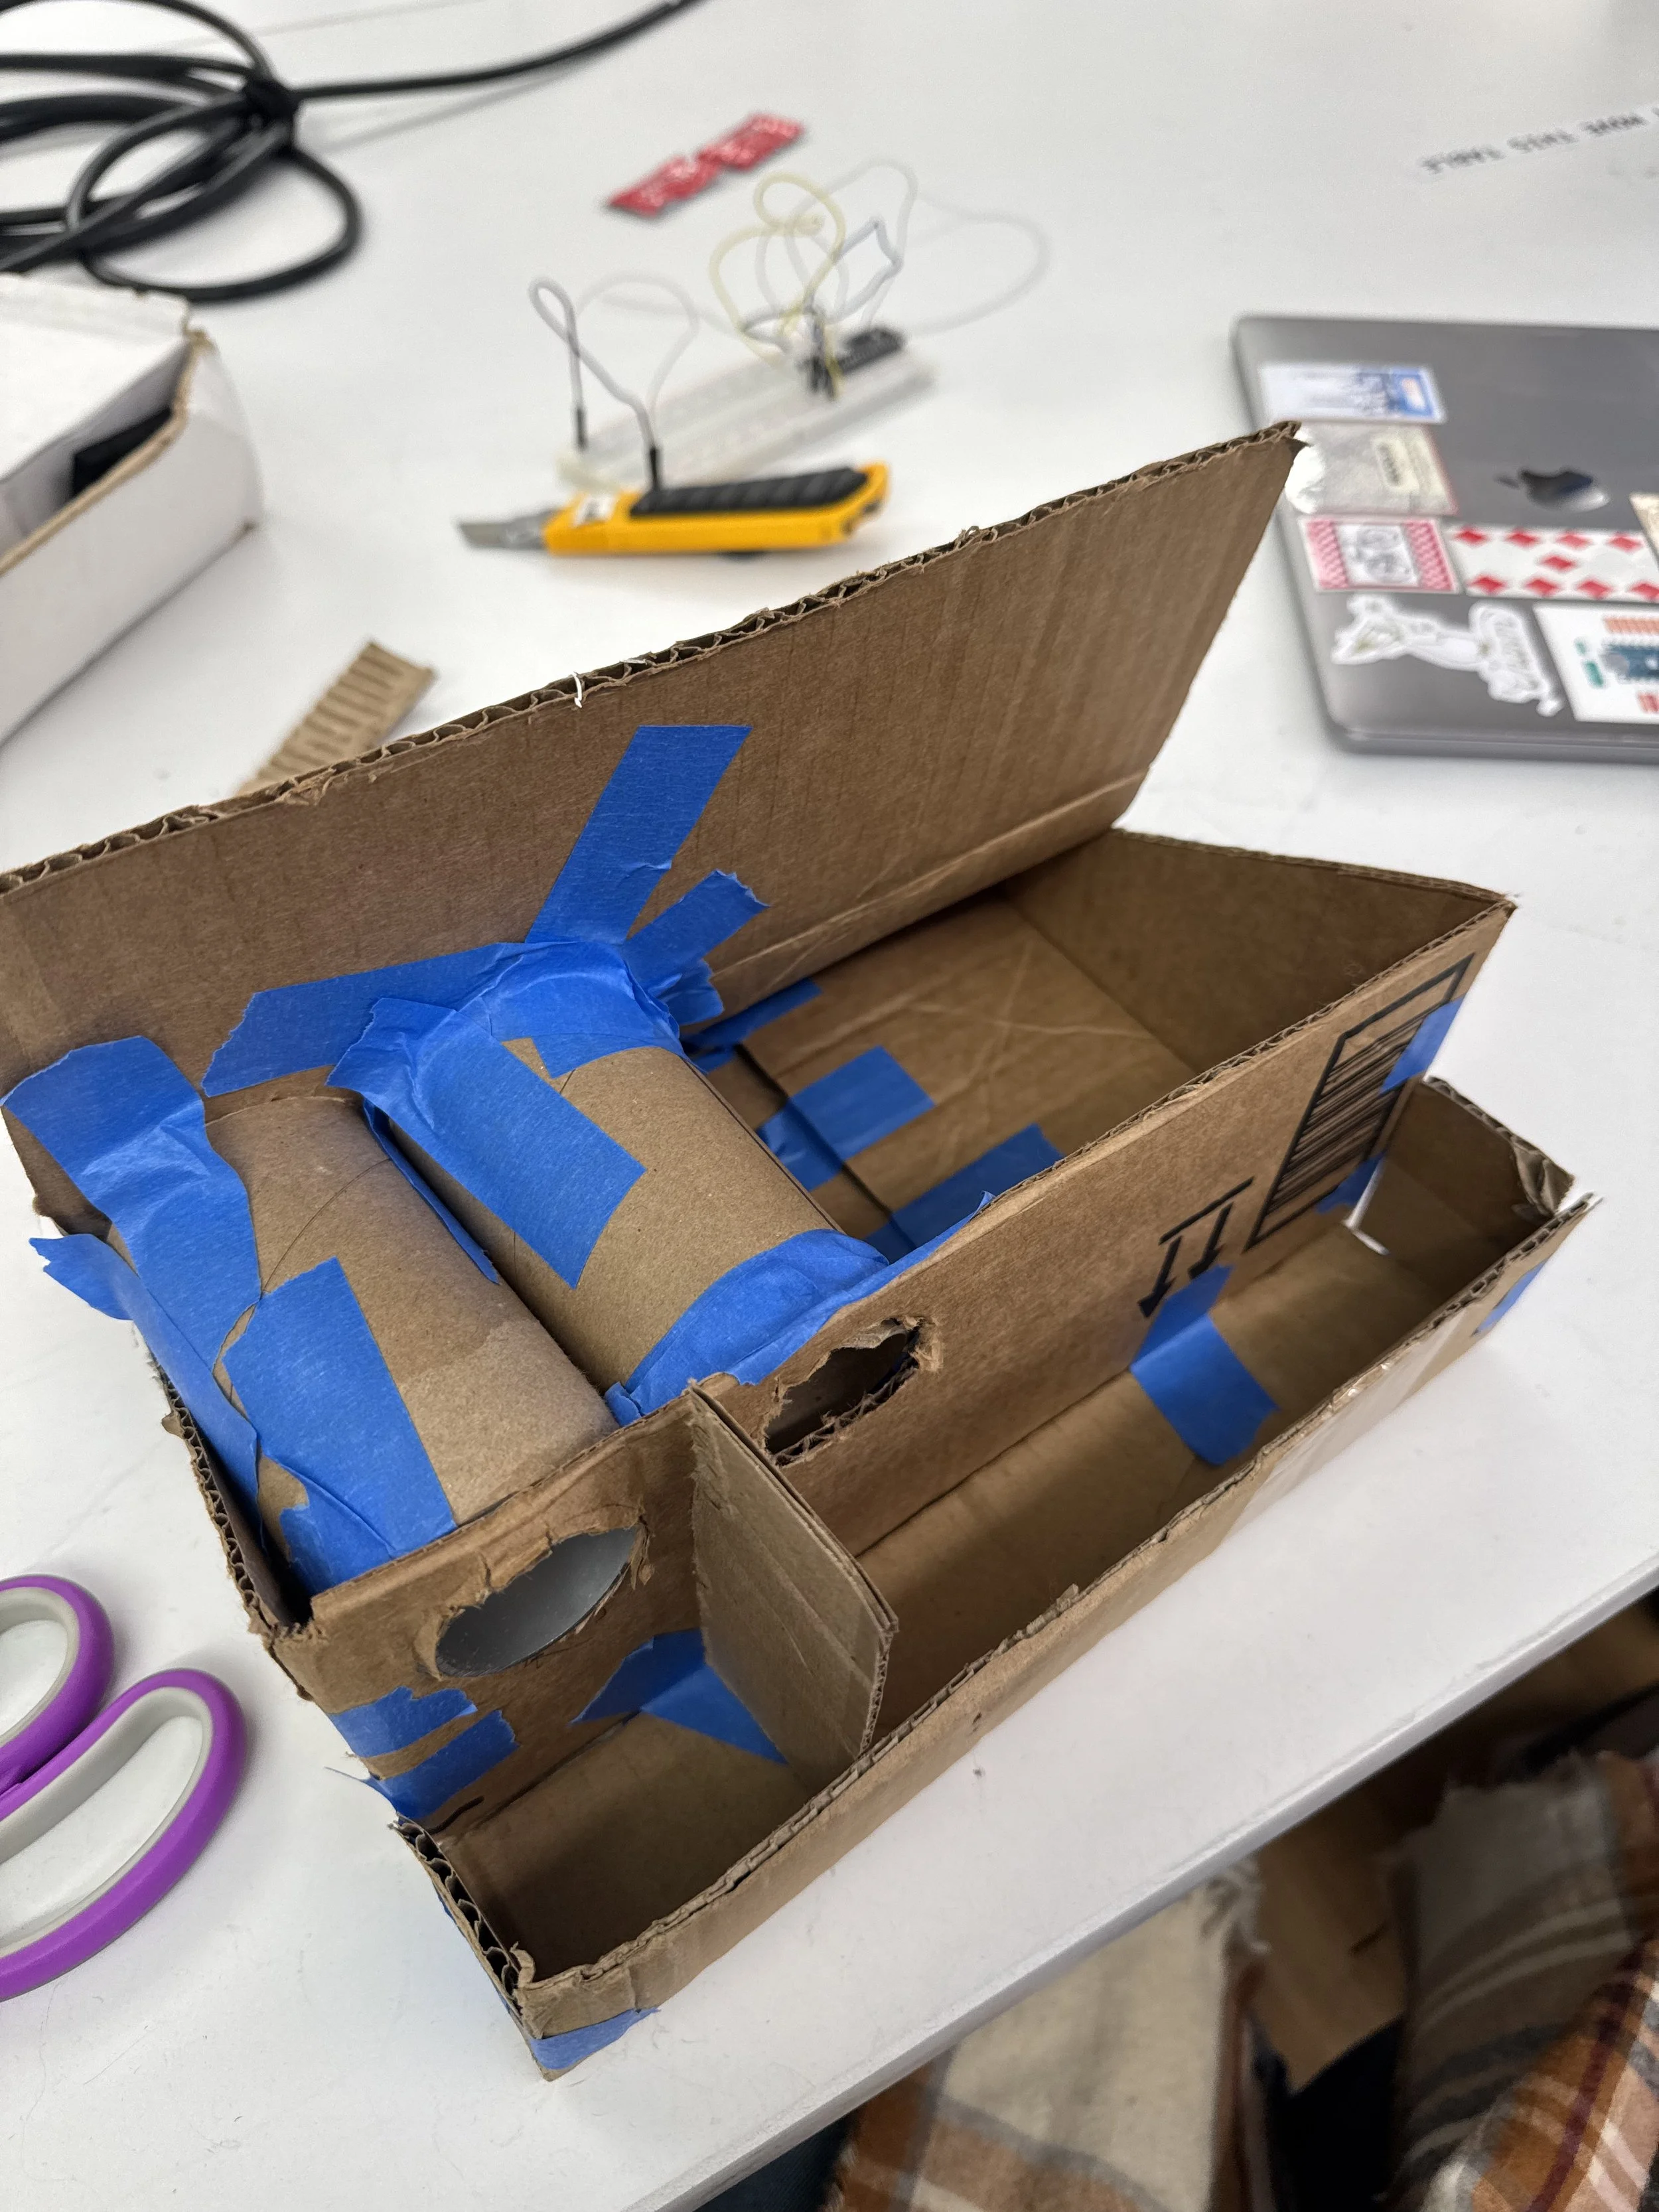
After the office hours with Christina, I decided to add a second pipe to the circuit, since that would help with the playtest, and on Sunday, I found these spheres, which open and close and are transparent, which I will put on Tuesday before the playtest.
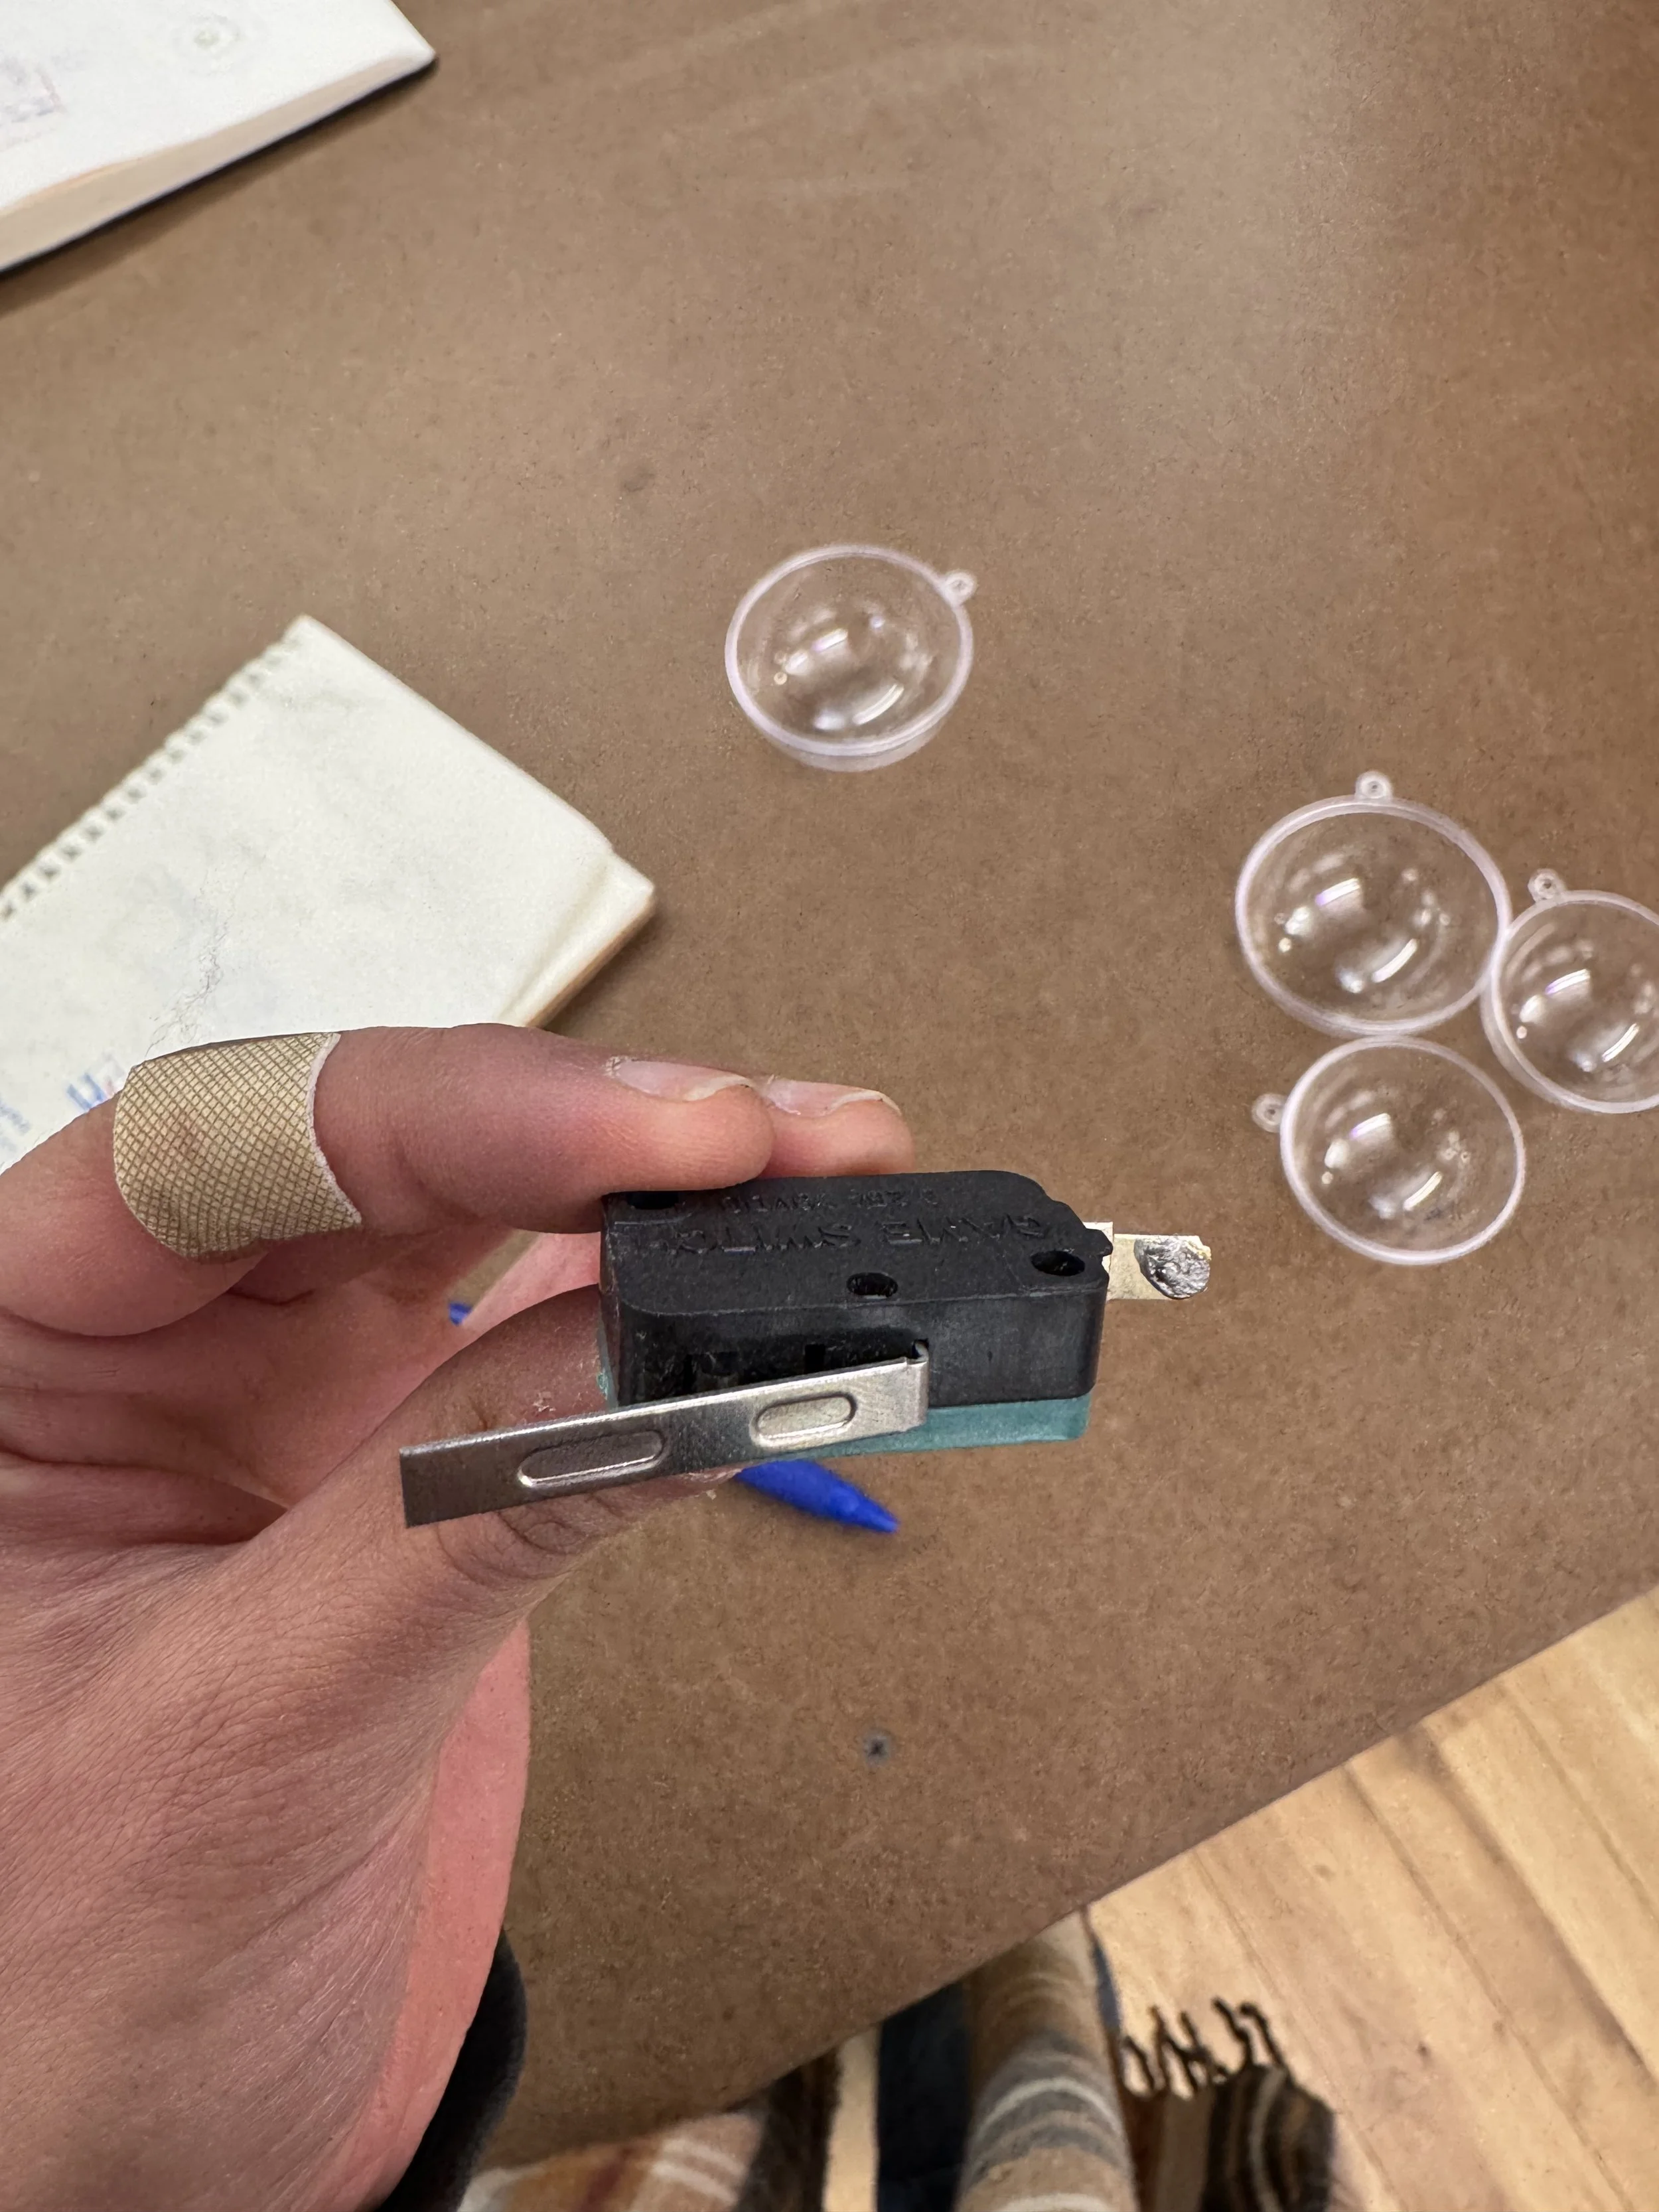
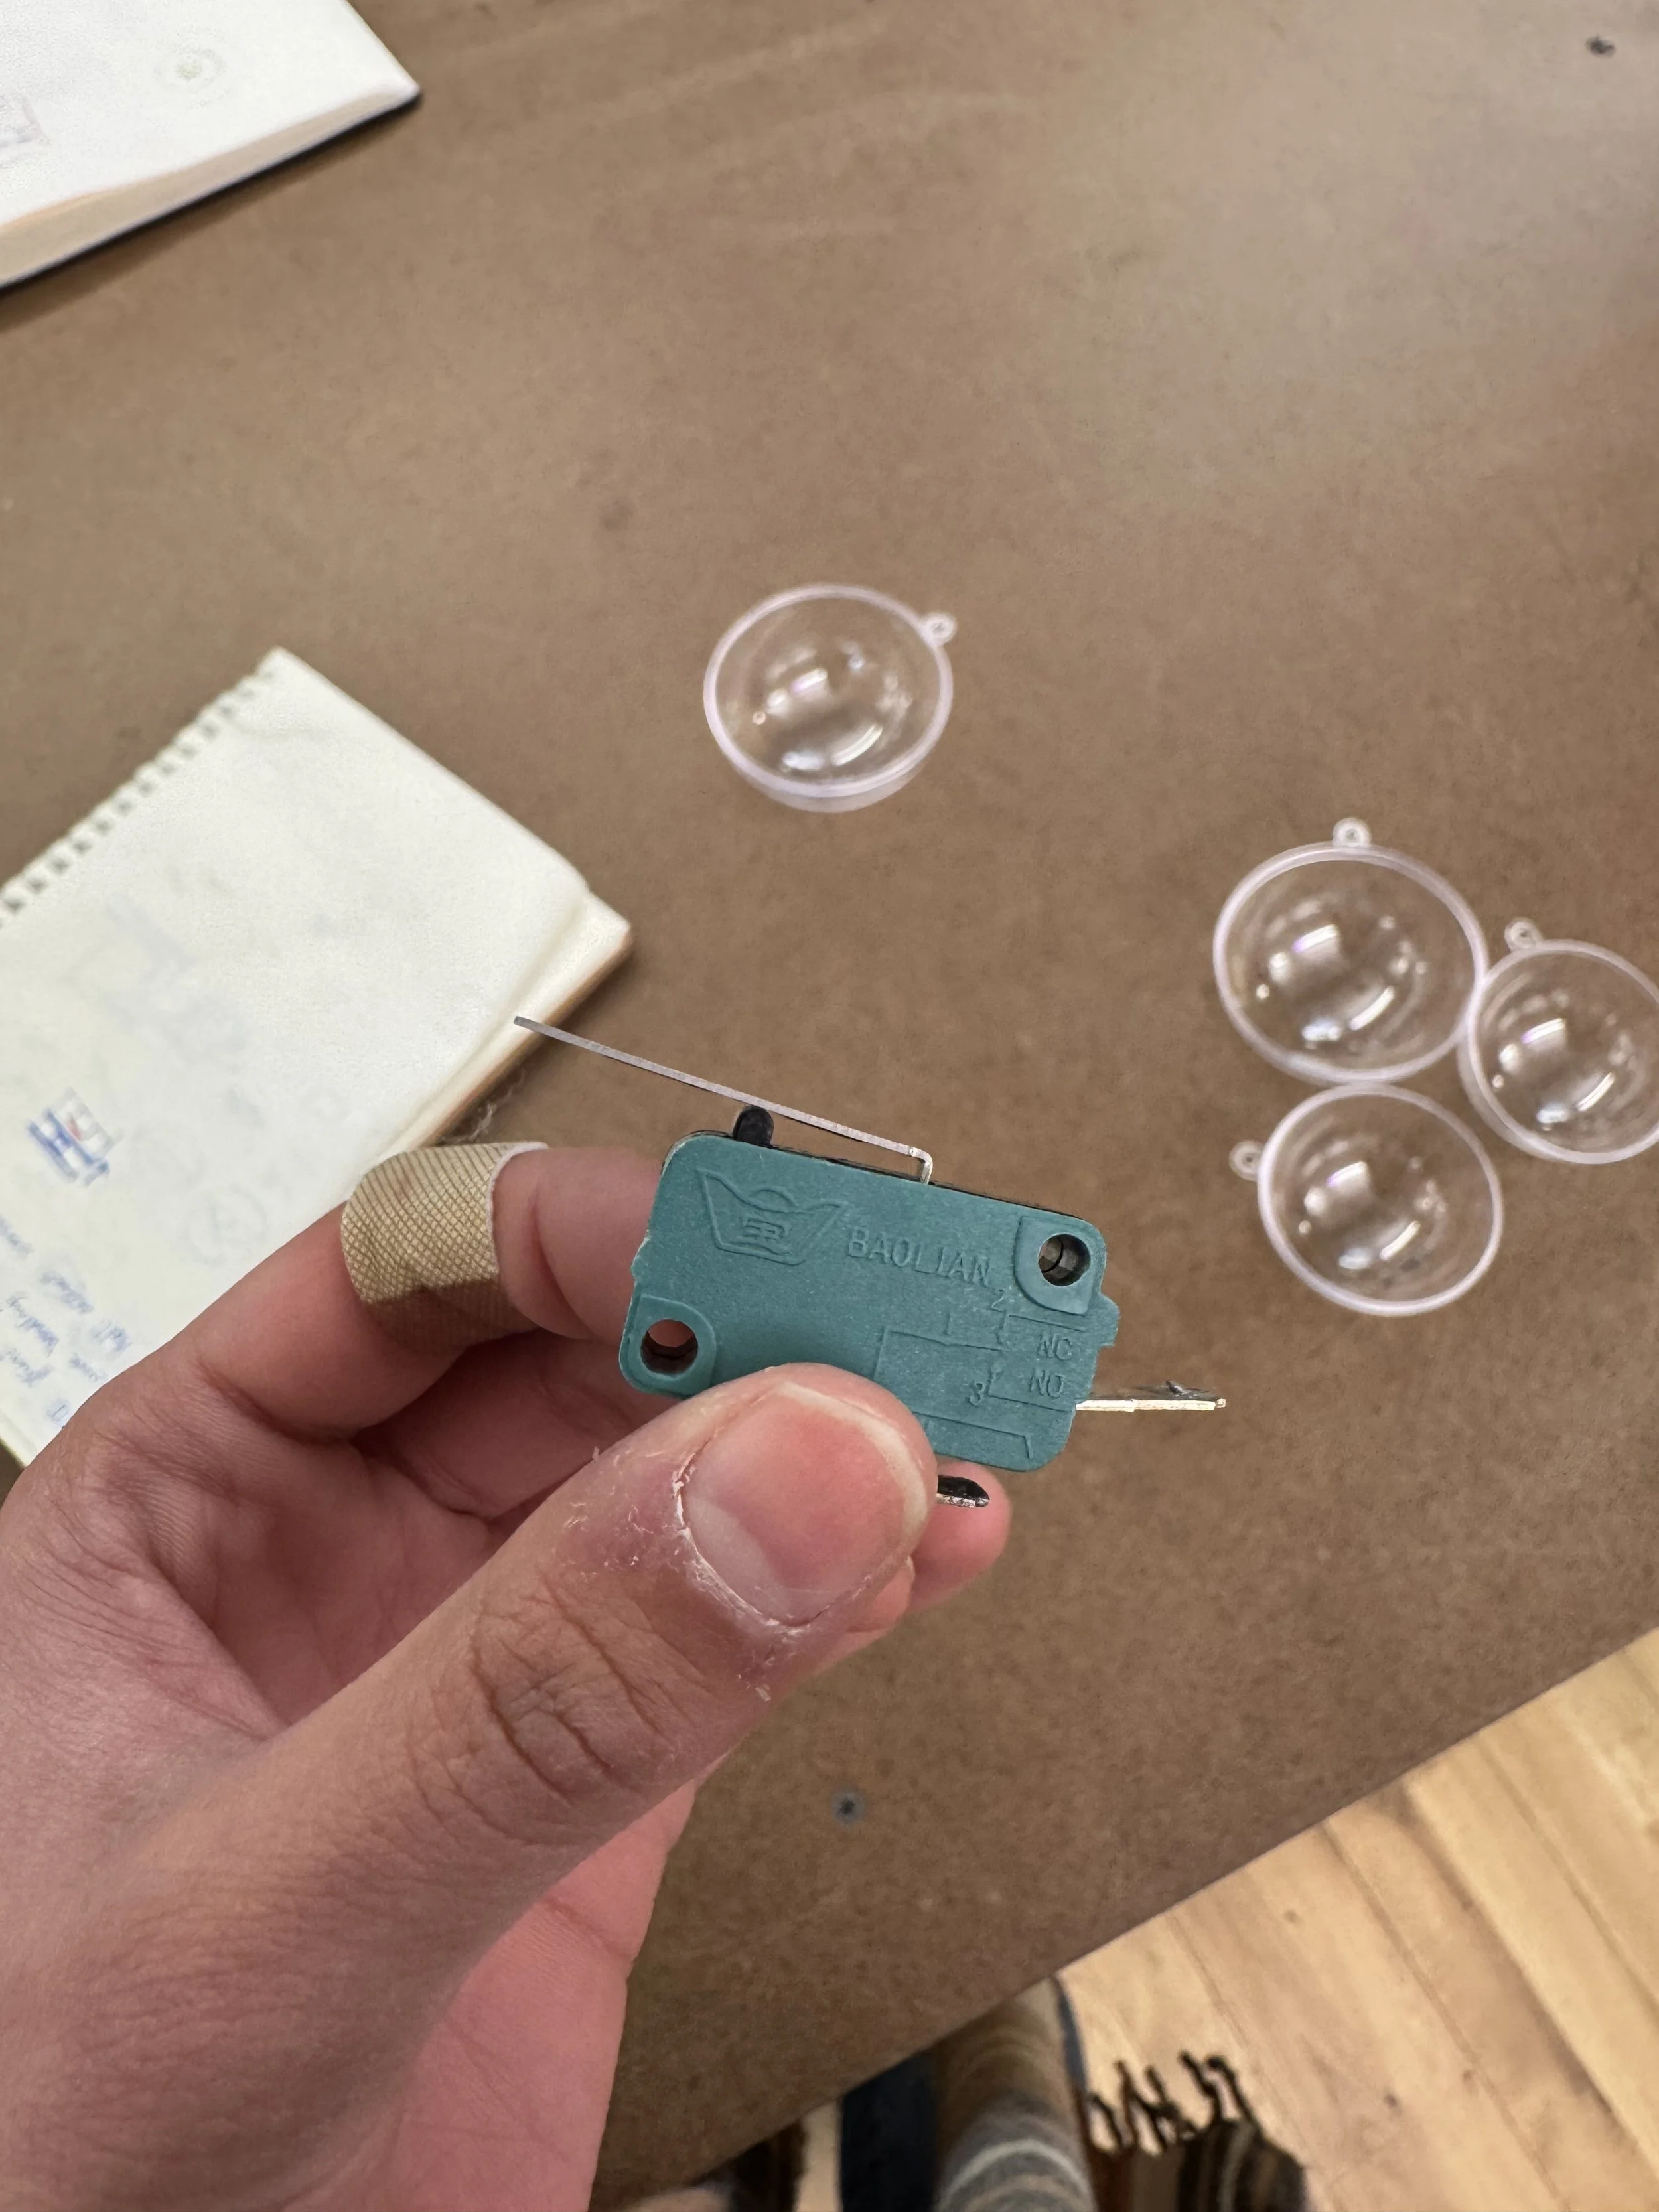
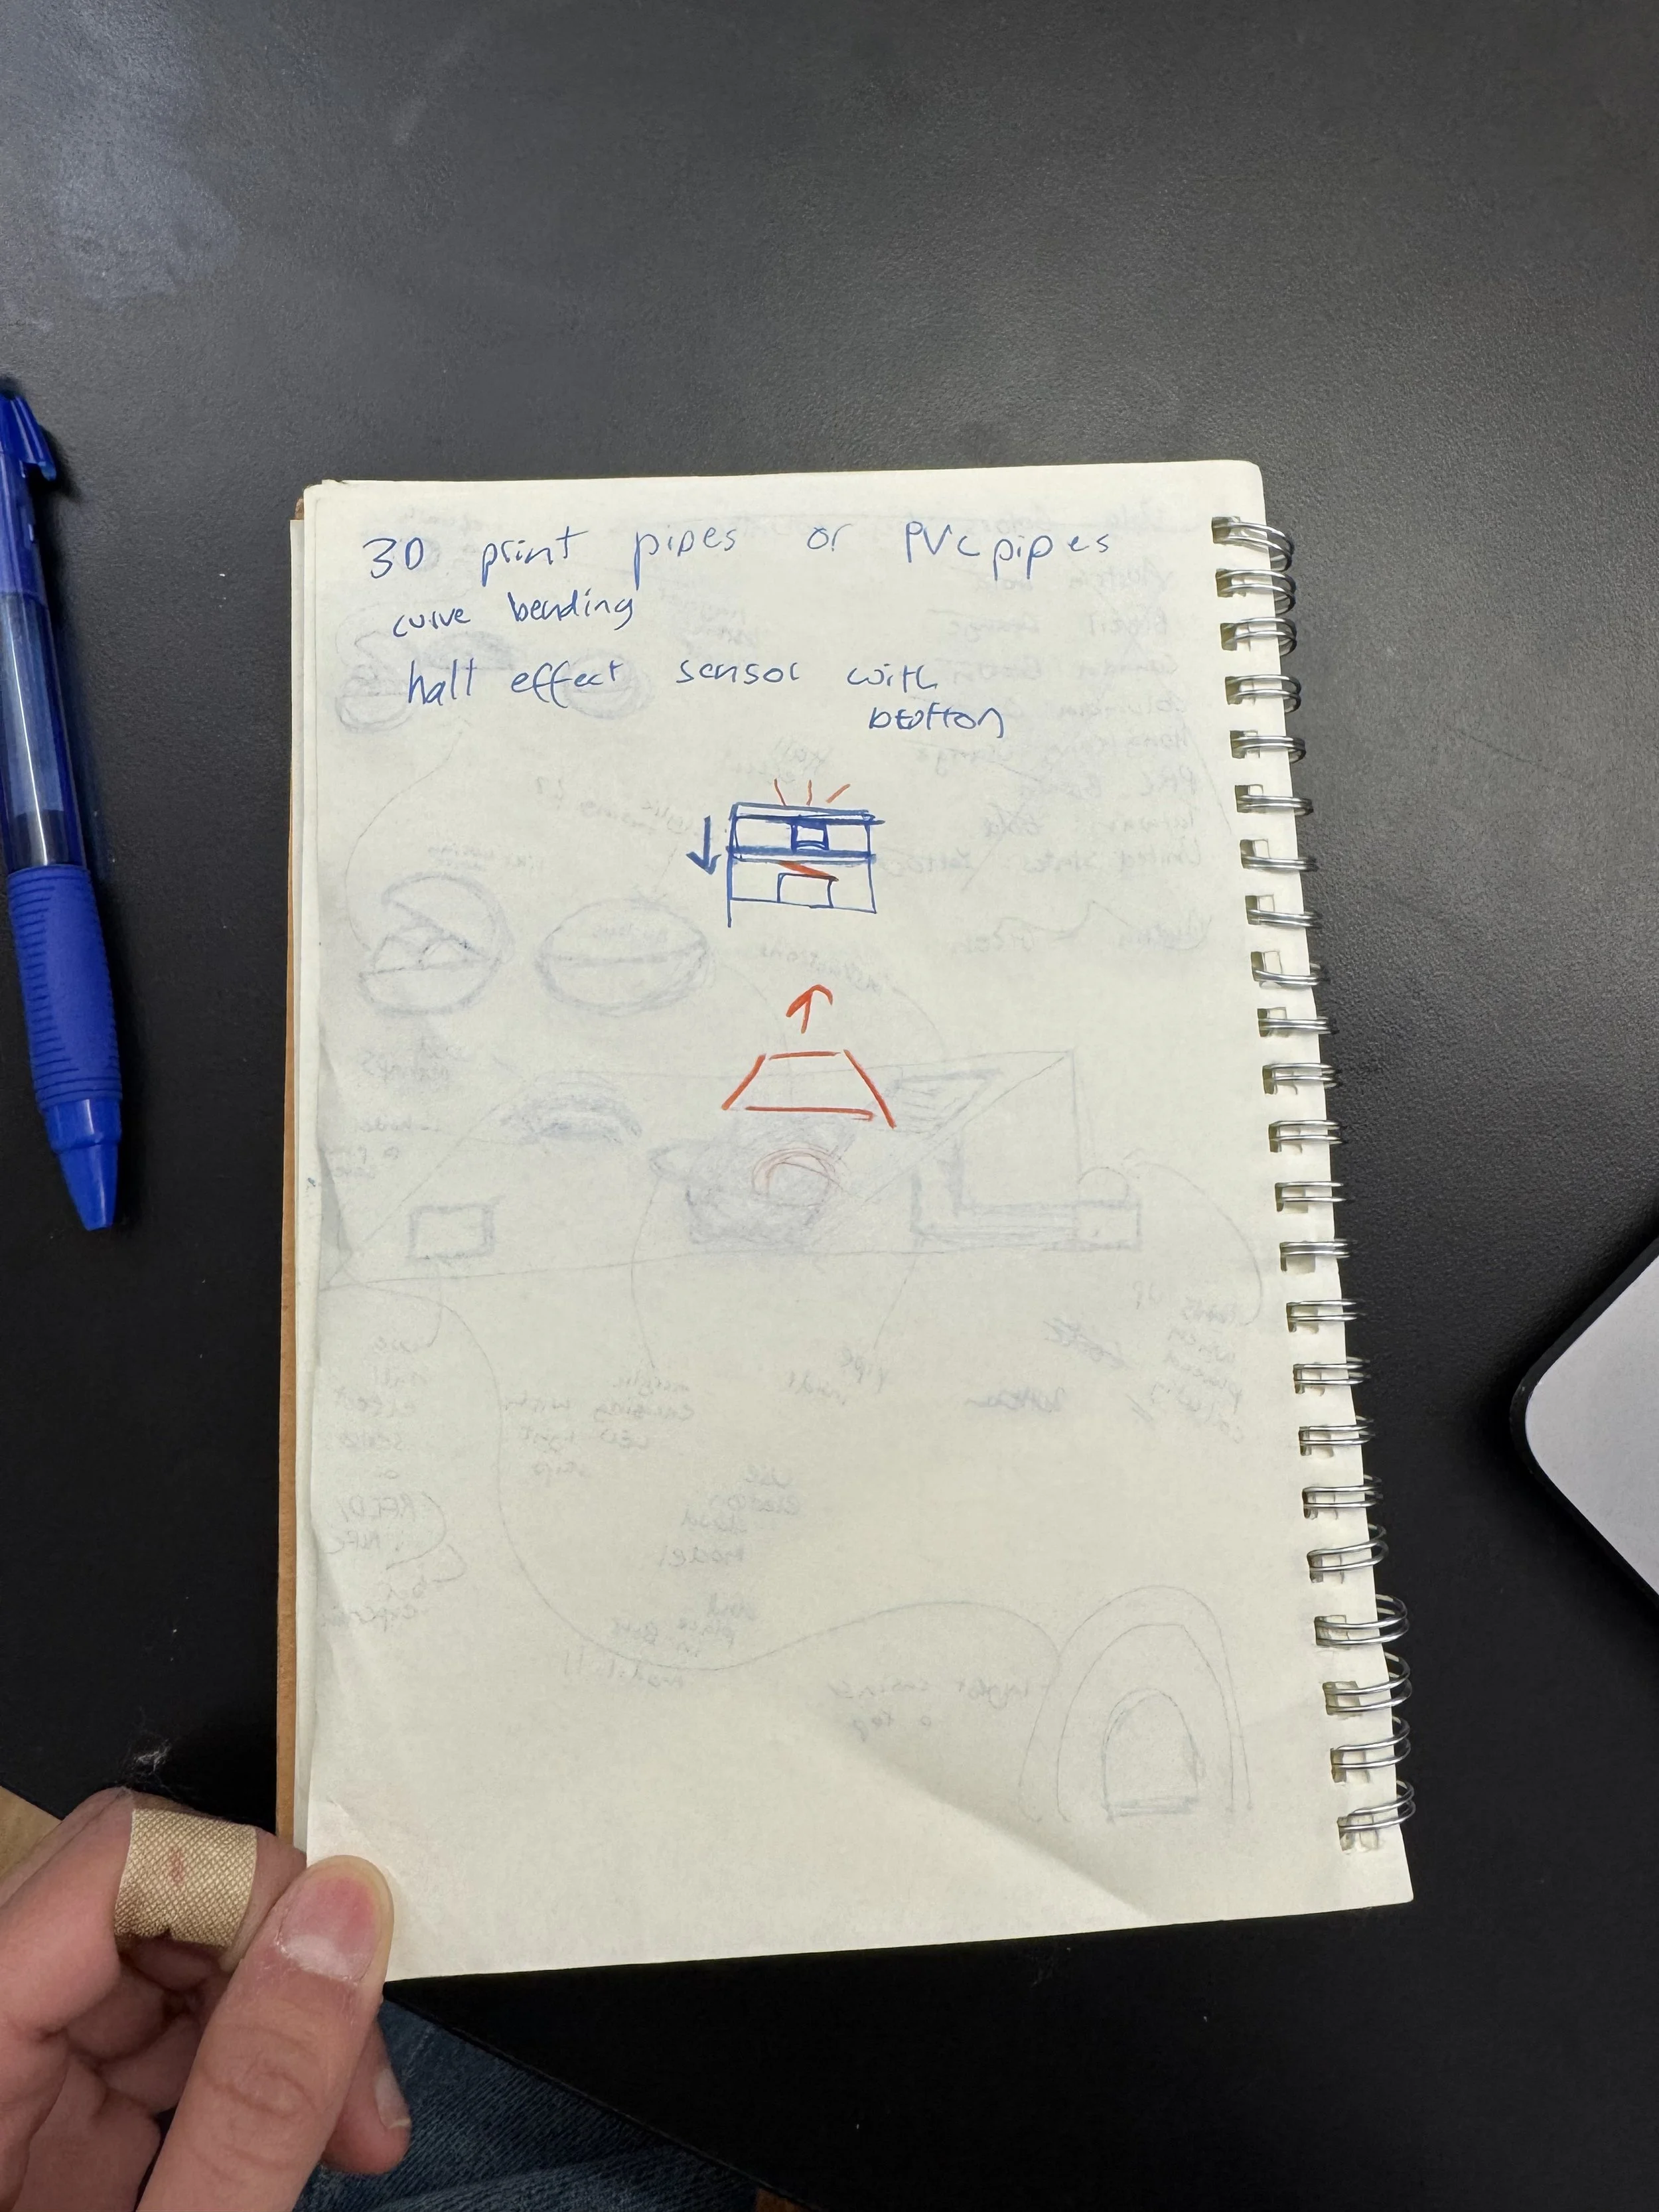
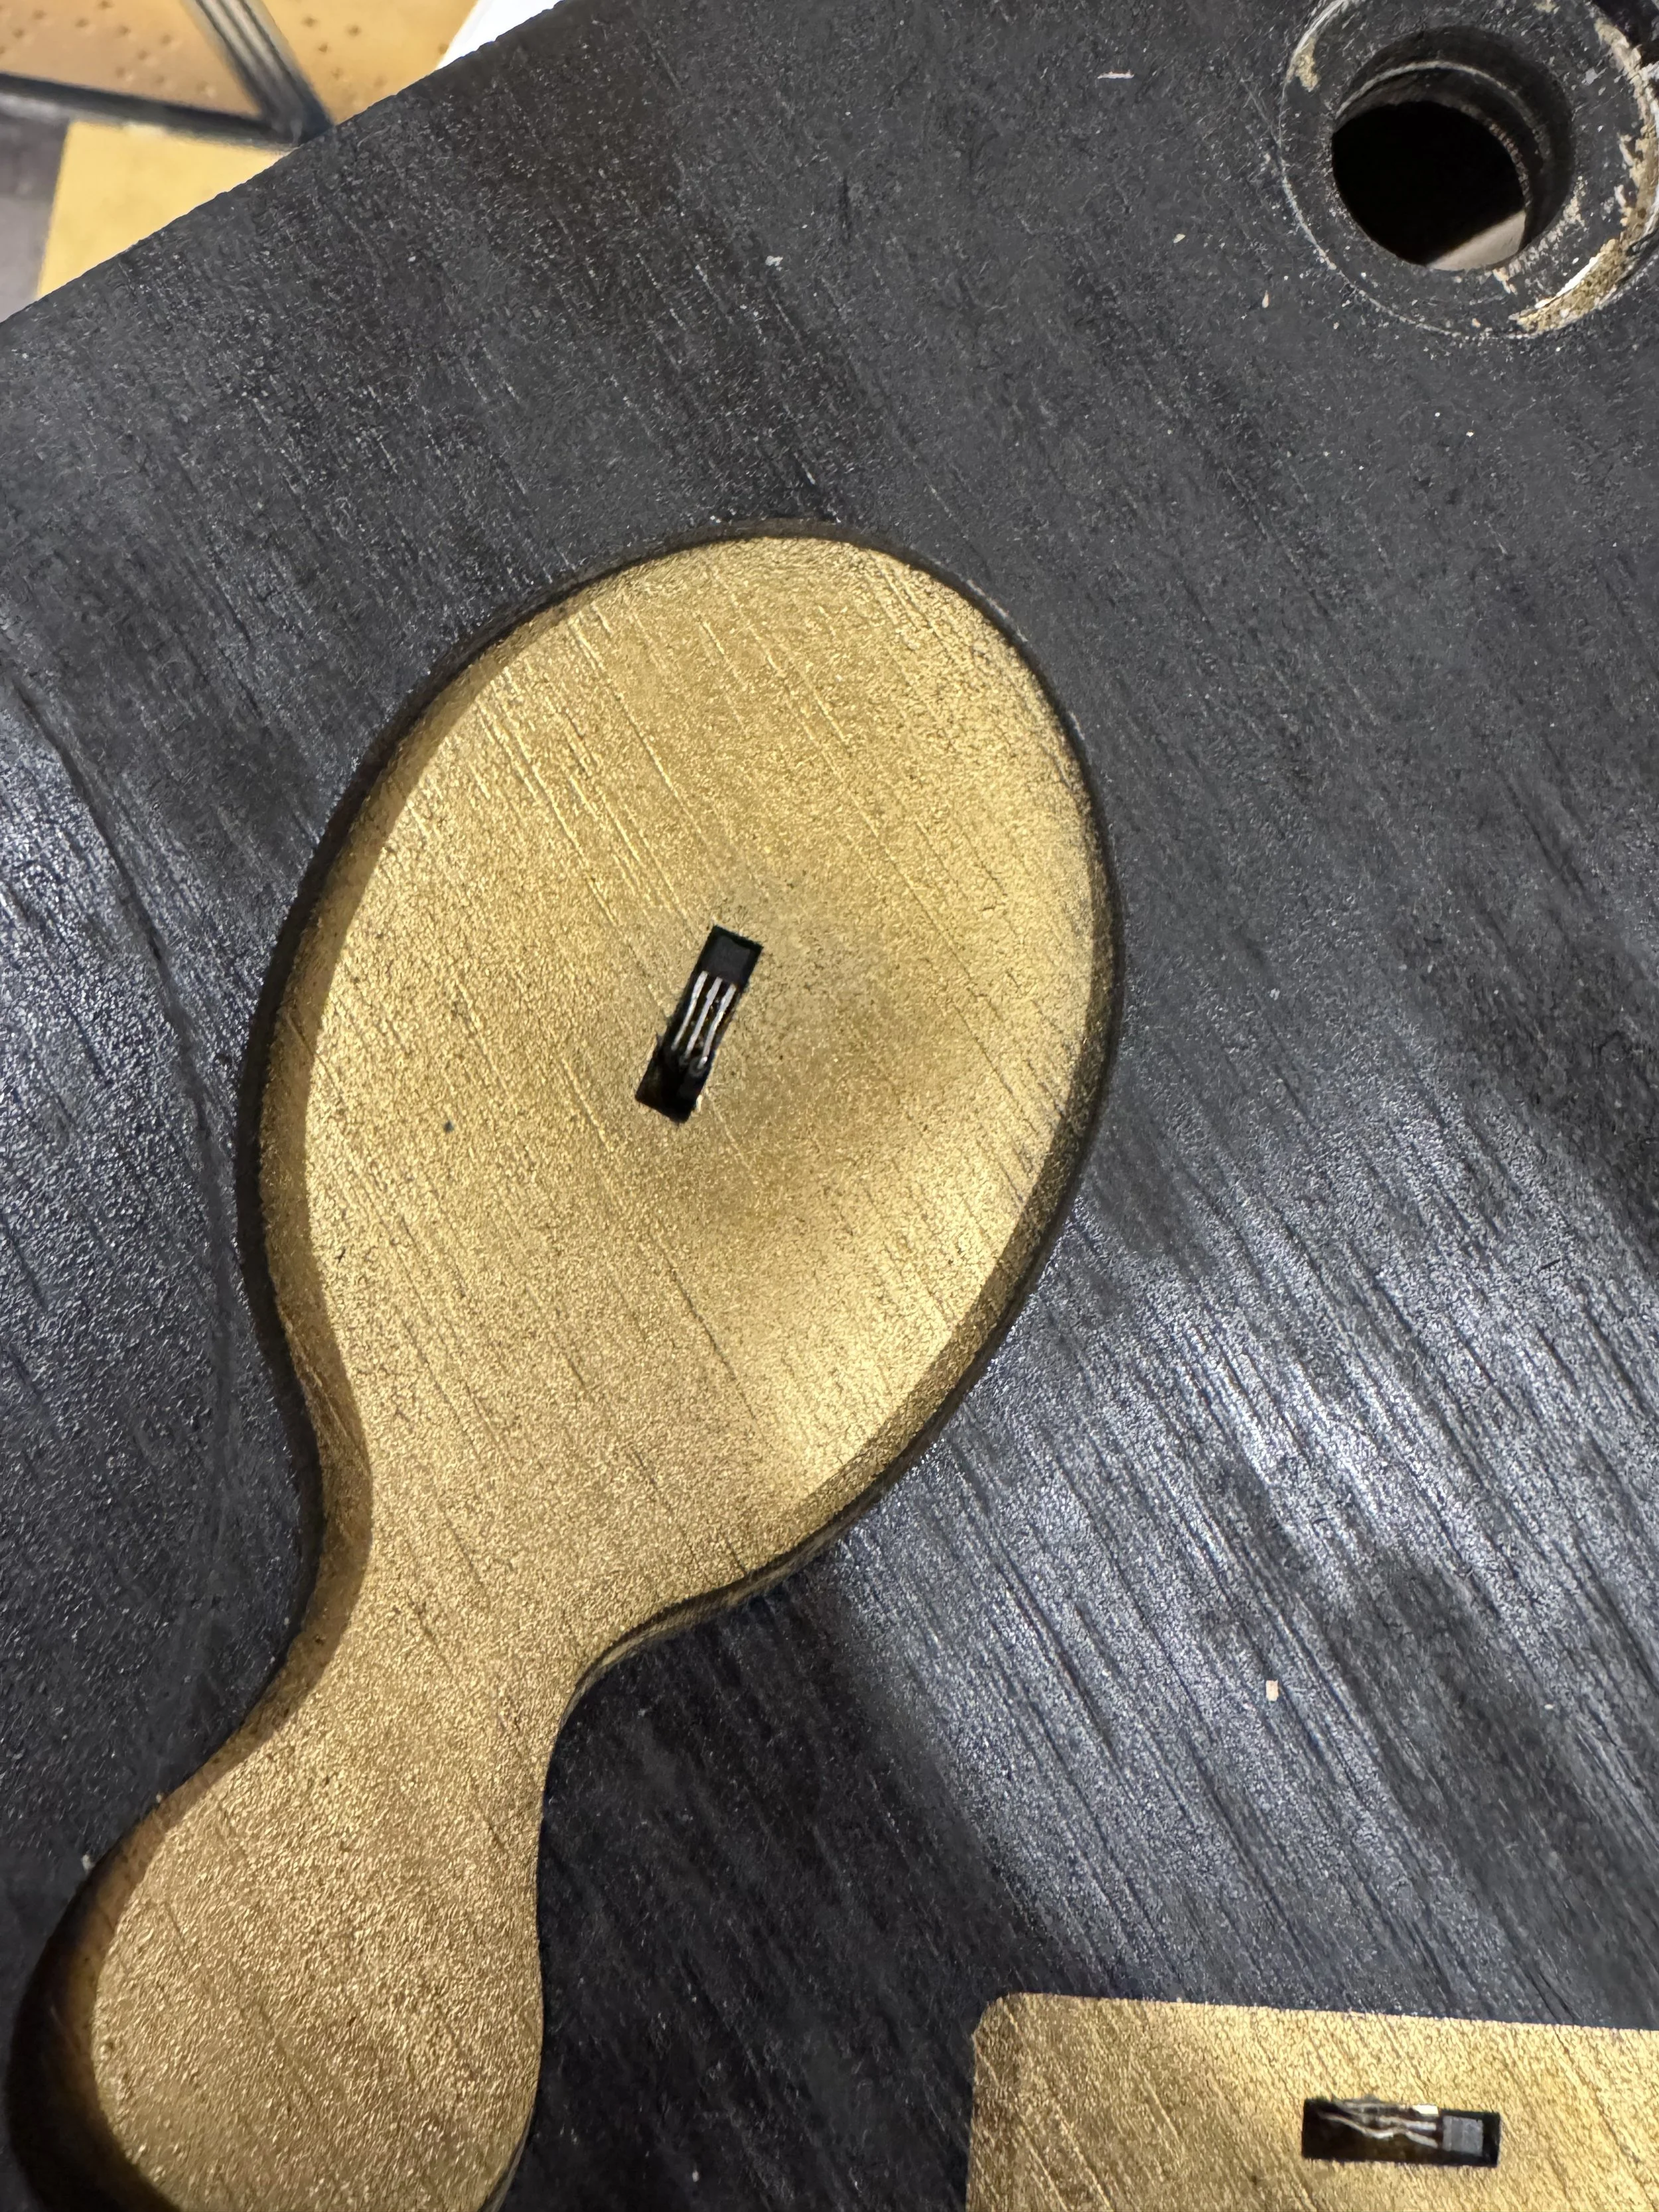
Then I had scheduled office hours with Ian to get a better grasp on the fabrication. He was suggesting an RFID/NFC sensor might work better with the project. But we discussed further, and I thought maybe one quark could have a magnet and one quark is without a magnet, so then there would be two states. But then we realised quickly that the standard condition is no magnet. But then Ian came up with this idea that we could have a section, like a small box within, which would have something like a game switch. He showed me one. The hall effect sensor would only read when the game switch is turned on, which I need to prototype with a push button first. He also showed me how a Hall effect sensor should be placed inside a box since it only reads one way. He also showed me how a Hall effect sensor should be placed inside this box, next to the pipes. He suggested that I 3D print pipes or go to Bruno’s and get PVC pipes. He also told me to better fit the acrylic circles I got, so that they open up more easily, I should use sandpaper and sand out the edges. He said since I’m prototyping using cardboard, I can roughly disassemble them and use those dimensions, draw it up on Illustrator, and use the quarter-inch wood that I already have, and laser cut it and have brackets on it so it fits well. He suggested this printing method called curve bending and told me to look up the curve bending patterns online and use them for laser cutting.
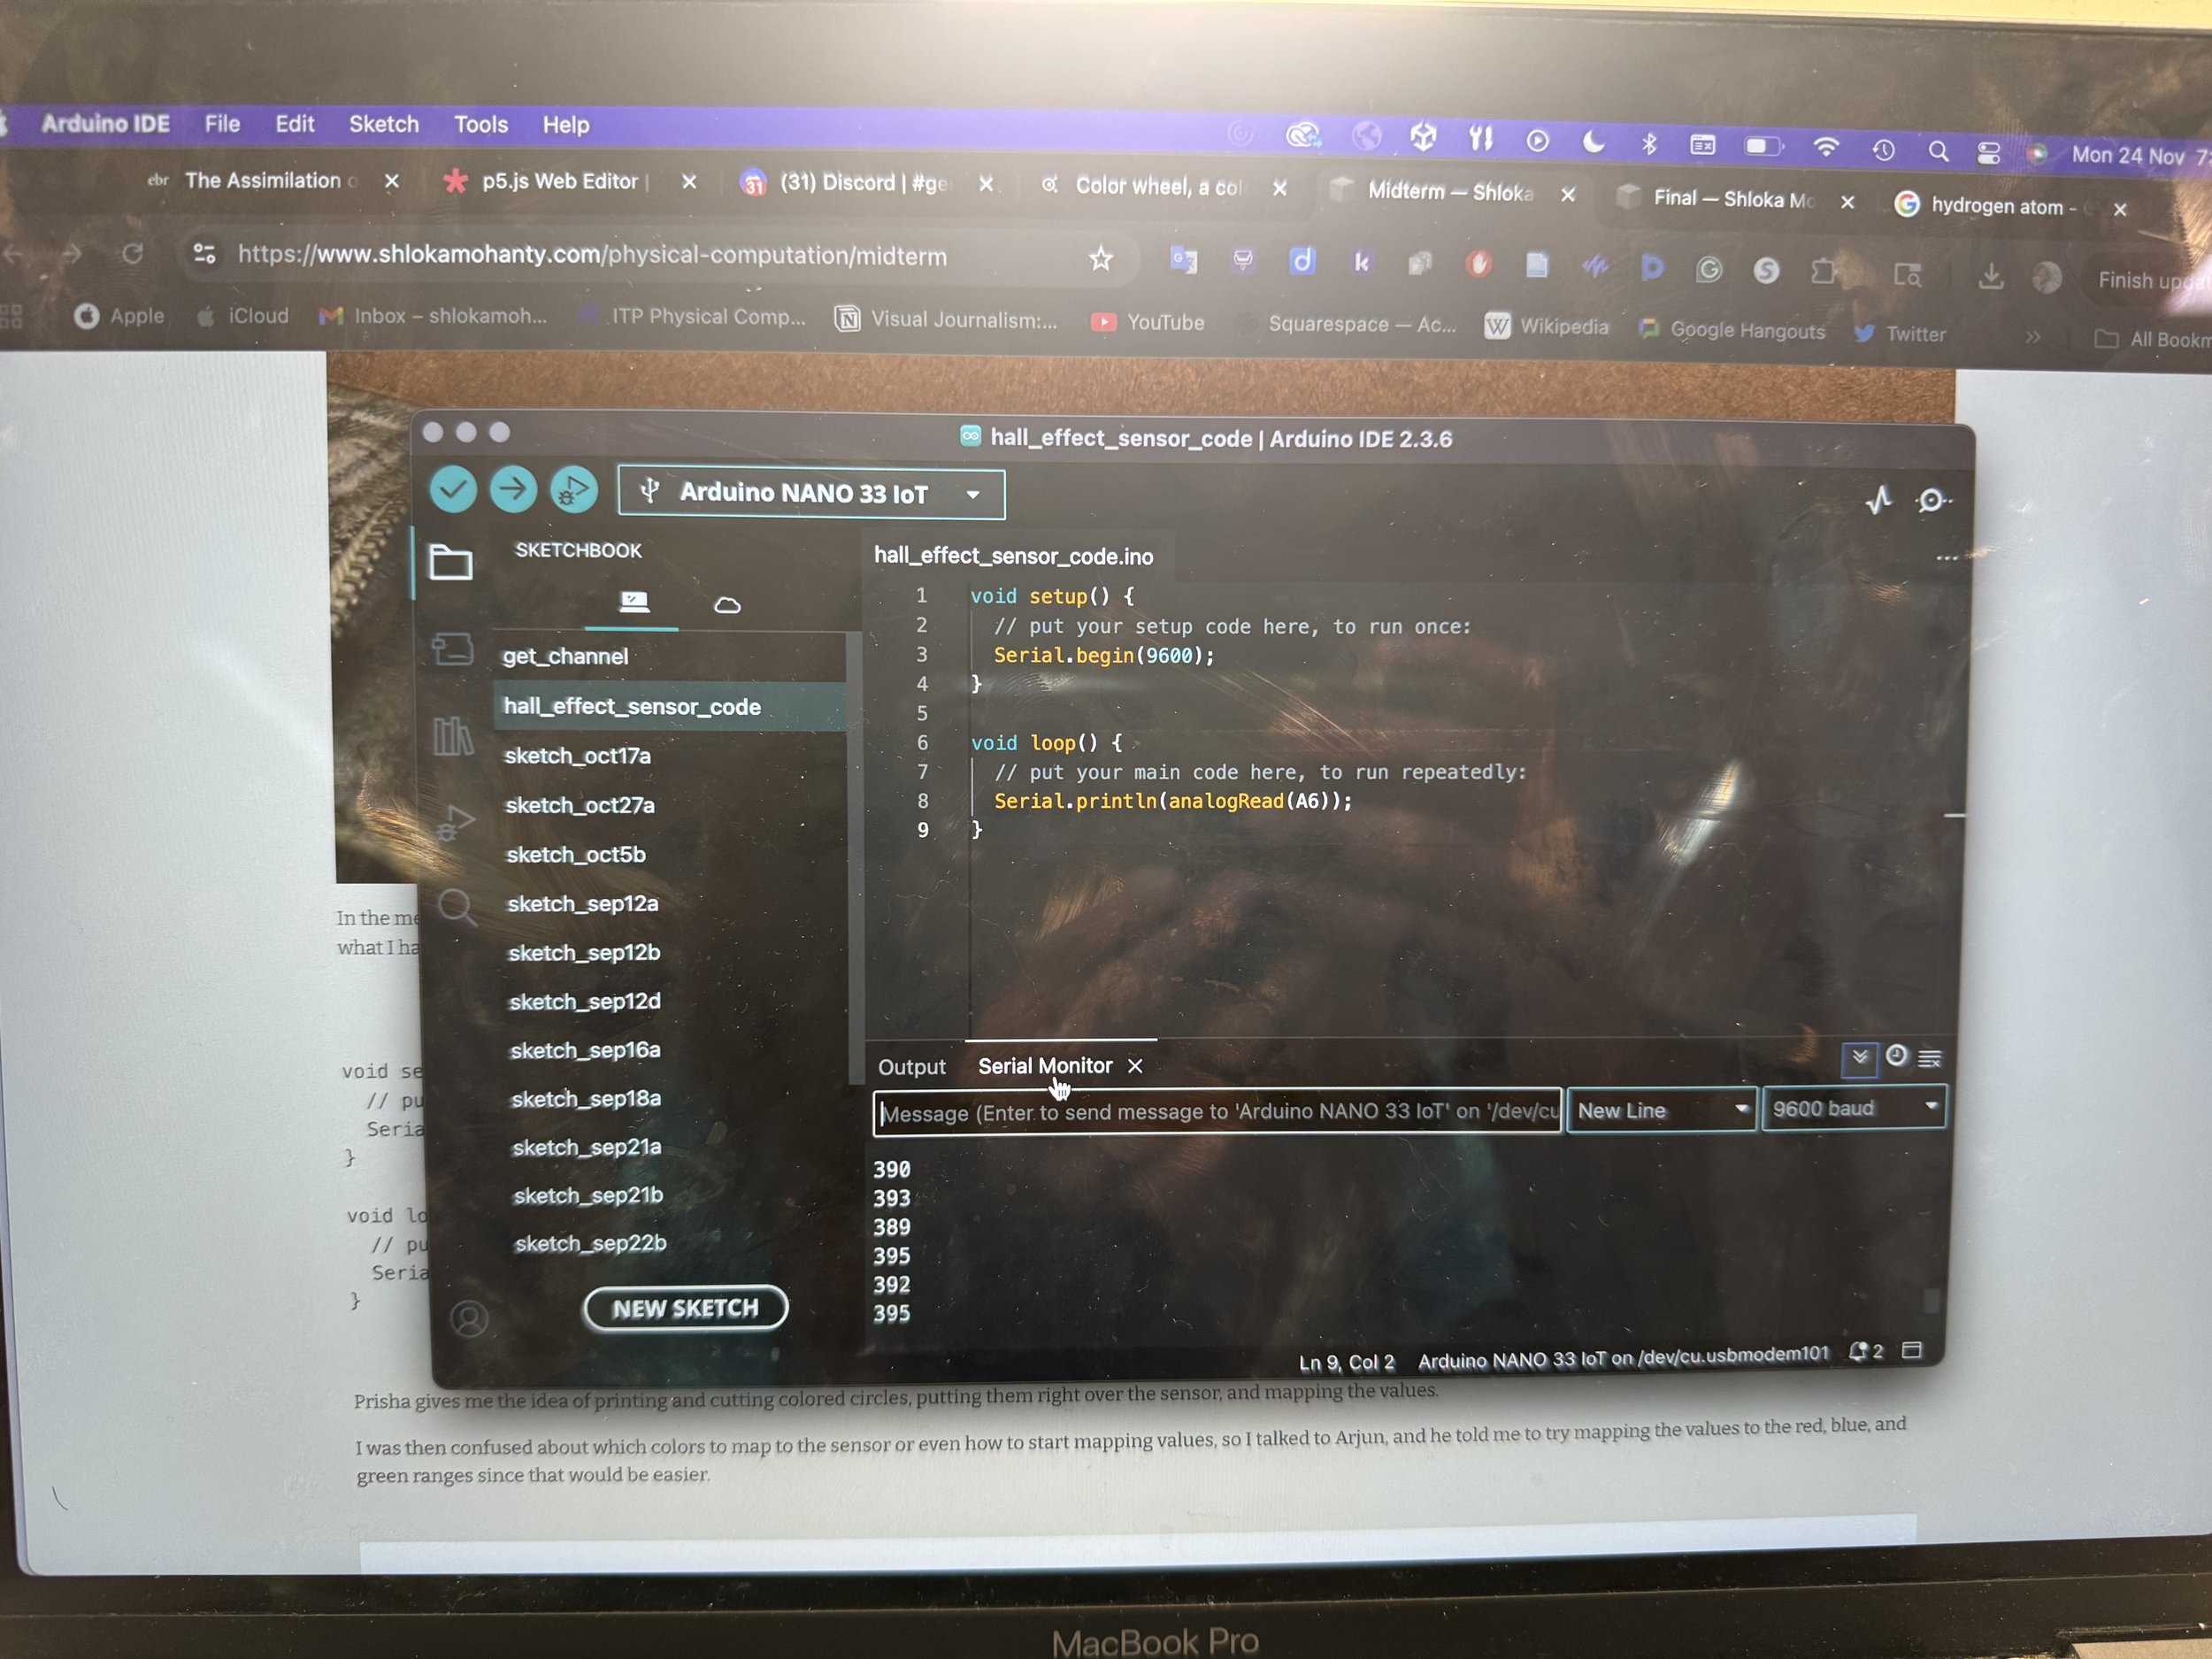
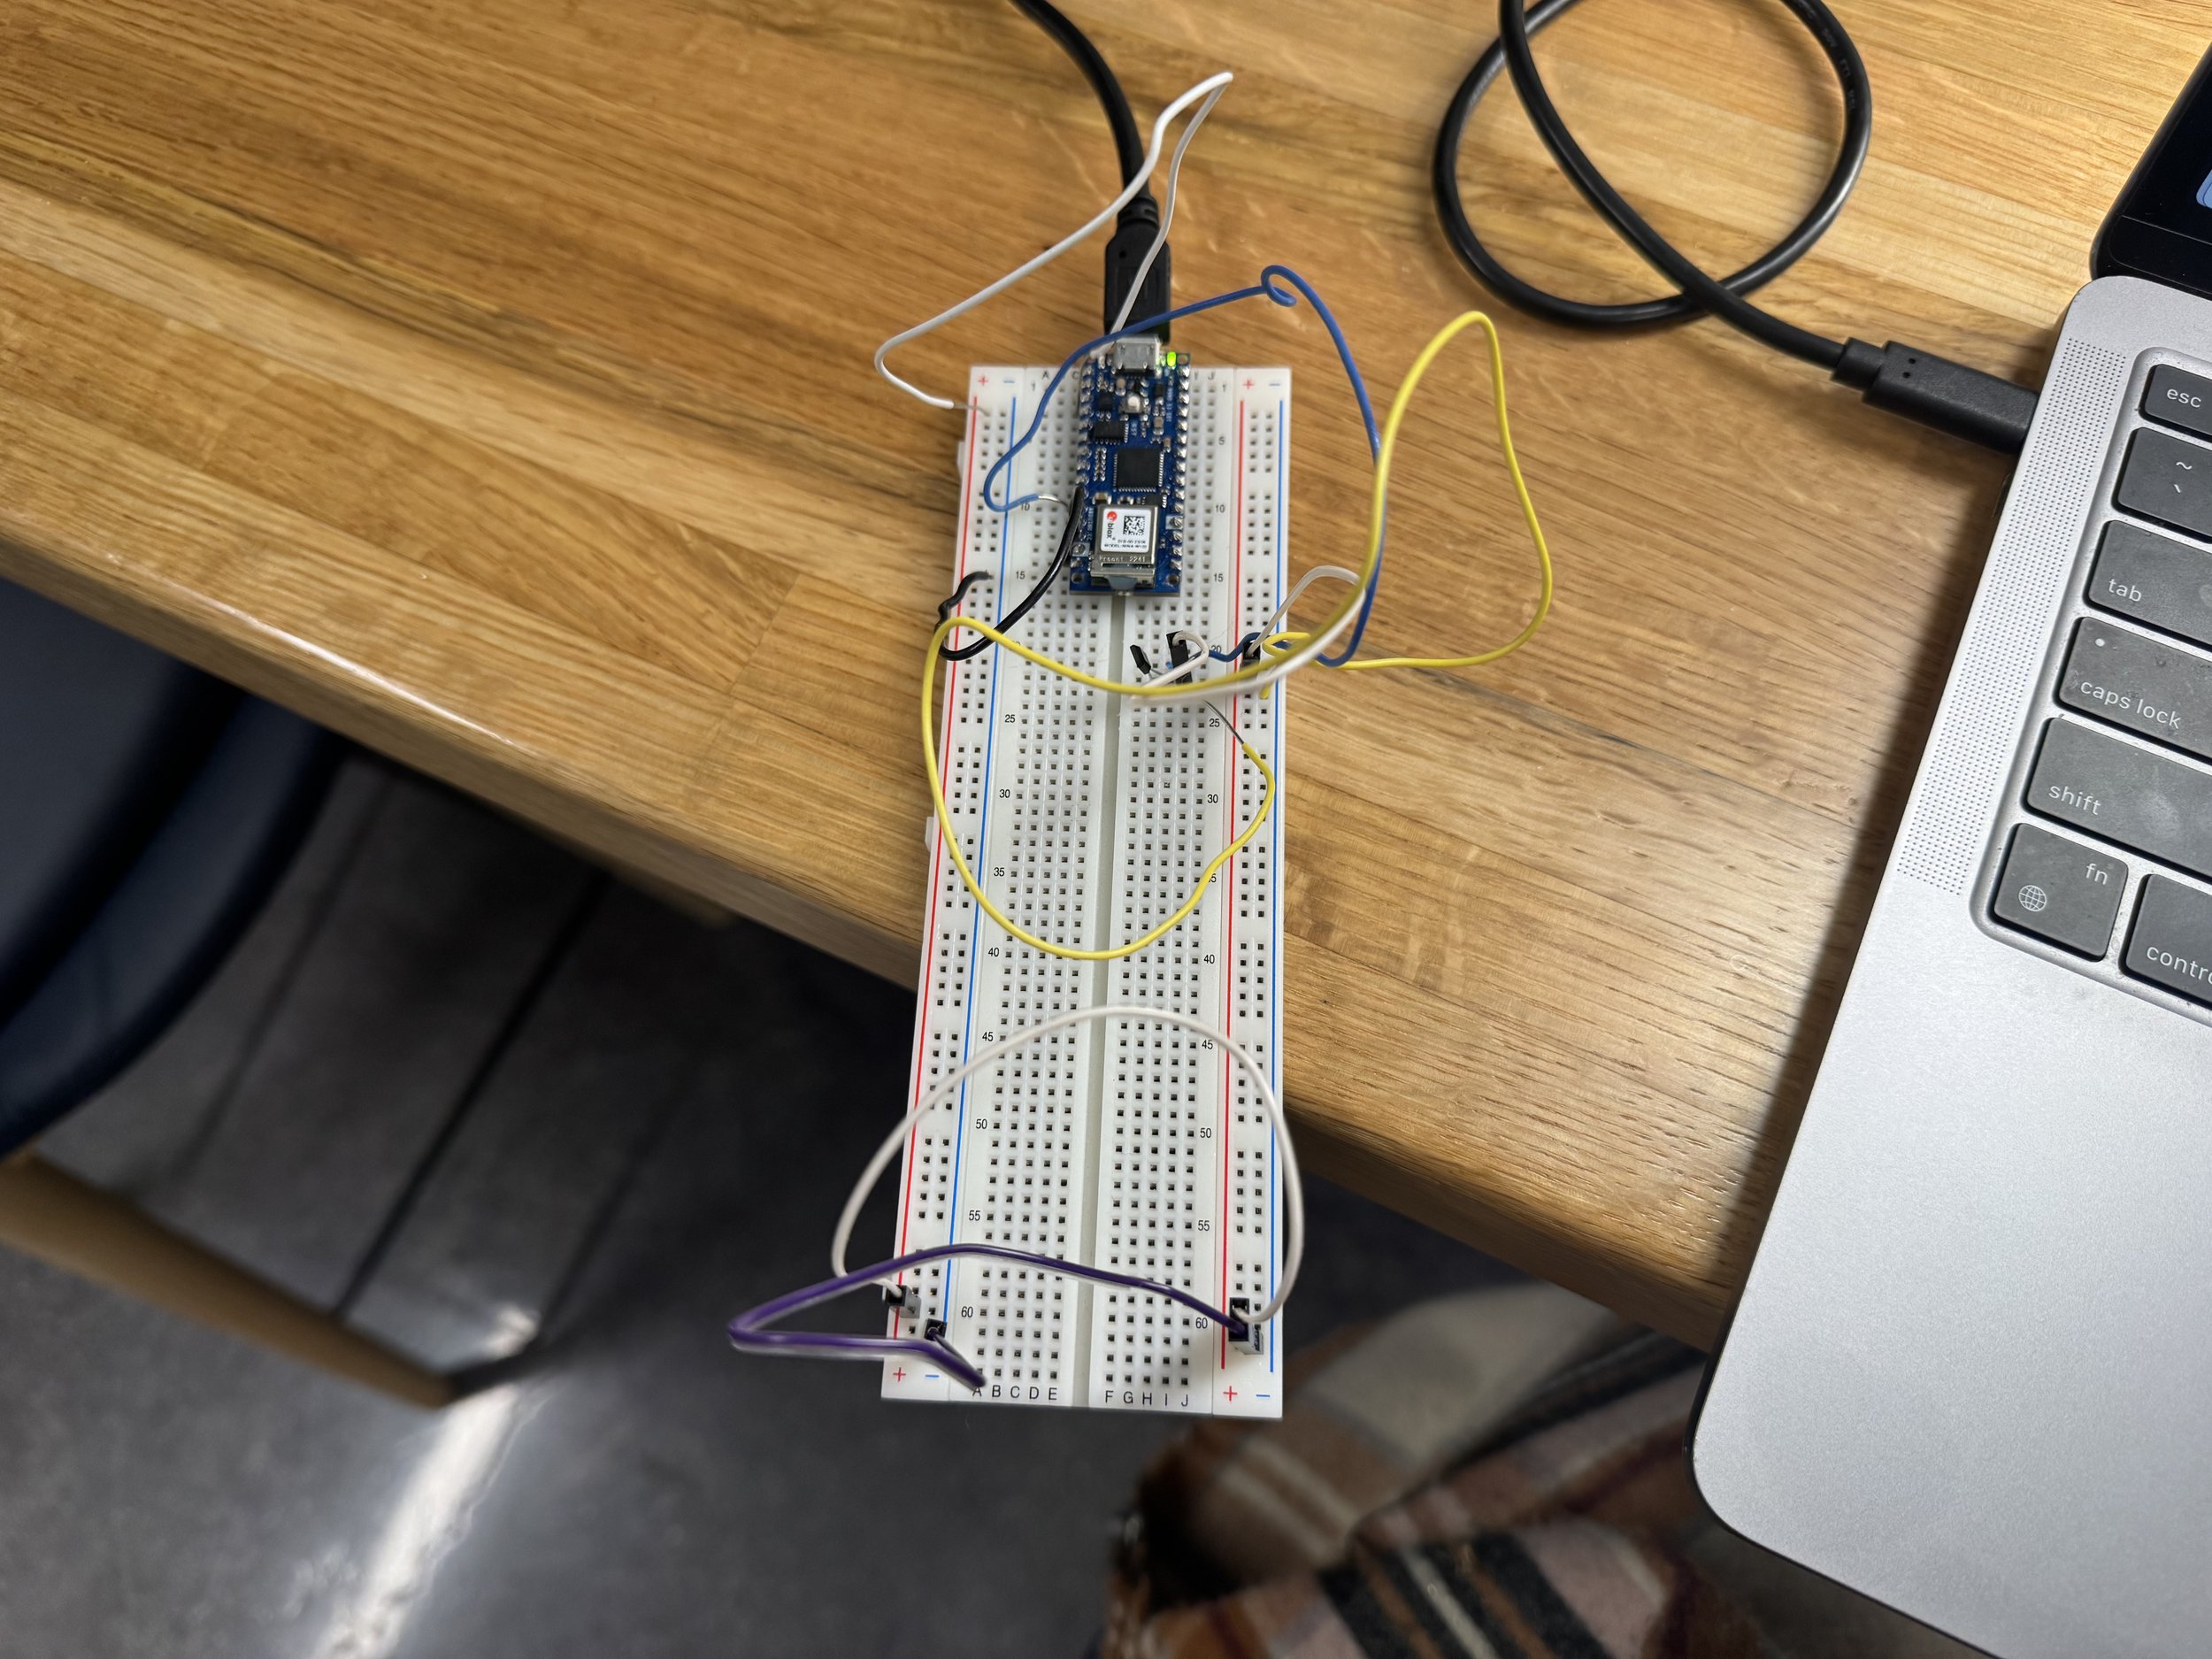
I had wired up the circuit but had not tested it, so on Sunday, Prisha had told me that the range of readings I should get without the pull-down resistor should be around 400 if it is wired up correctly. So when I wired it up and tried it, the circuit was working fine.
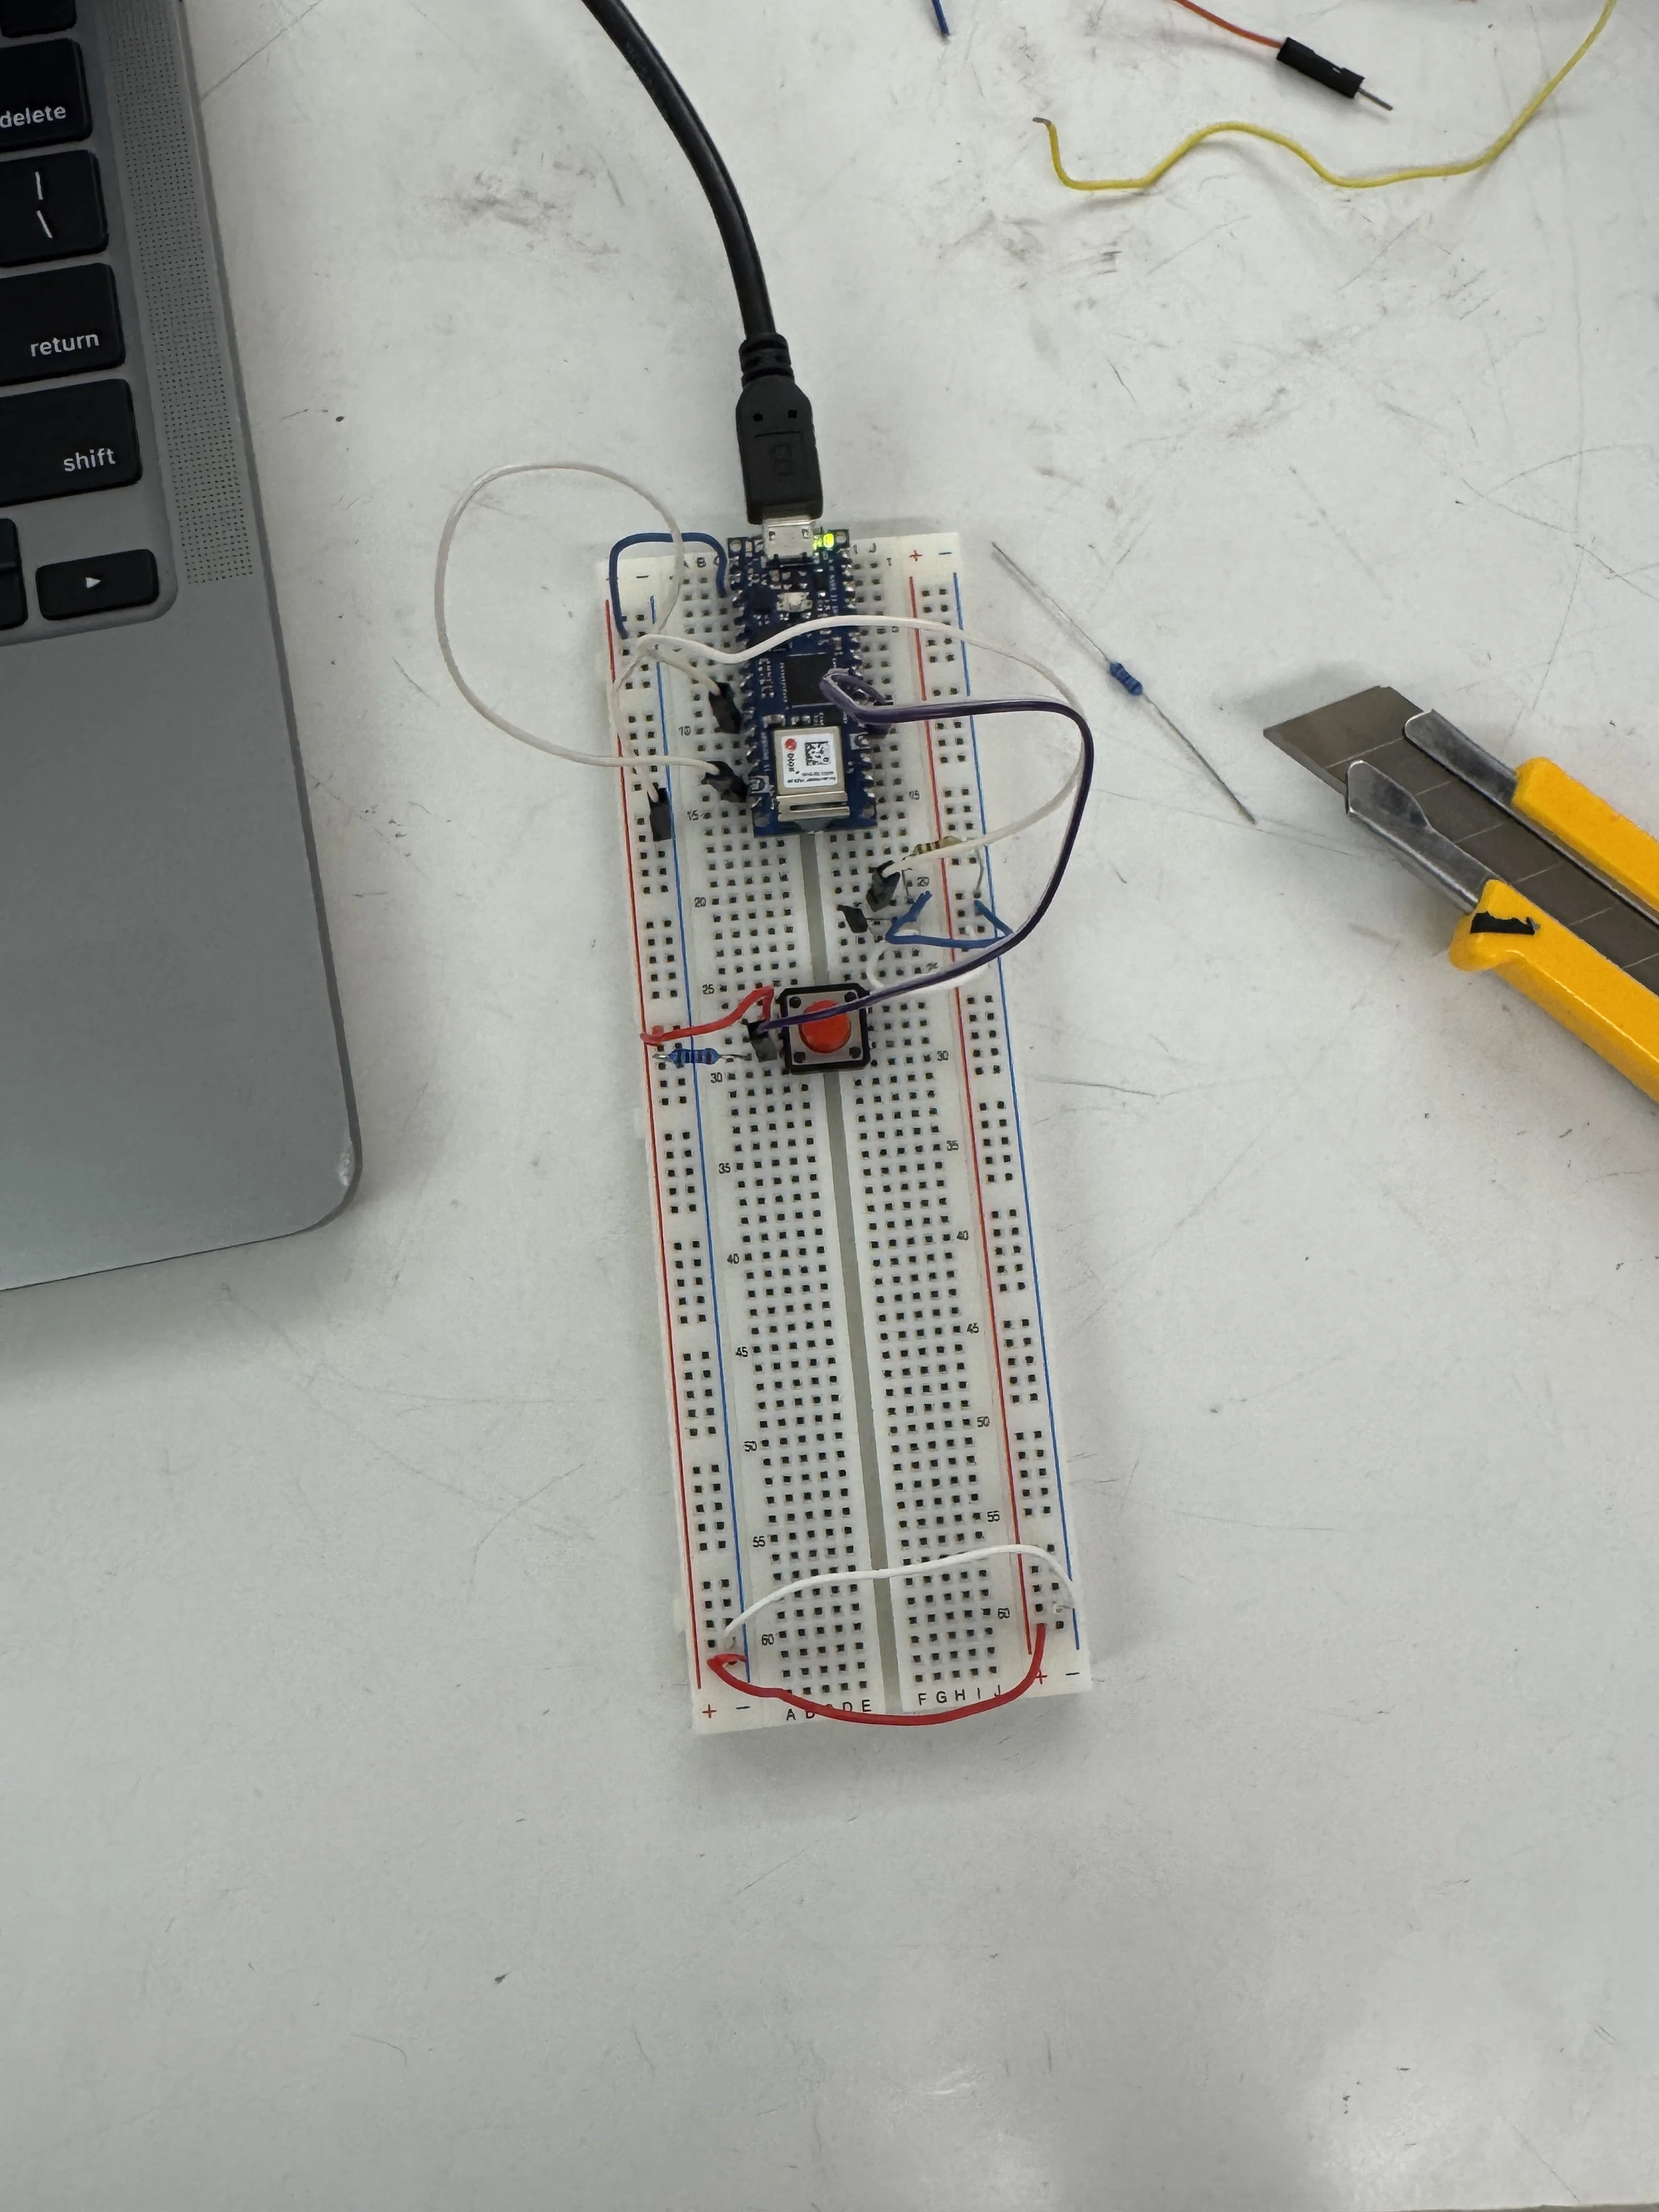
On Friday before class, I prototyped the switch mechanism using a pushbutton.
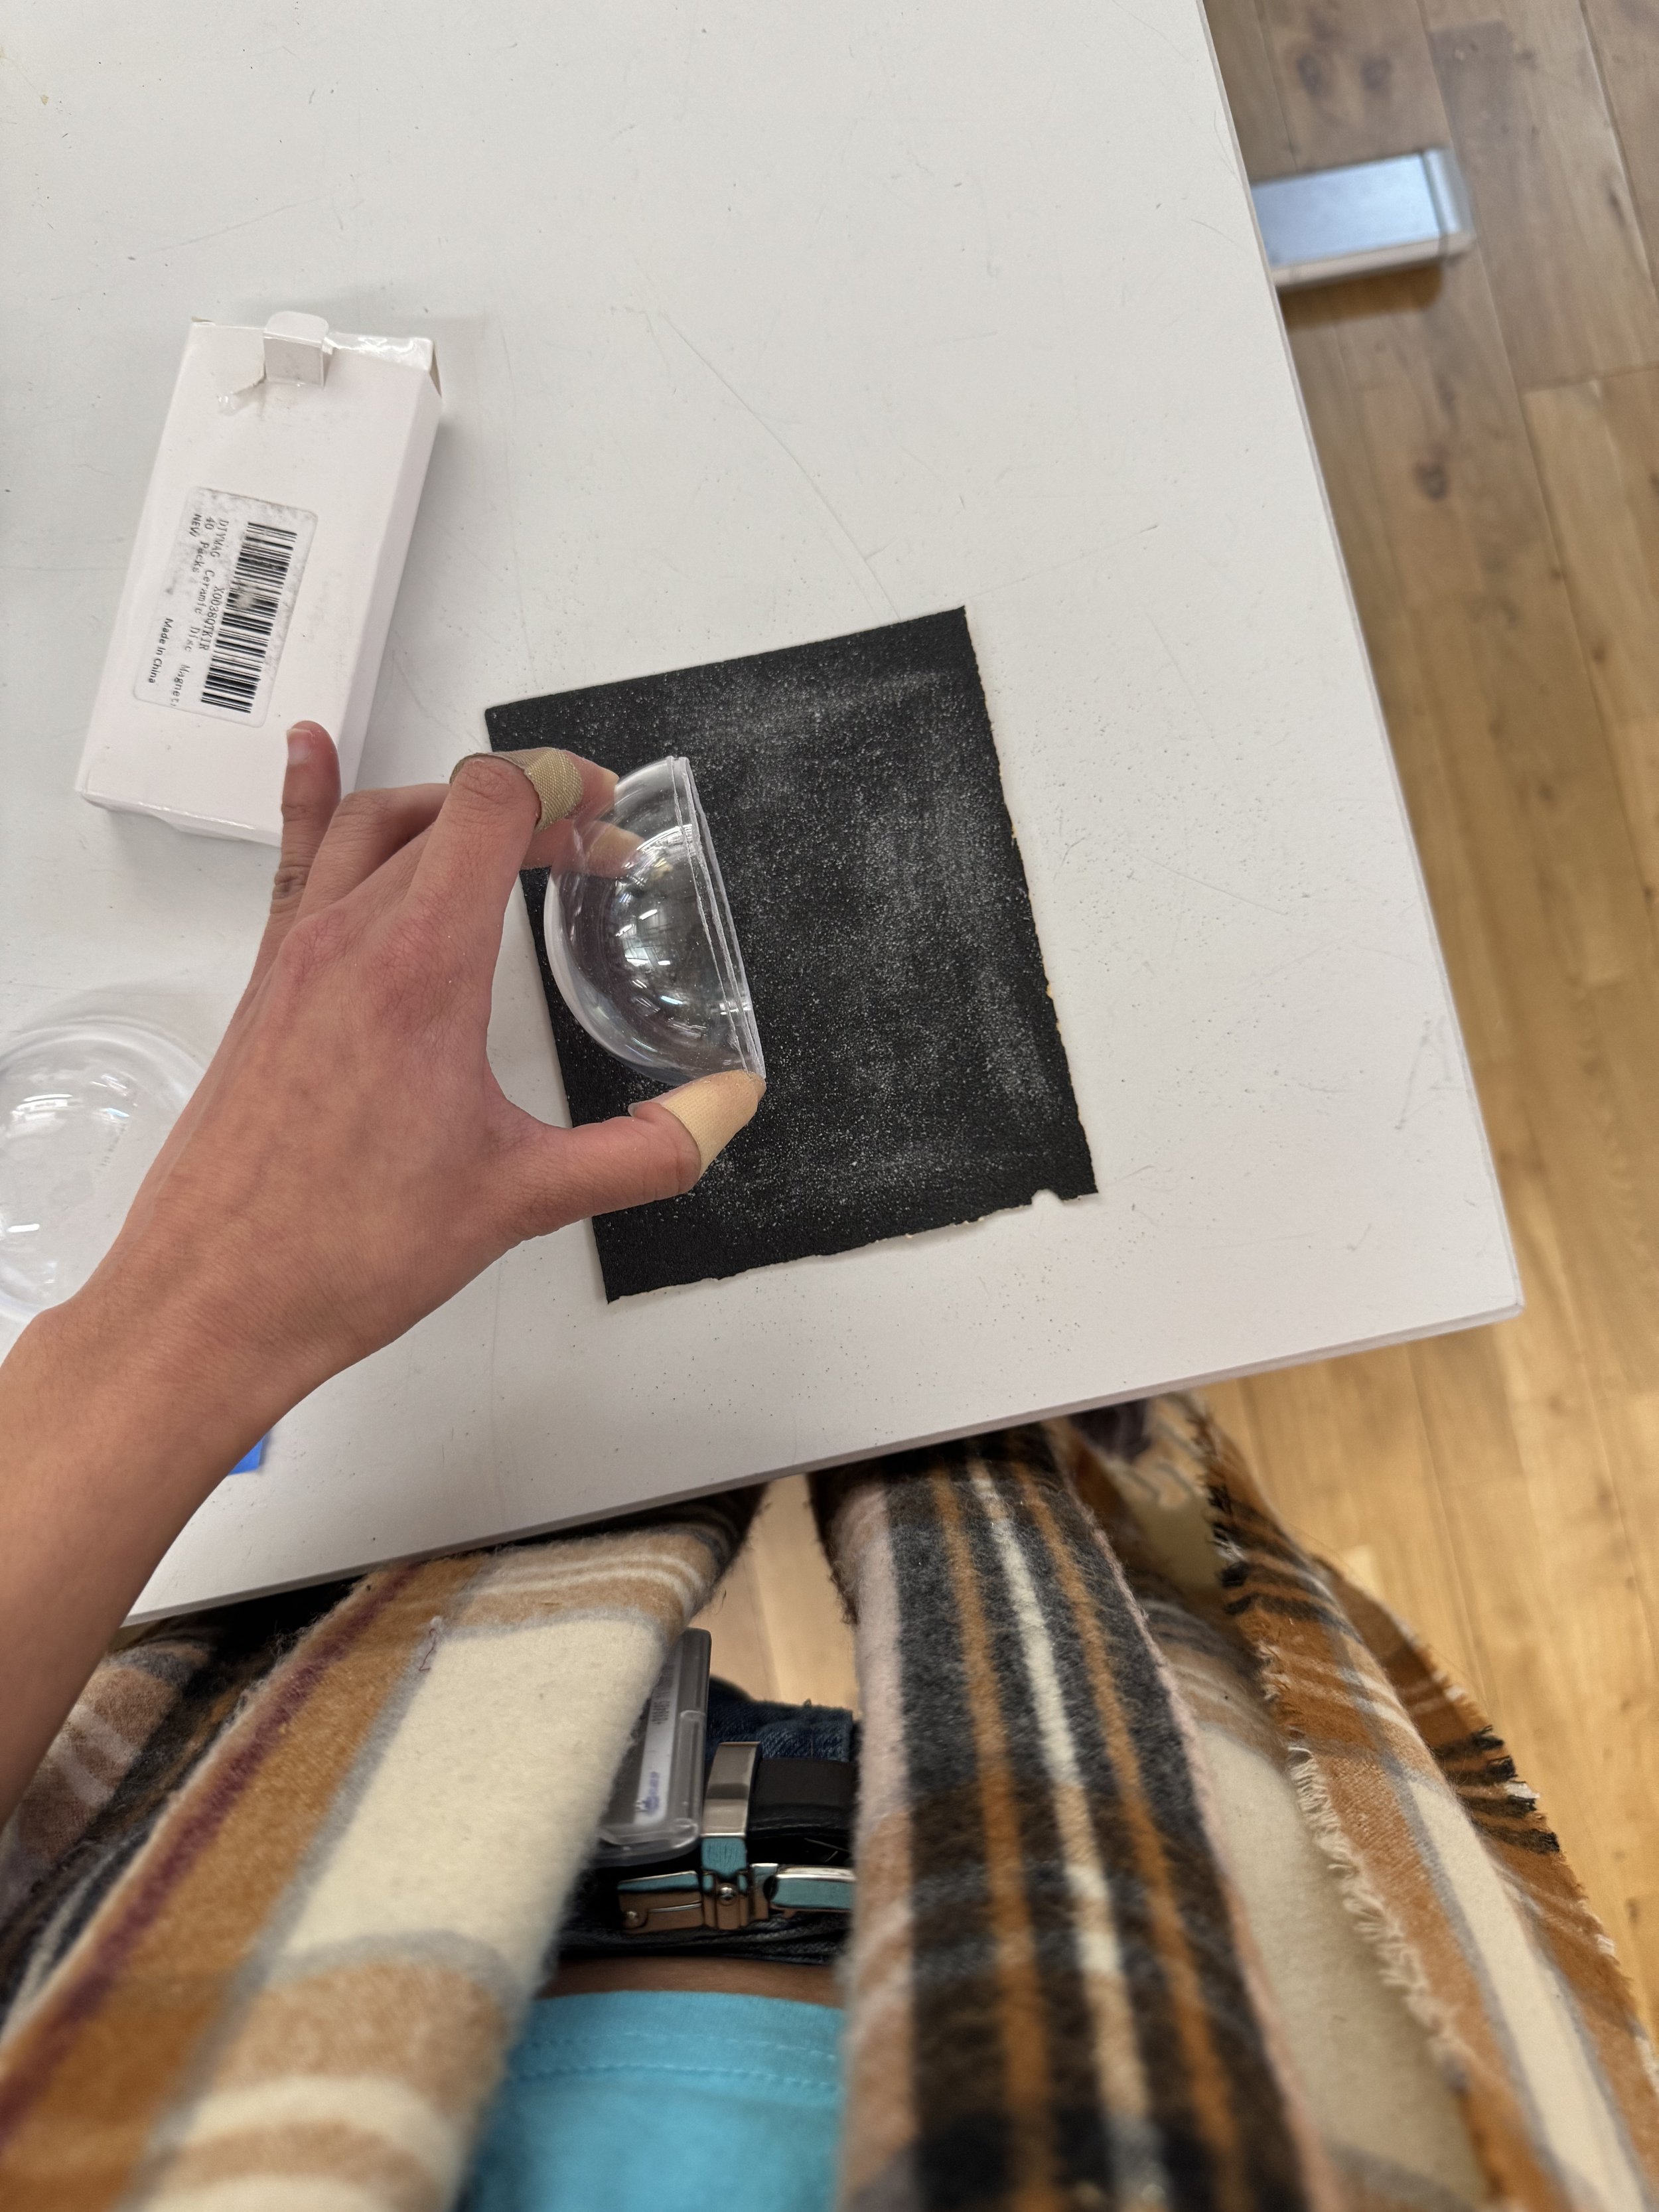
Then before class to make the half spheres open more easily, I used a sandpaper of 100 grit to smoothen the edges.
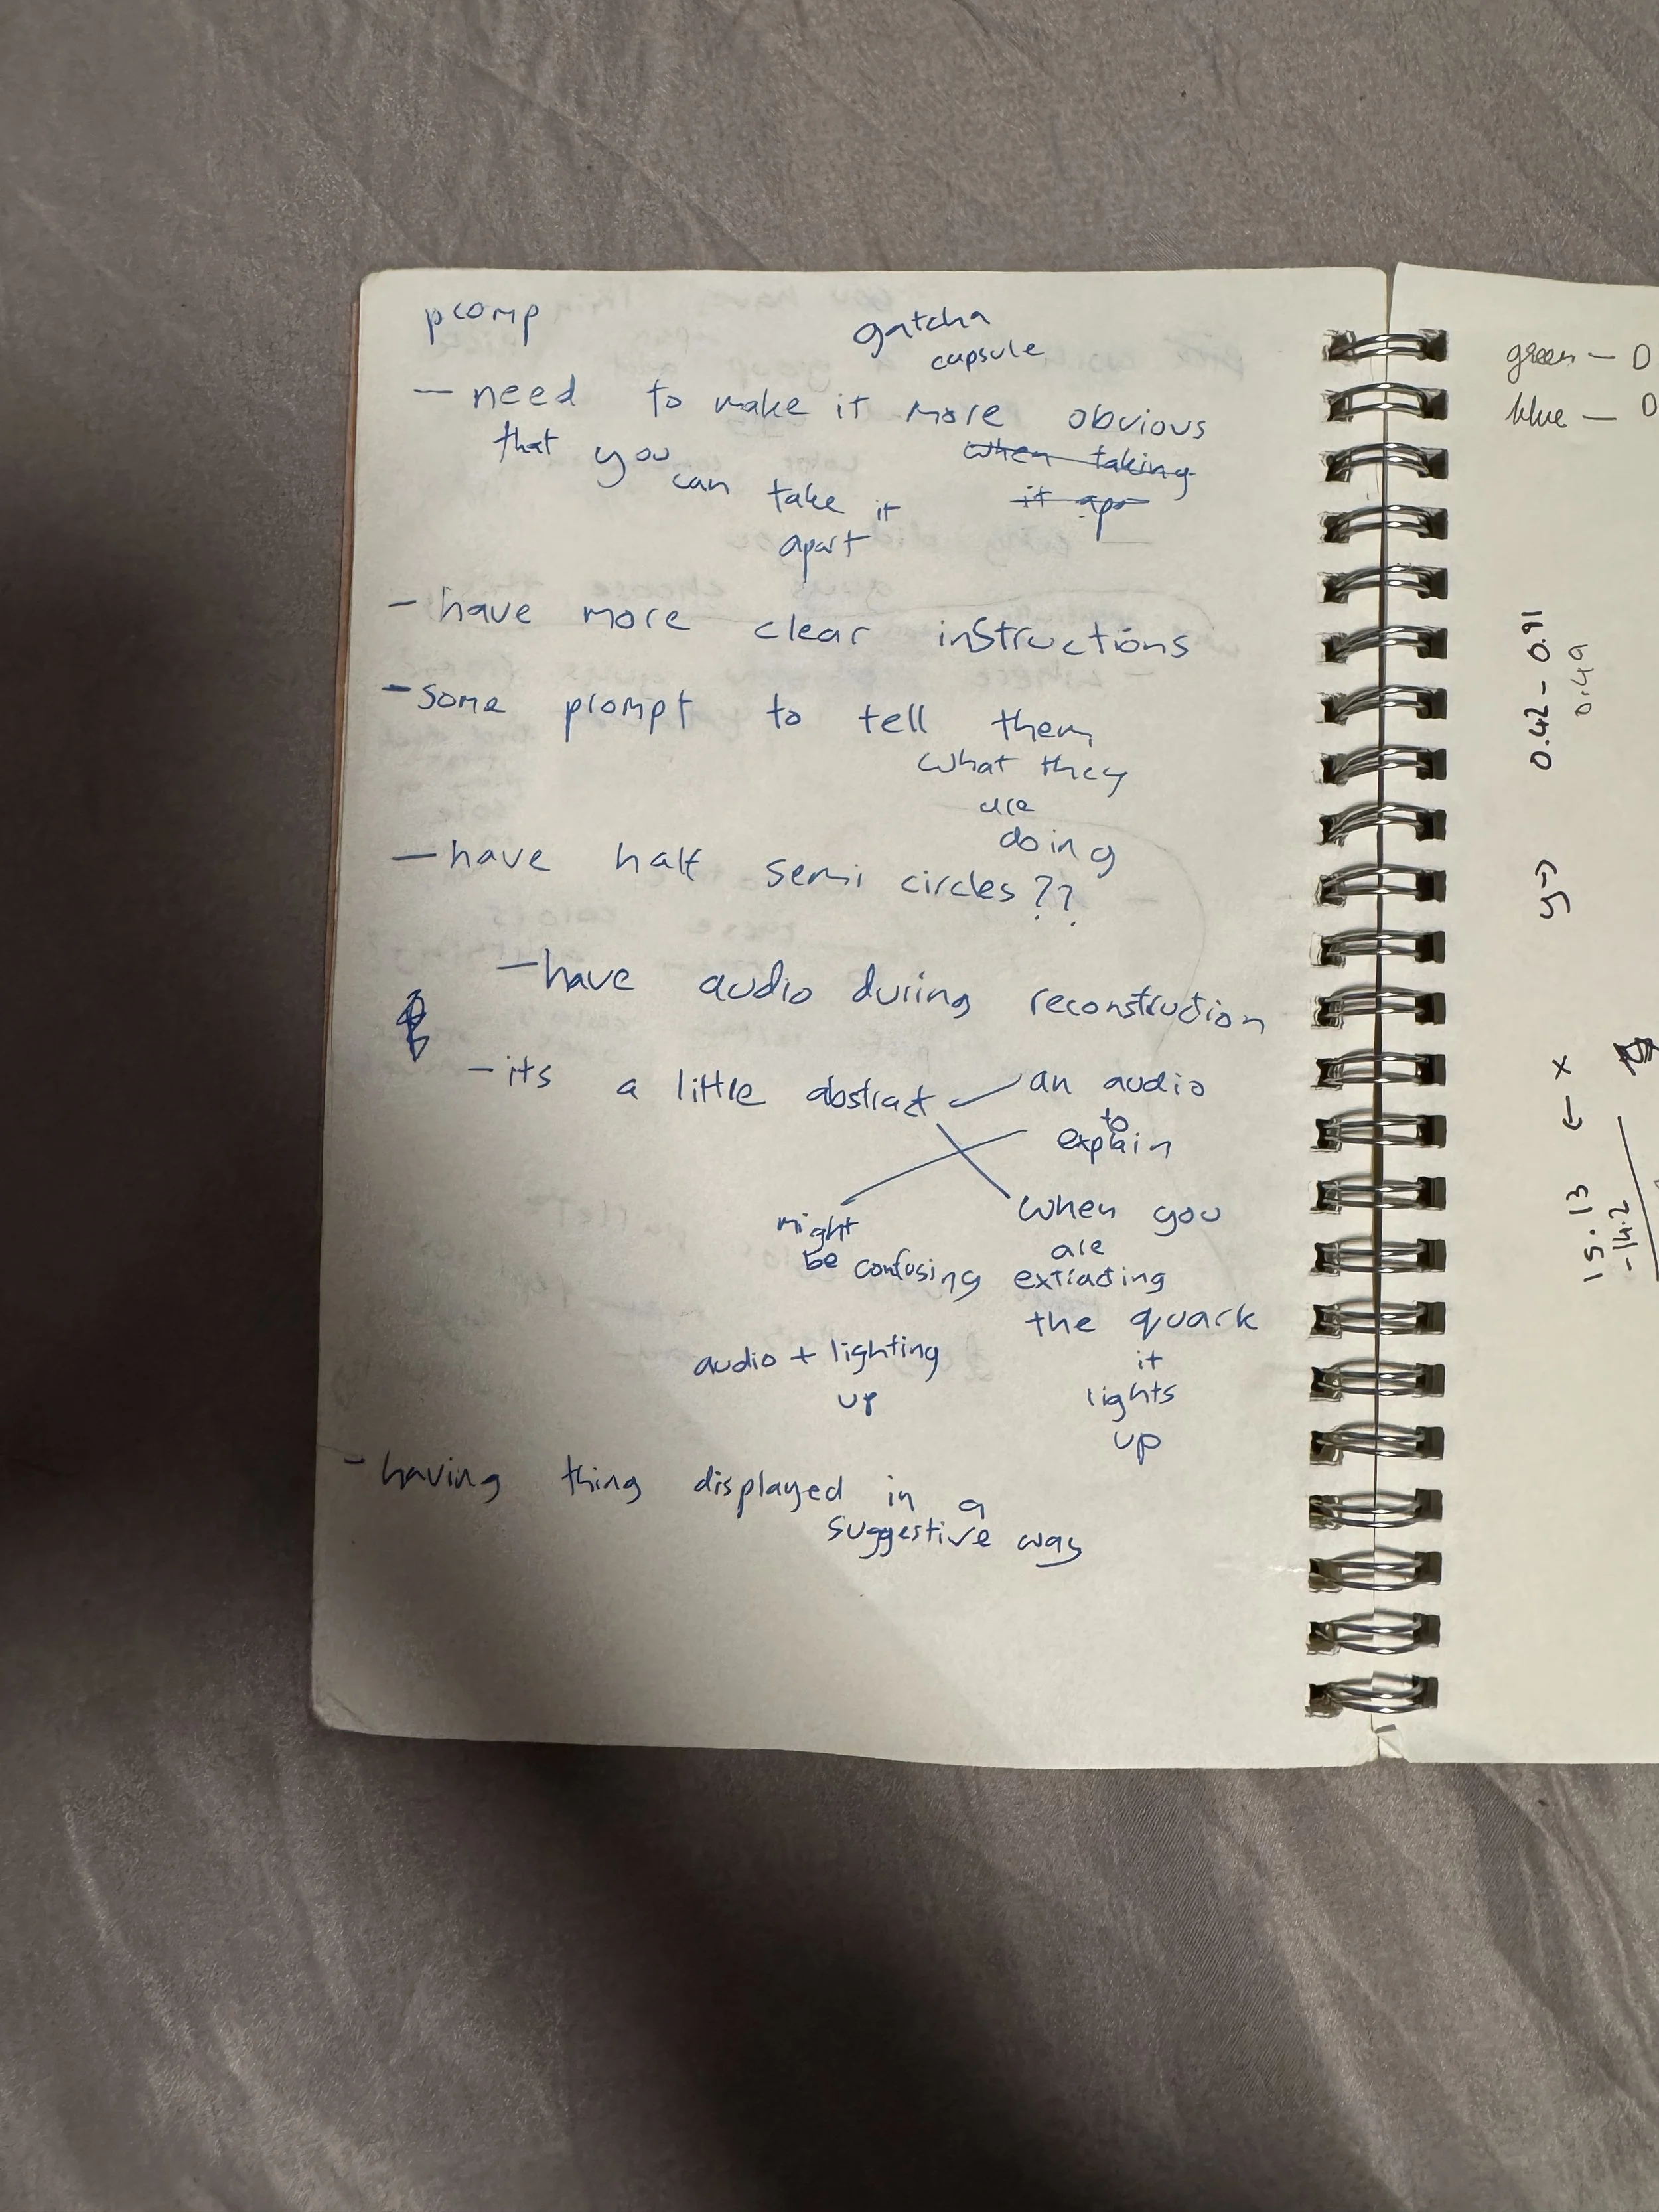
I got a bunch of feedback during the playtest. A lot of people said they learnt a lot more than they knew before, which was my intention. One piece of feedback I got was that people were scared to open the spheres, so I need to make it more inviting. Many people, even though they learnt a lot from the playtest, realised that the concept is abstract, so they said that audio or more interaction would help them understand it more clearly. I think I still want to focus on explaining what quarks are and the difference between up and down quarks. Some people even suggested having a semi-circle, but I think the deconstruction is what makes the game more inviting.
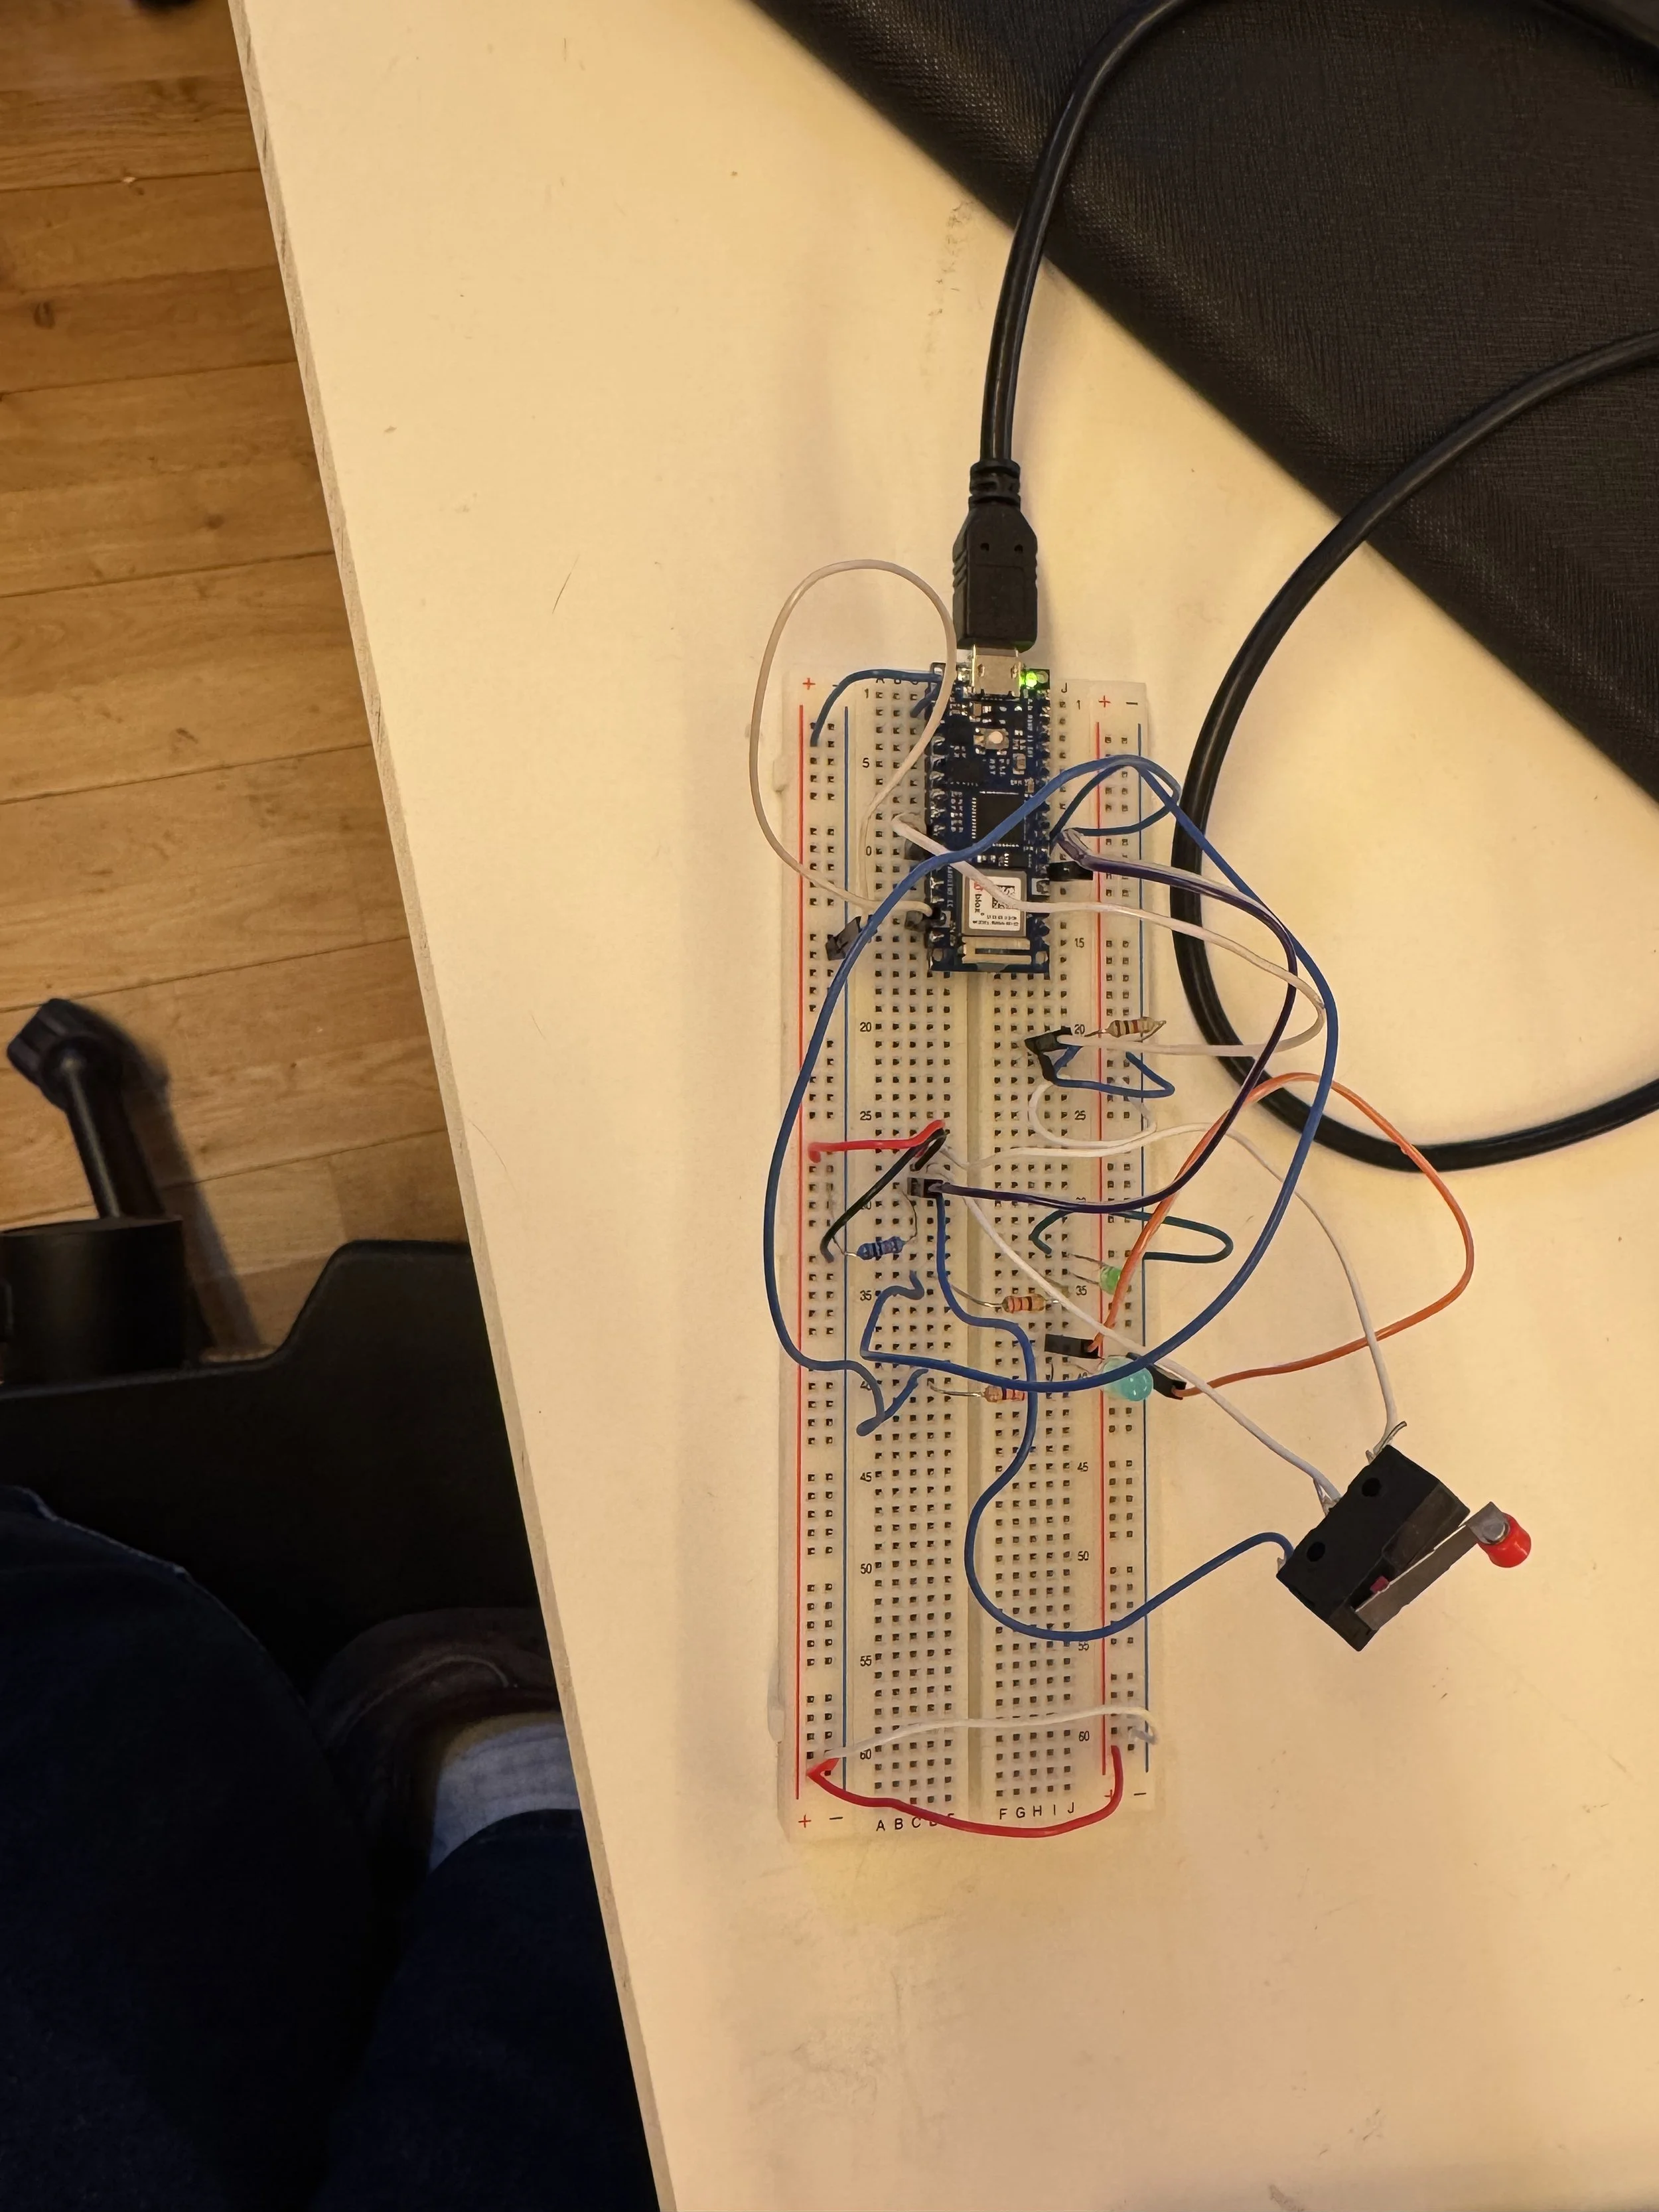
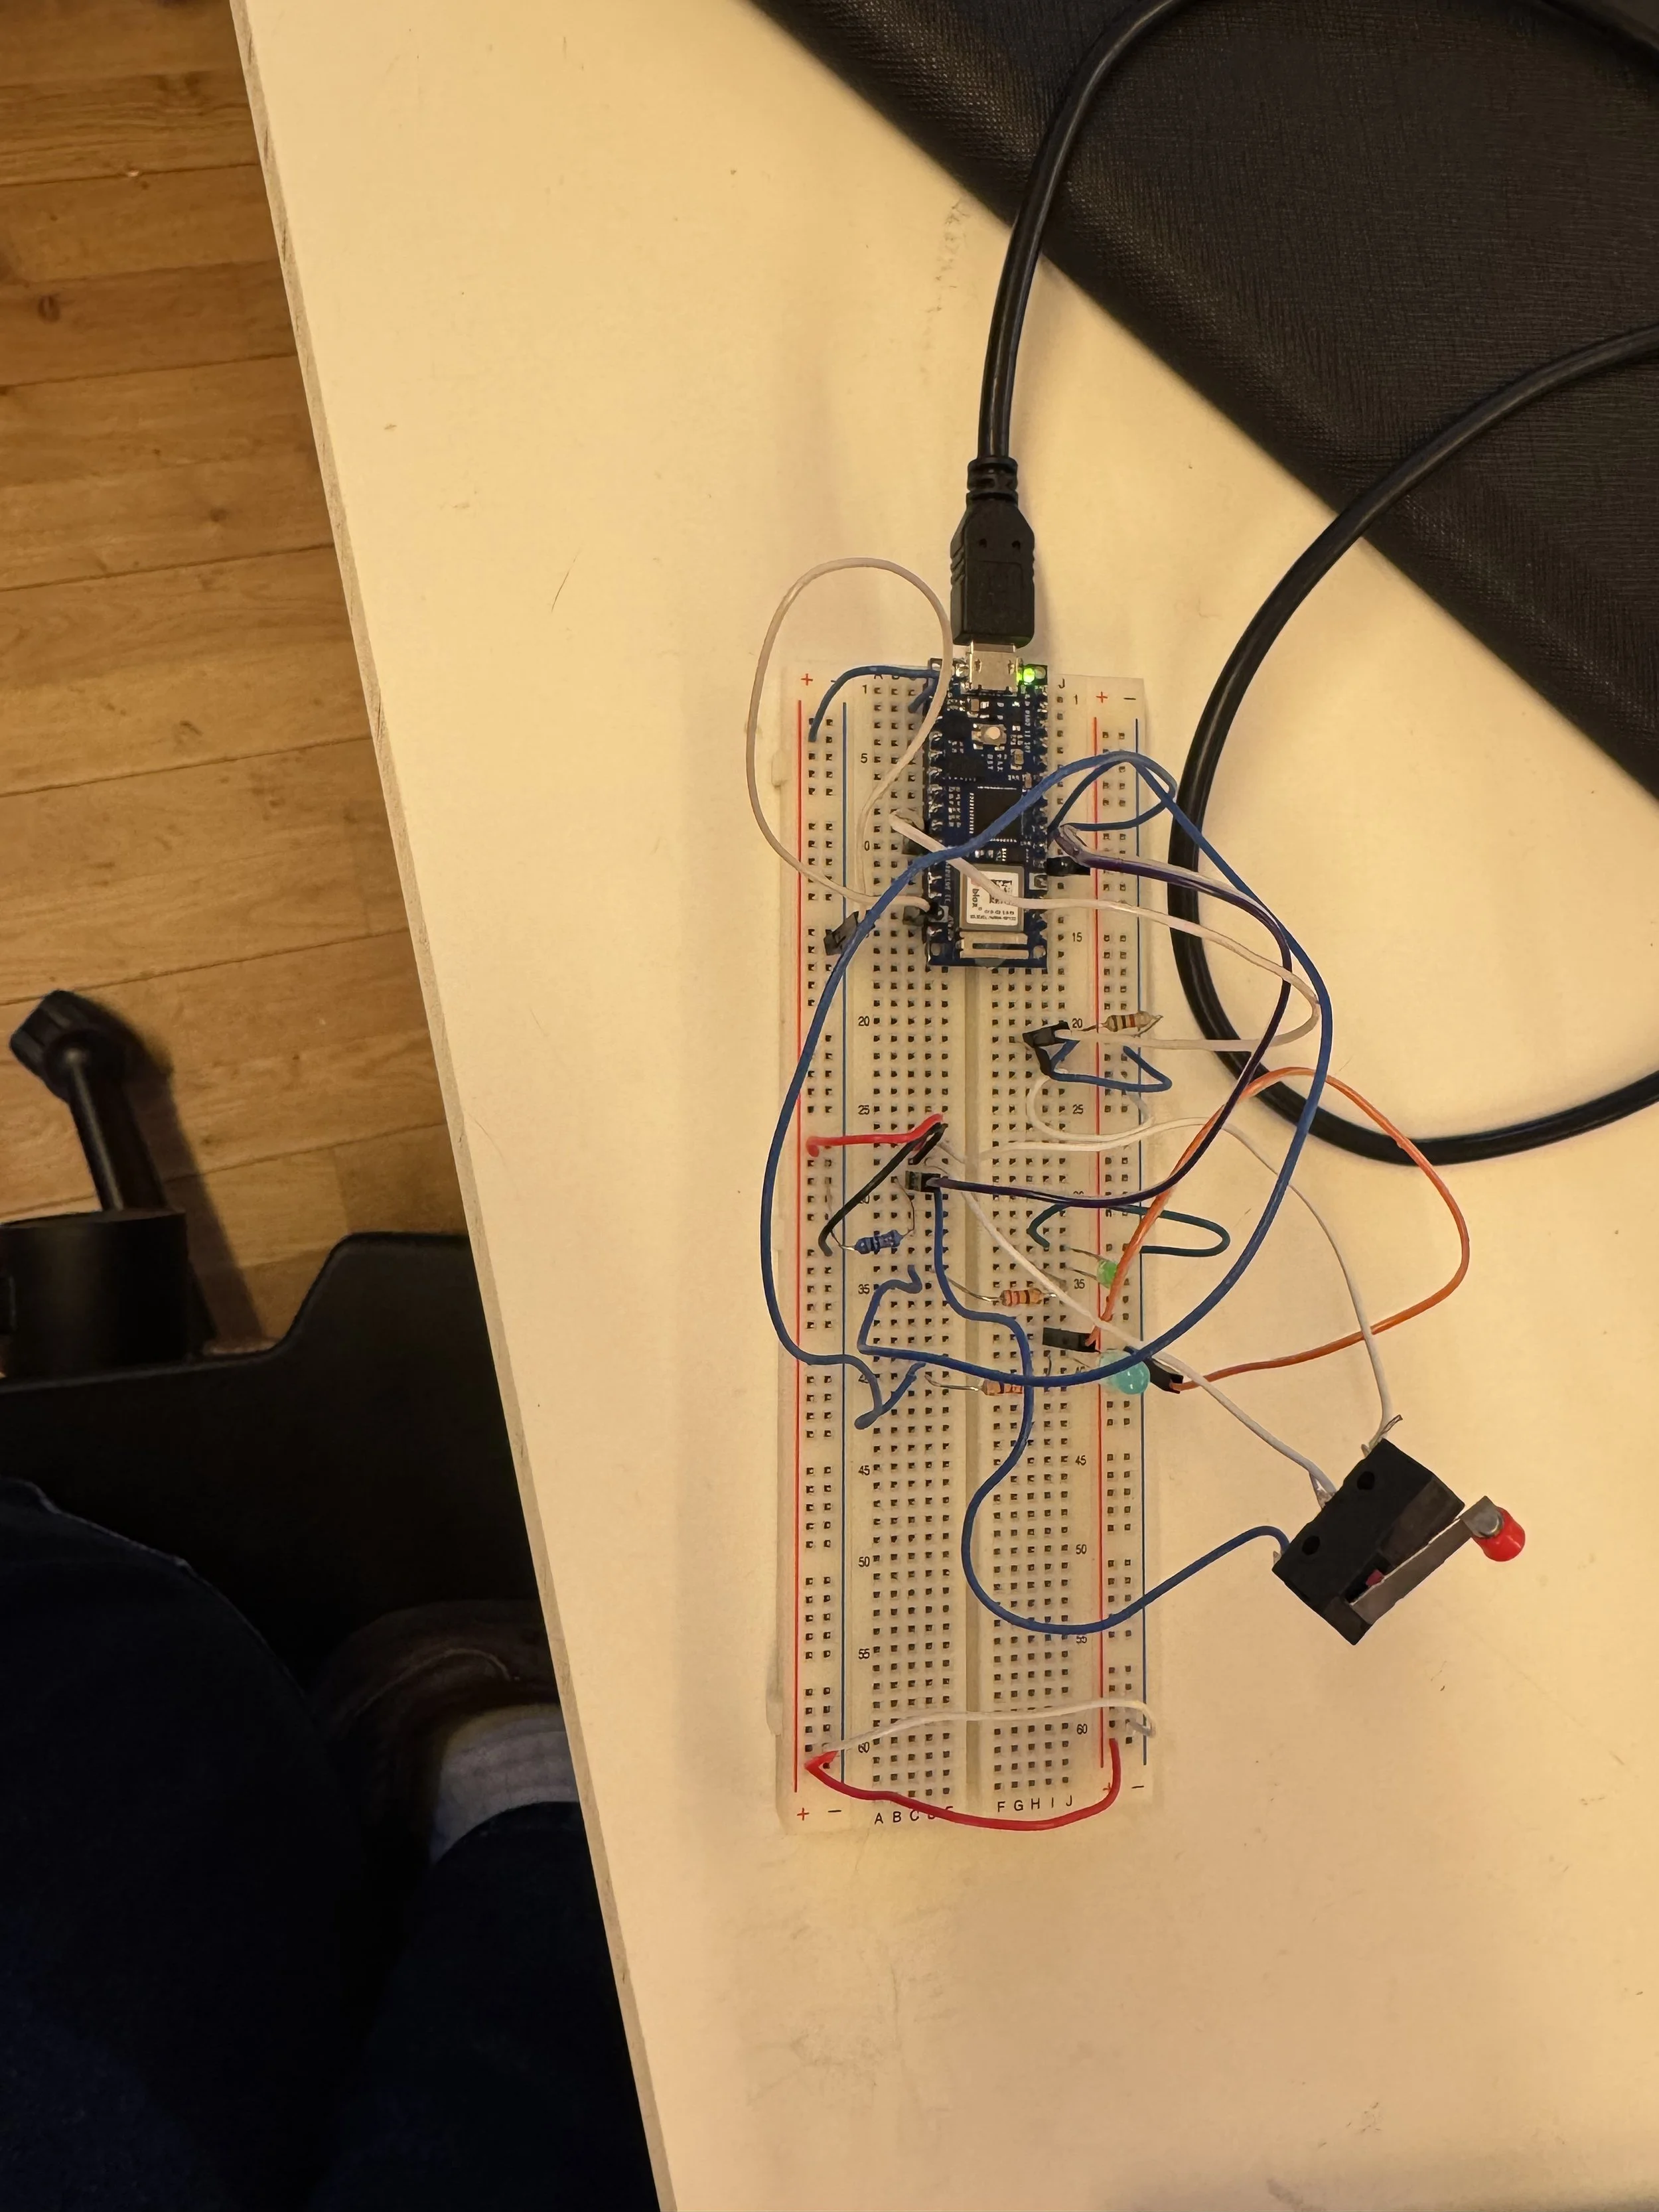
Then by Saturday, the micro limit switch that I had ordered came in, so I rewired my circuit and coded it to make the switch mechanism work with the LEDs. The microlimit switch was a NO/NC switch, so I had to understand that a little bit. I had initially swapped the ground and the C pin, so my Arduino was heating up, but I fixed that by talking with people in the Shop. I also was not able to find a specific datasheet for this switch, which was not something that I expected.
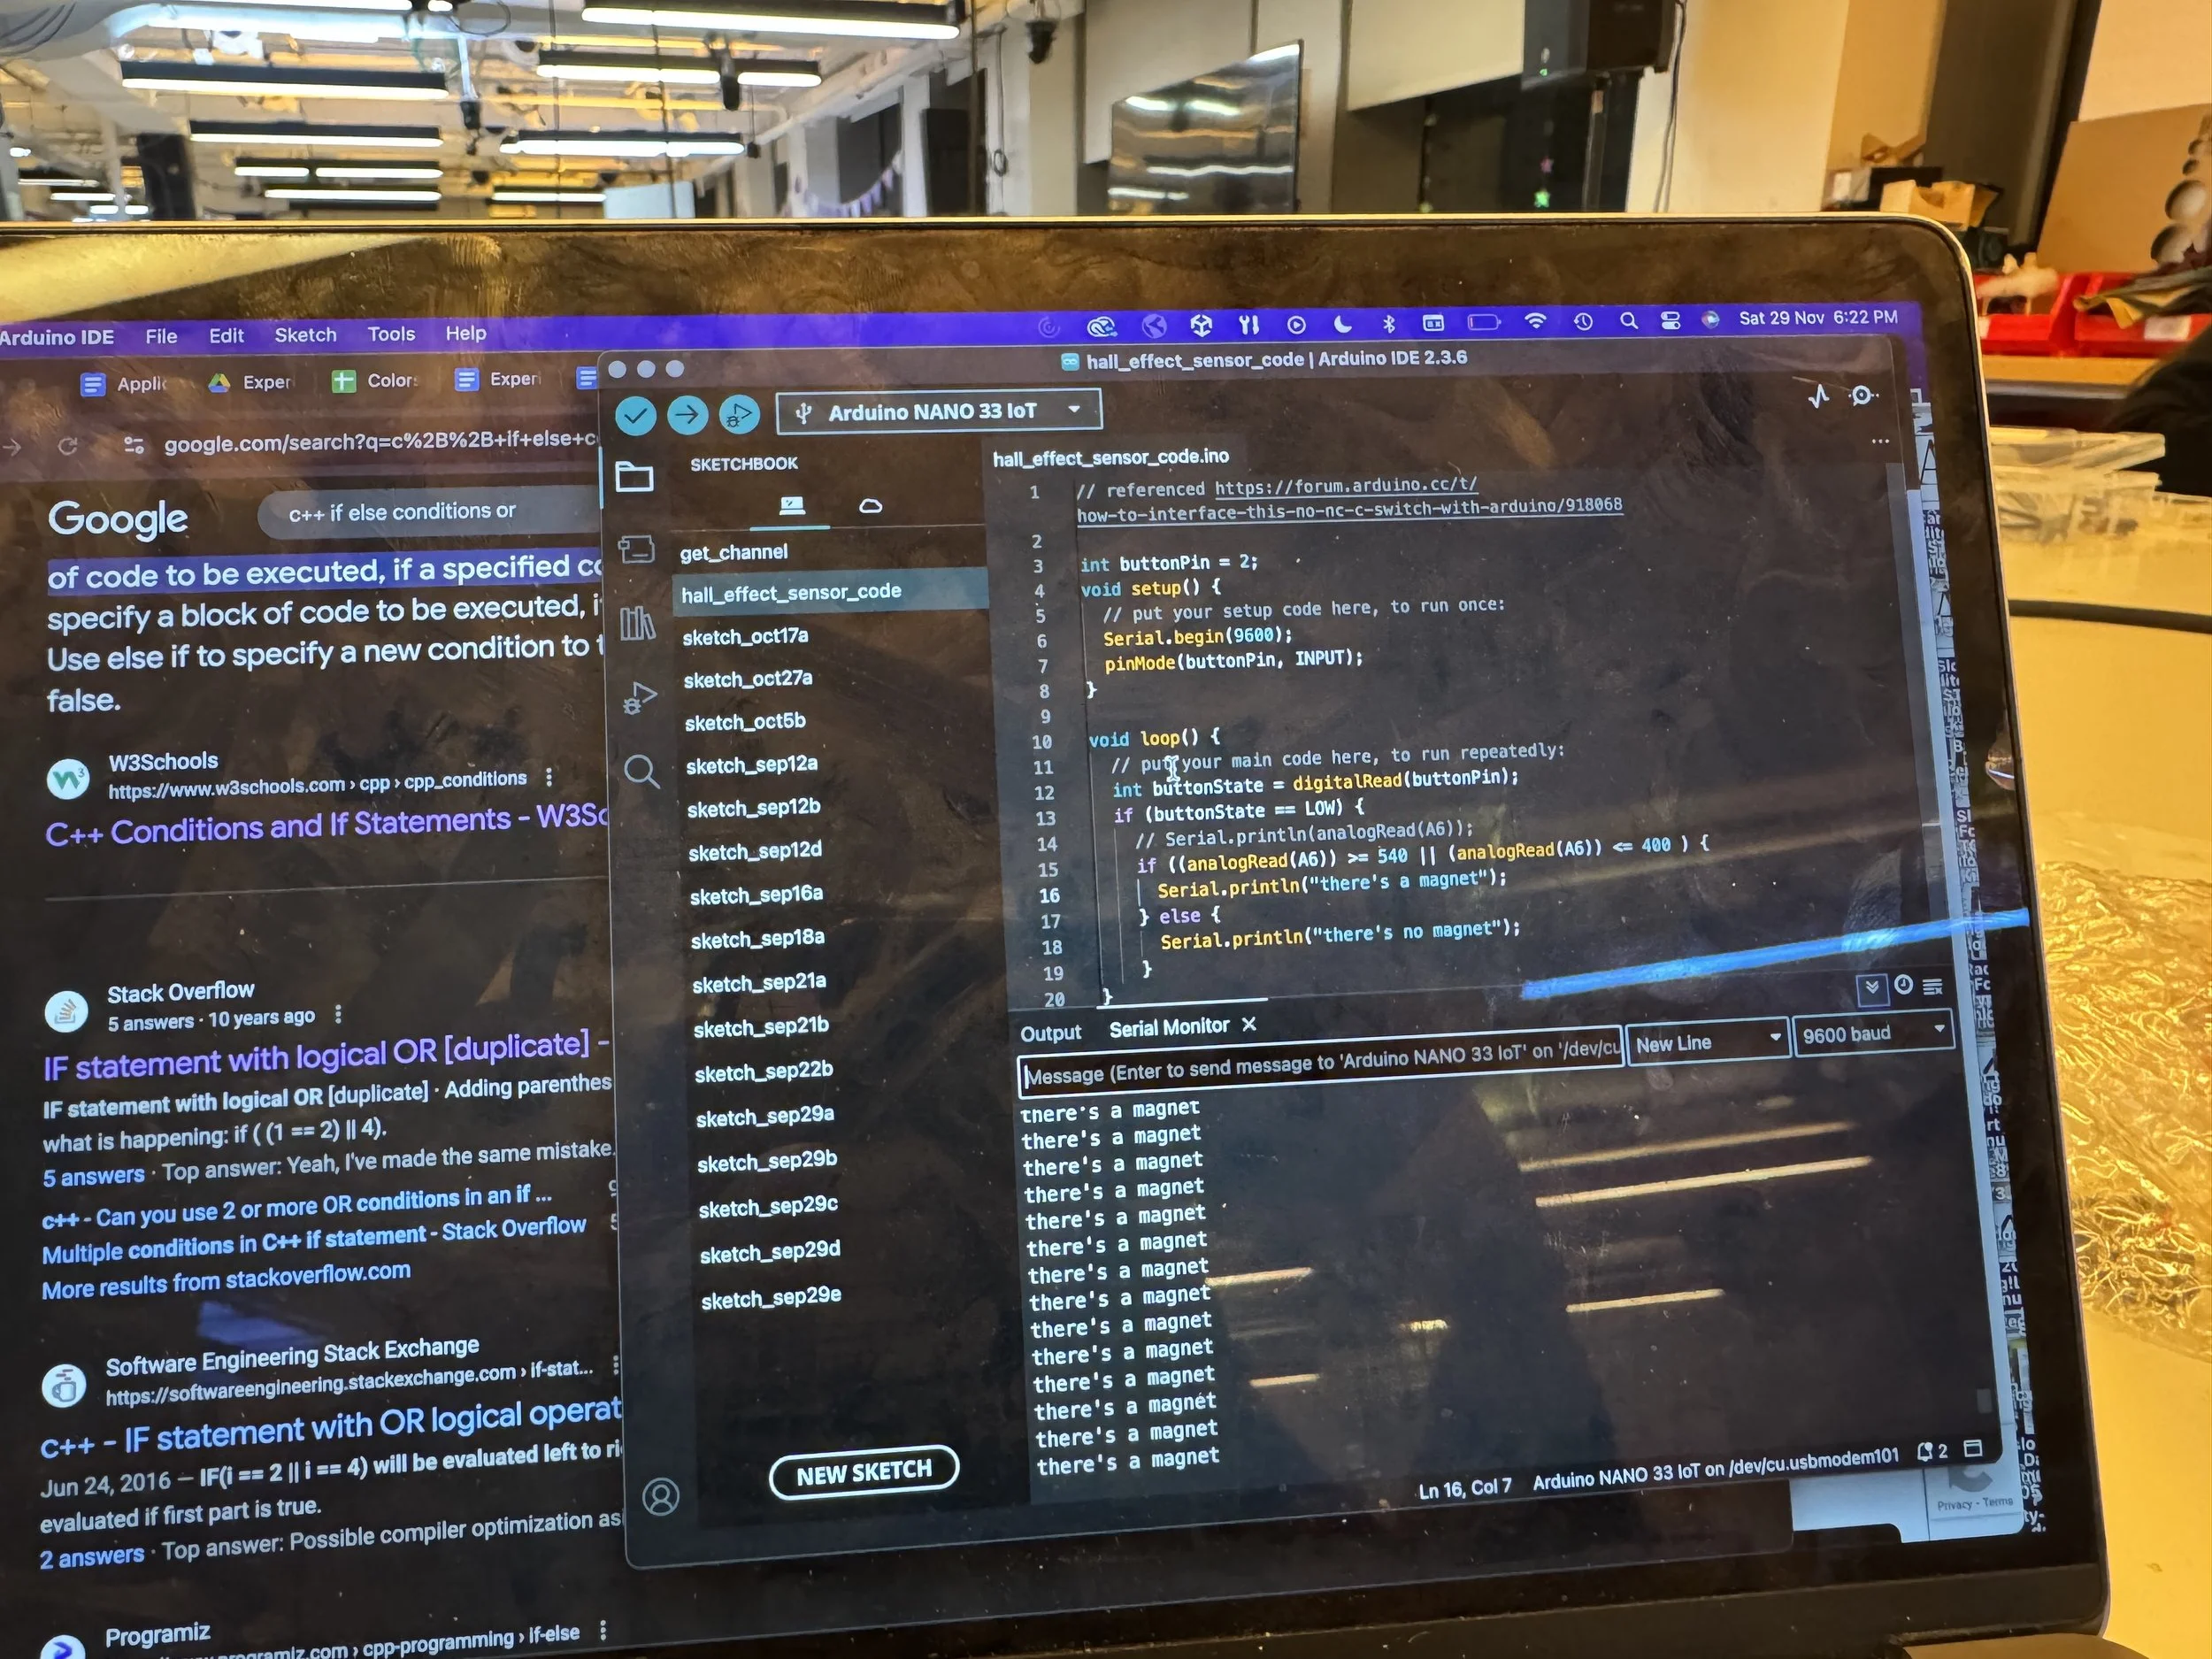
// referenced https://forum.arduino.cc/t/how-to-interface-this-no-nc-c-switch-with-arduino/918068

const int greenLED = 3;
const int blueLED = 4;
int buttonPin = 2;
void setup() {
  // put your setup code here, to run once:
  Serial.begin(9600);
  pinMode(buttonPin, INPUT);
  pinMode(greenLED, OUTPUT);
  pinMode(blueLED, OUTPUT);
}

void loop() {
  // put your main code here, to run repeatedly:
  int buttonState = digitalRead(buttonPin);
  if (buttonState == LOW) {
    // Serial.println(analogRead(A6));
    if ((analogRead(A6)) >= 540 || (analogRead(A6)) <= 400 ) {
      Serial.println("there's a magnet");
      digitalWrite(3, HIGH);
      delay(500);
      digitalWrite(3, LOW);
    } else {
      Serial.println("there's no magnet");
      digitalWrite(4, HIGH);
      delay(500);
      digitalWrite(4, LOW);
    }
}
}
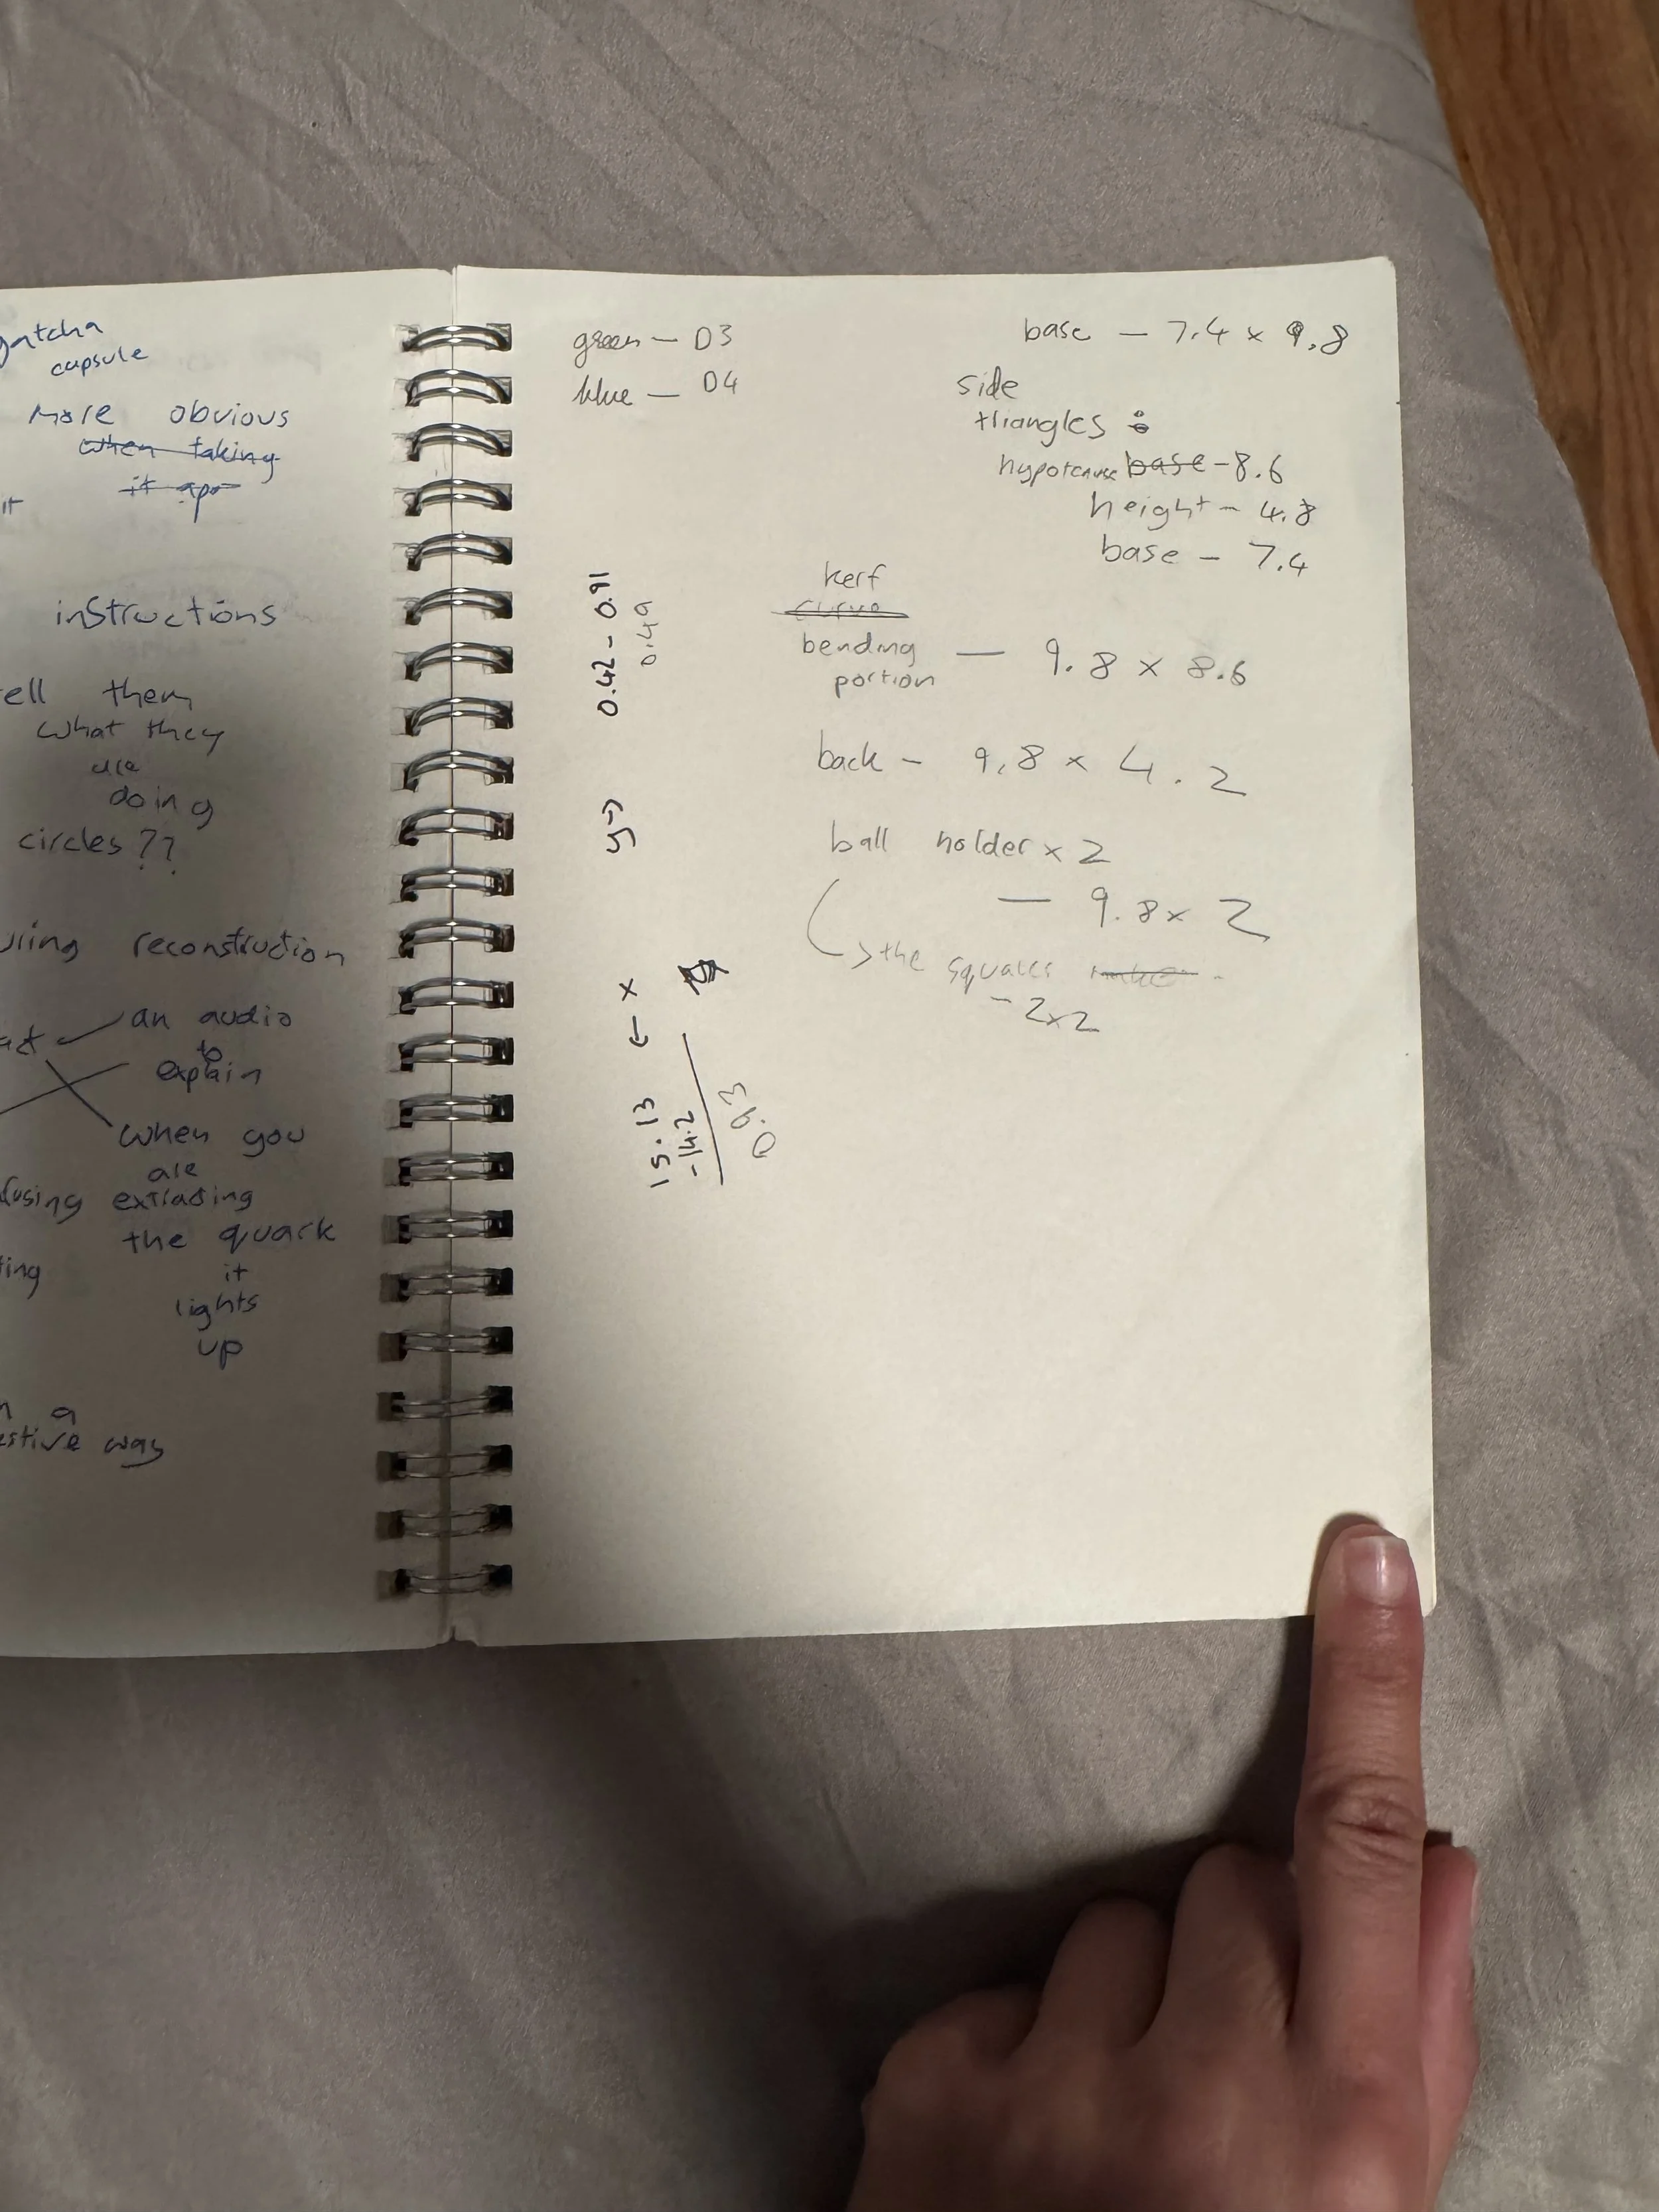
At this point, I still hadn’t figured out the mechanics of the second portion of my game, but I realised I had to get started with fabrication, so I took apart the cardboard prototype and measured the parts. Using that, I asked Arjun for help with Illustrator, and made the Illustrator files for laser cutting on Saturday and Sunday.