
Week 3
In Class
In class, it began with a lot of our lab questions being answered. One important thing that I learnt that I felt like I wasn't clear about was understanding how serial numbers worked, and also how to read them. Through the serial plotter, we could monitor the changes in the serial numbers, and sometimes it lines up with the pattern of your heartbeat, which was really interesting to learn about.
Then, the other lab questions were about the Force sensor lab and how that should have a limited range, and we can add the limited range with this:
constrain(brightness, 0, 255)
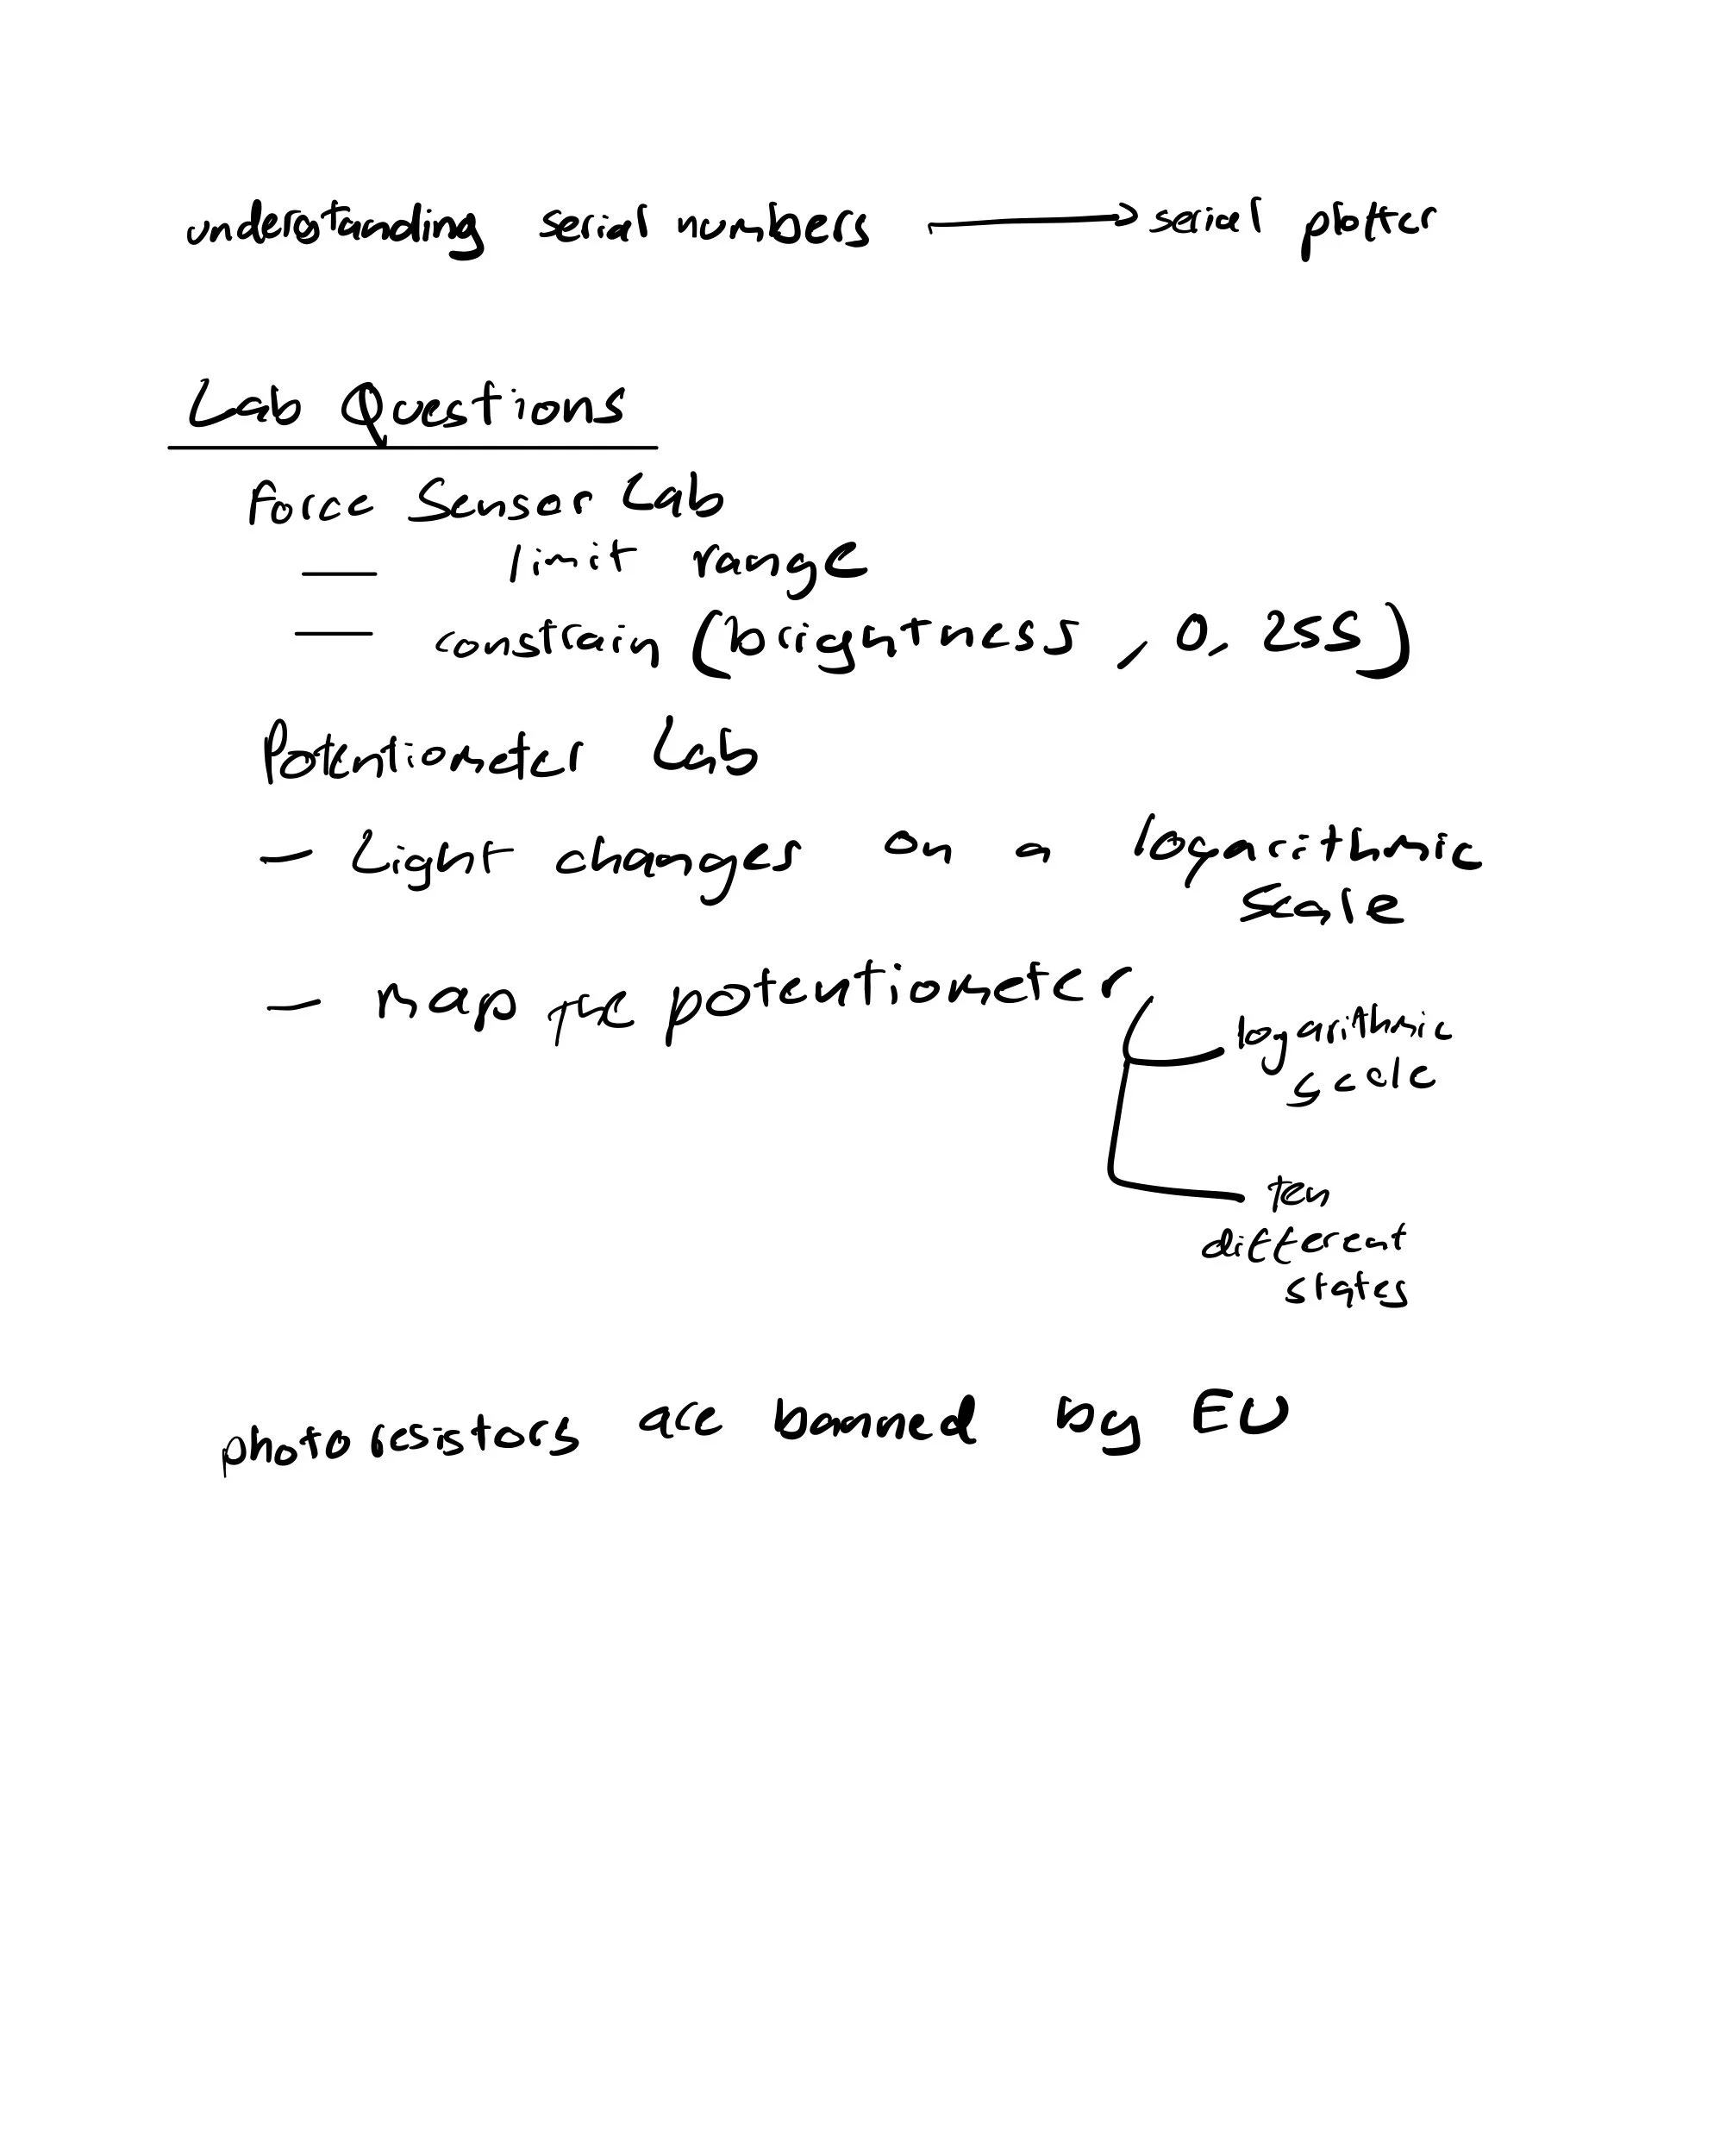
I had questions about the potentiometer lab. I was wondering if the potentiometer was working correctly. The potentiometer wasn't dimming as well as I thought. Then I learnt that the potentiometer changes the light on a logarithmic scale, so that we could map the potentiometer to a logarithmic scale or ten different states. Hence, it dims more smoothly. In class, Arjun asked how many LEDs might be marked on various states, and it made me think that that's such a tedious process. There must be a more efficient method.
Another interesting fact that I learnt while lab questions were being answered was that the EU bans photoresistors.
Furthermore, in class, we learned that Fritzing is a valuable tool for drawing circuit schematics. However, it is paid. However, the good part is that the free version allows users to upload SVGs and create circuit schematics.
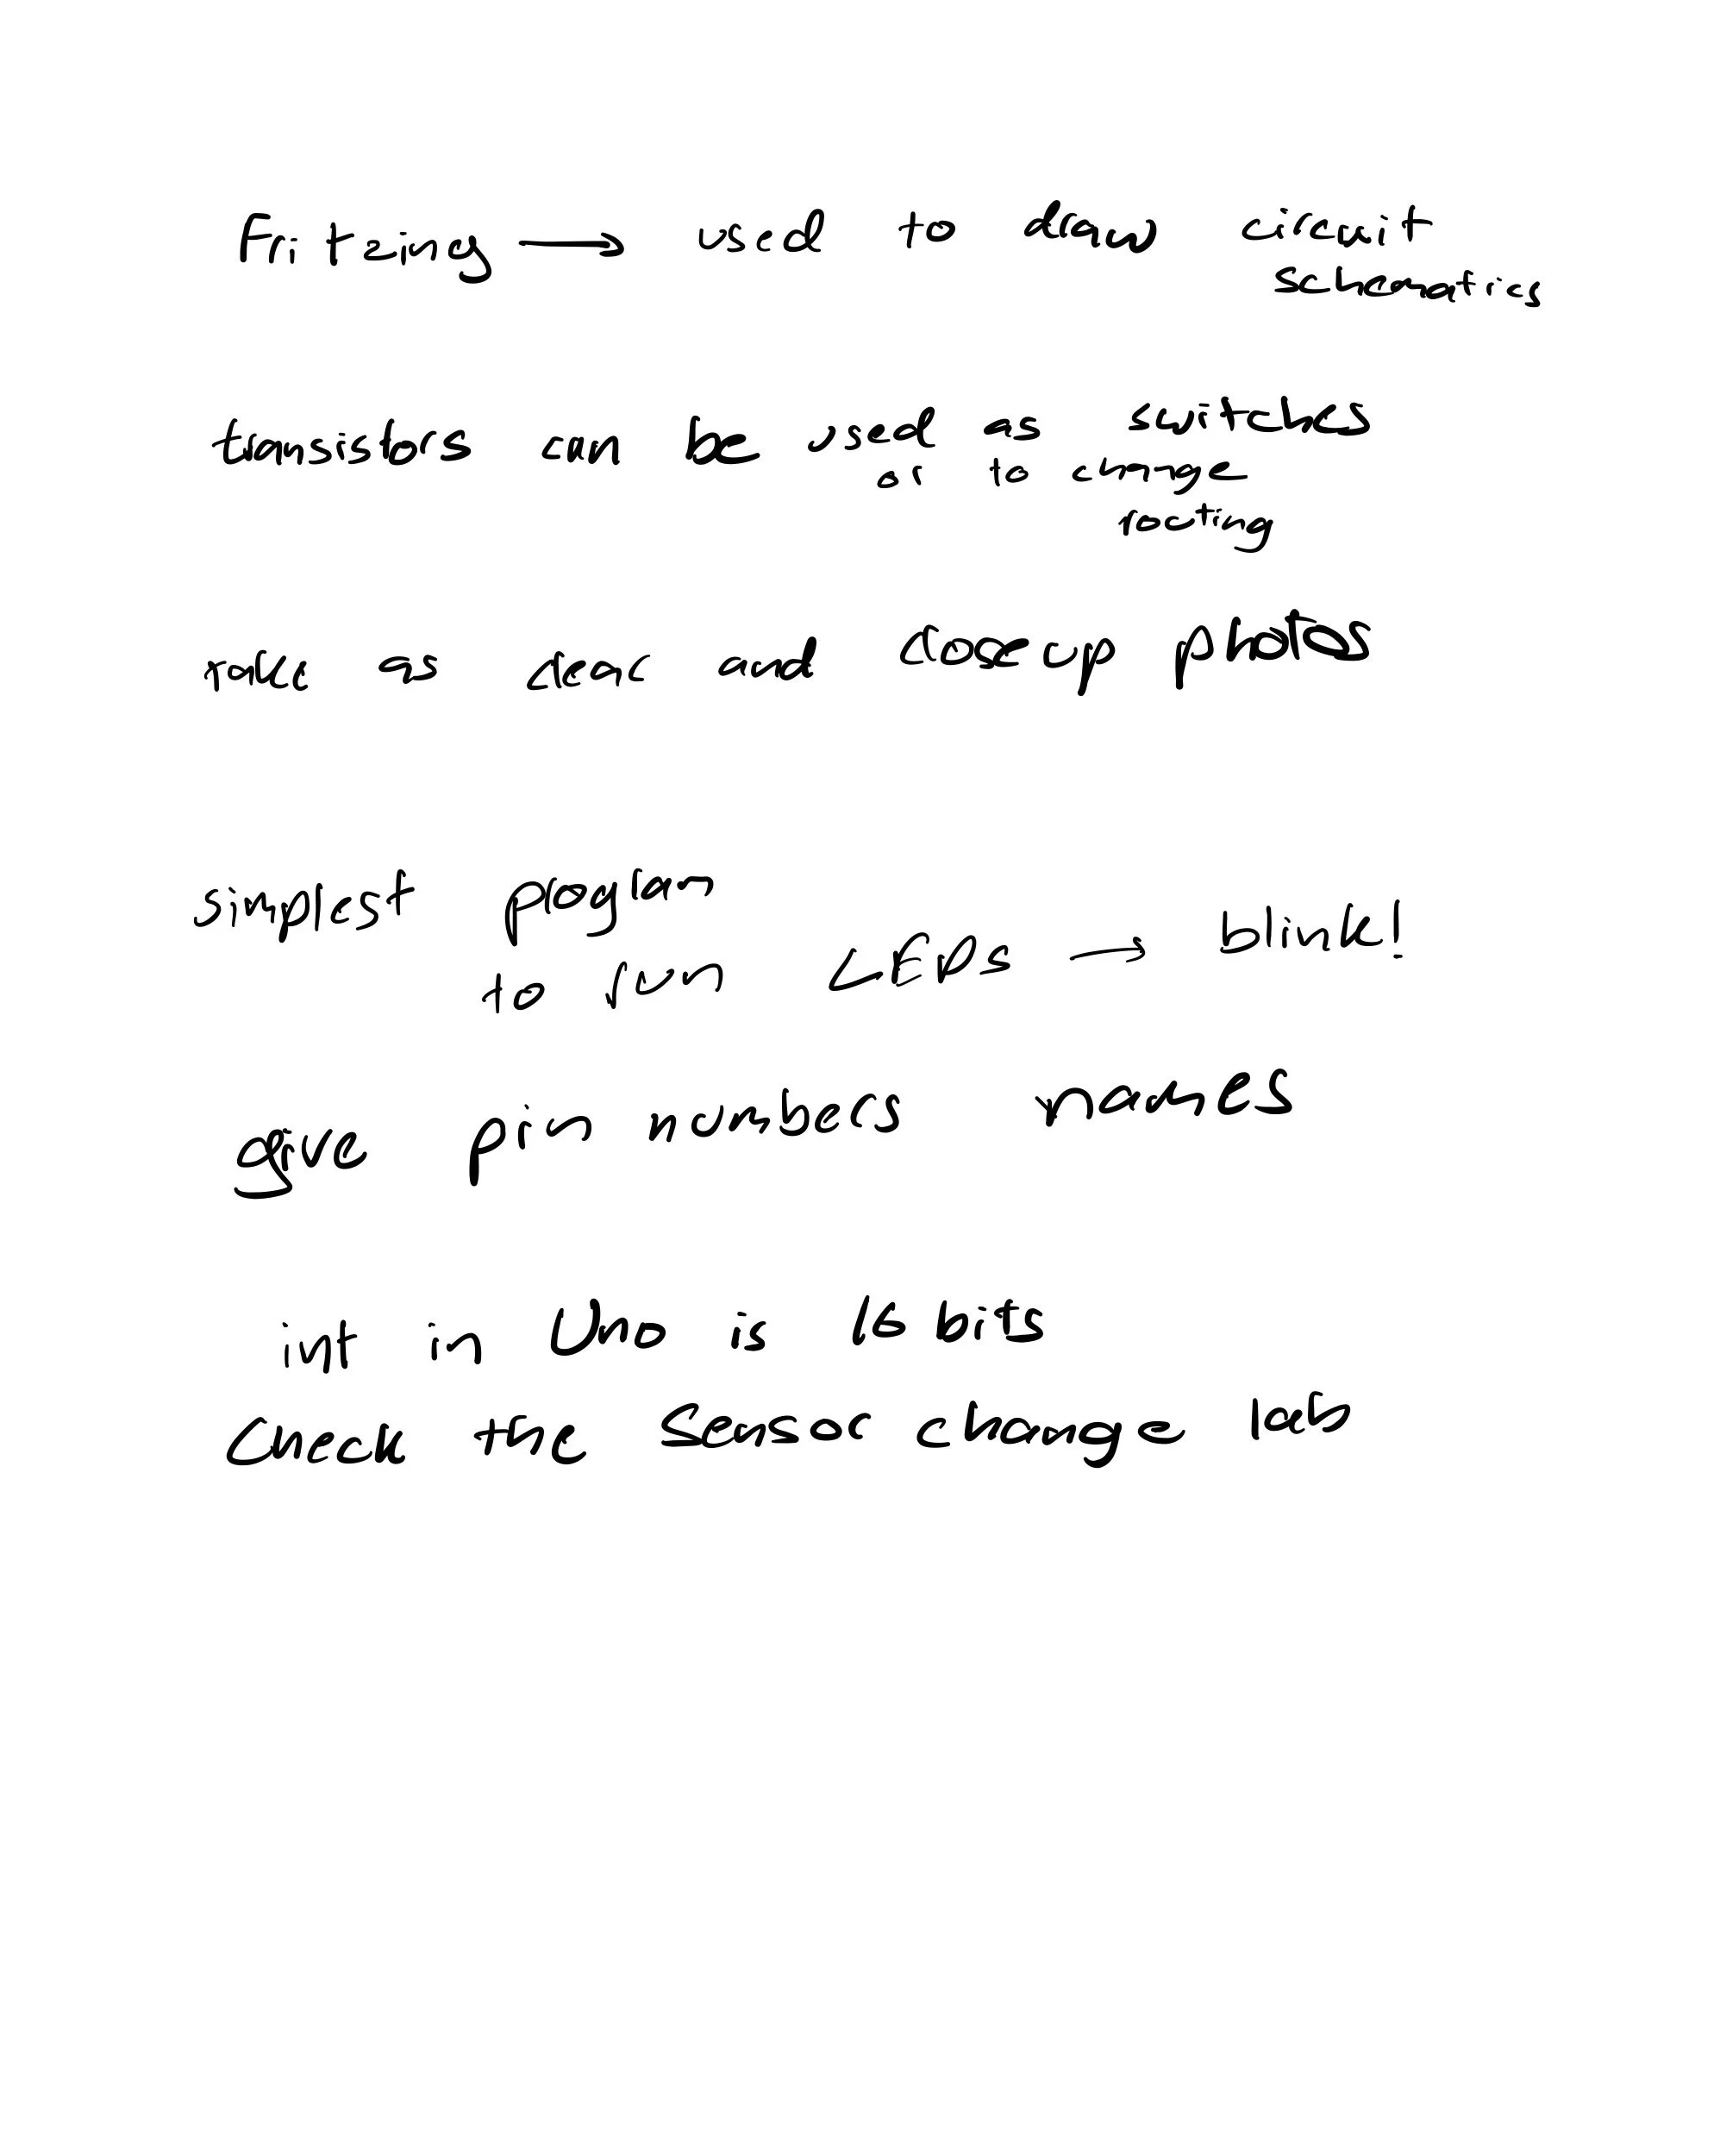
I further understood how transistors can be used as switches or to change the routing of the circuits.
More general debugging in the labs includes taking as clear and close-up photos, and checking whether the LEDs are working or not. The simplest program to run is "blink!". It's also important to give PINs names.
It's usually better to use a different and bigger data type than int because int in Arduino Uno is only 16 bits.
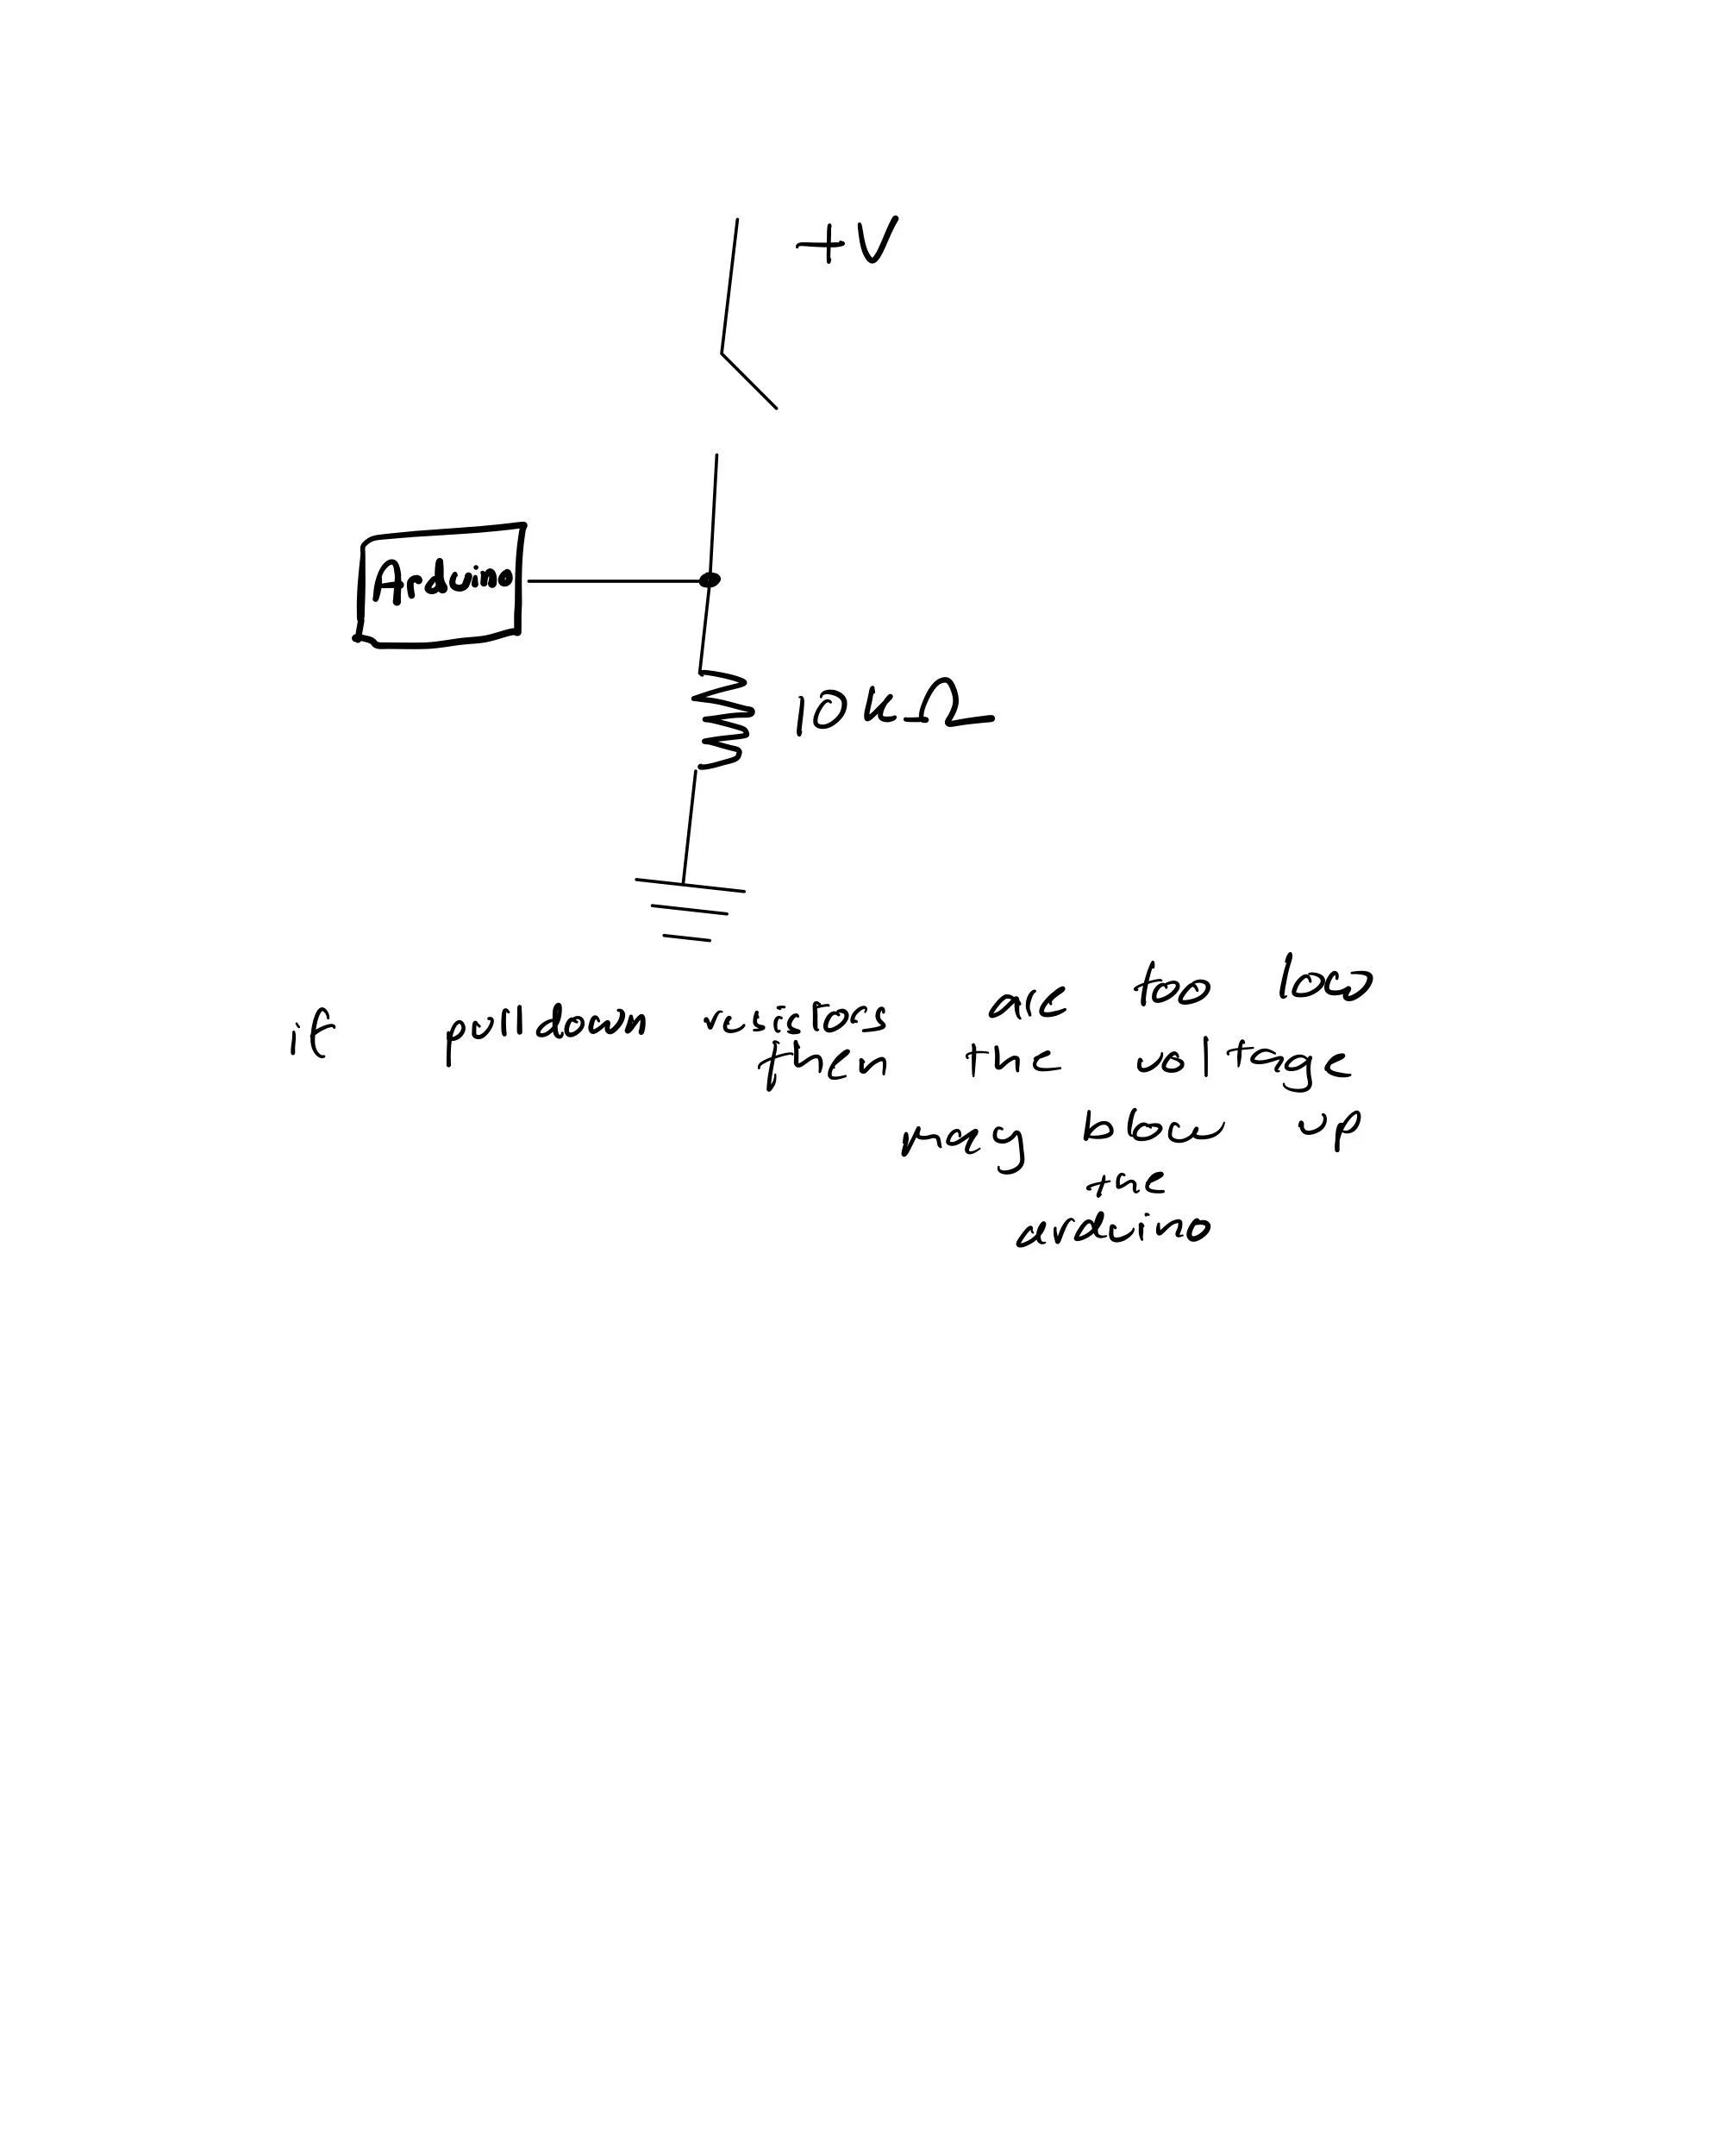
Then, in class, I understood more about pull-down resistors and their importance.
In class, we also learnt about some ways to look at machines. Including that at any given point, look at the machine’s impact on the environment. Furthermore, question the use of the machine in terms of why we are trying to answer this question. A meaningful way to determine if a design is good is to test it with people. We examined shower knobs and realised that the design of shower knobs is suboptimal because it should be intuitive and standardised, but it's not. This raised important questions about who oversees the standardization of design aspects.
Then we learnt about what an affordance is. An example:
A chair affords a sat on
Some additional tips for creating better circuits include using one side of the board as input and the other as output to make the process easier.
We also learned that delays slow down the responsiveness of a system.
Assignments
In the first lab, "Tone Output Using an Arduino," I first checked the sensor input range. For the sensor input range, the lowest value I obtained was 0, and the highest was 951.
Then I checked whether the speaker worked. I was able to hear a tone of 440Hz, continually. However, it was soft.
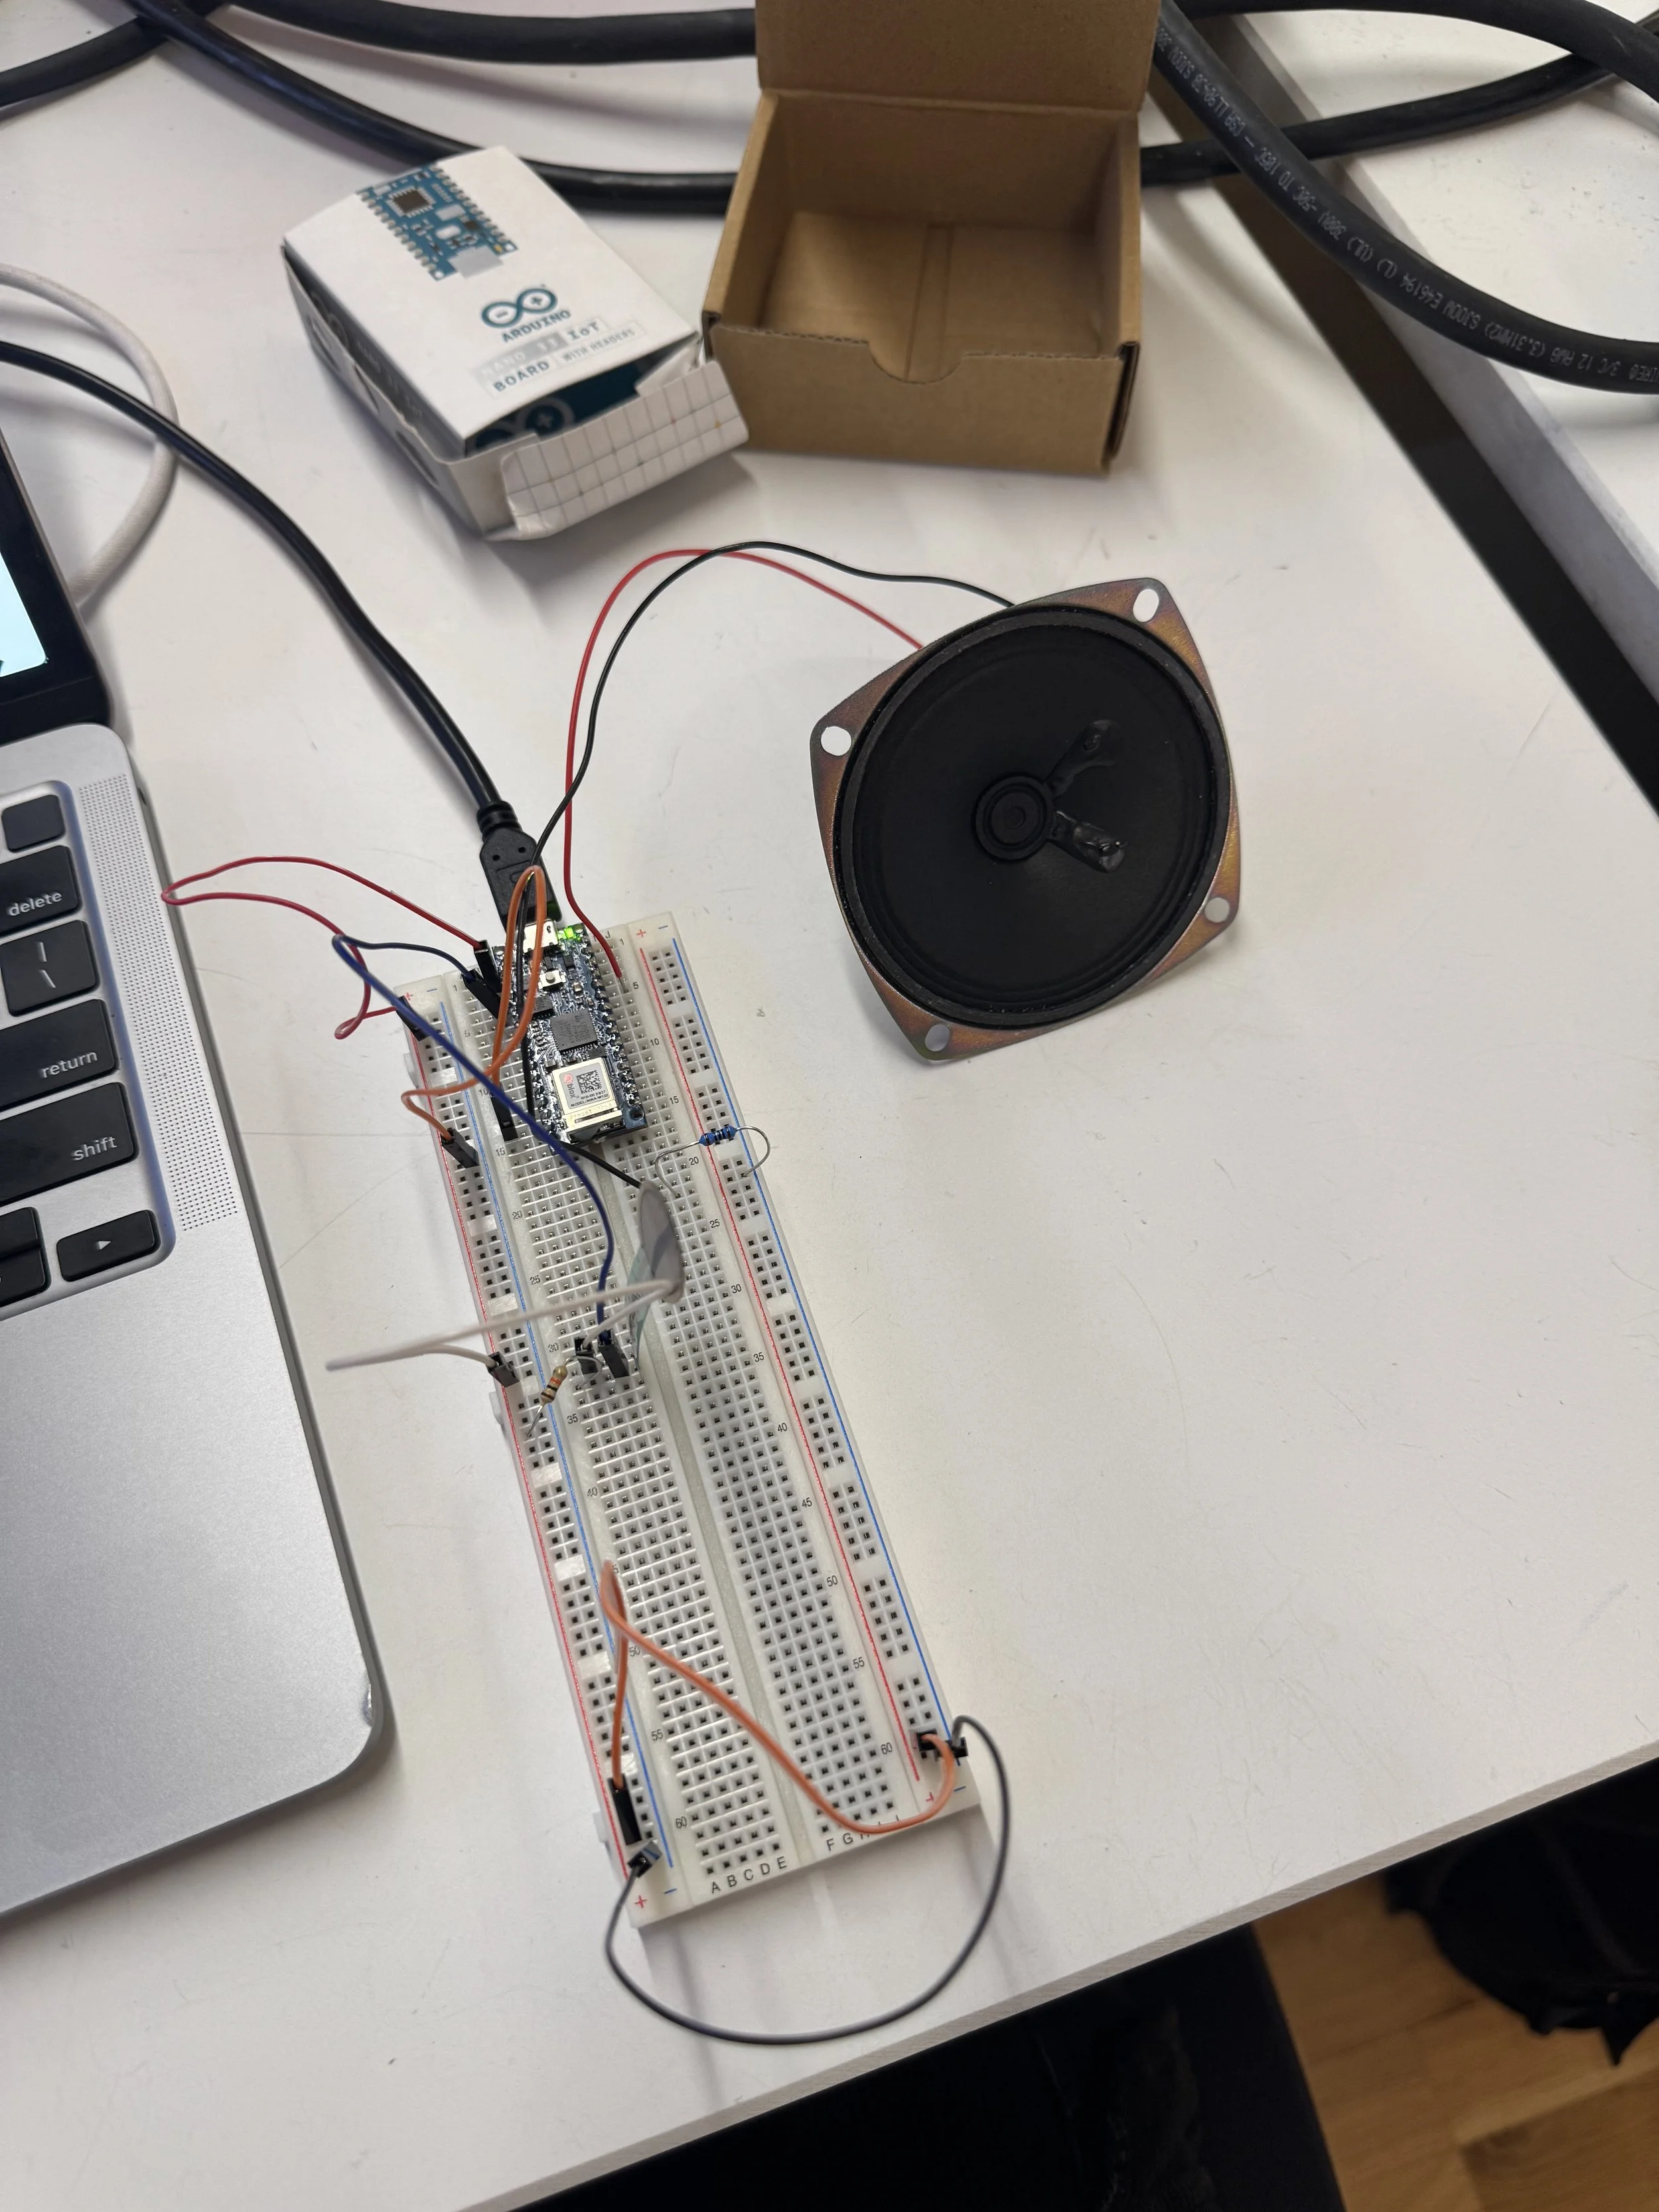
Then, in the 'Play Tones' section of the lab, I adjusted the analog input circuit range values, and, instead of photocells, I used force sensing resistors (FSR), so when I pressed on the FSR, it would play a tone.
void setup() {
  // nothing to do here
}

void loop() {
  // get a sensor reading:
  int sensorReading = analogRead(A0);
  // map the results from the sensor reading's range
  // to the desired pitch range:
  float frequency = map(sensorReading, 0, 951, 100, 1000);
  // change the pitch, play for 10 ms:
  tone(8, frequency, 10);
  delay(10);
}
Then I tried to connect the tone output of an Arduino to headphones. However, I tried twice, and the audio jack didn't fit through the breadboard, which was frustrating for me. I will clarify this during the class.


Then, after reading through the other parts of the lab, I proceeded to the "A Musical Instrument" section. During that lab, I ran into a few issues, one being that note C3 wasn't playing, so I replaced it with A6. And I didn't quite understand what the threshold in the code is supposed to do. From what I understood, it is the minimum reading of the sensors that generates a note, and if the threshold is higher, in that specific code, it allows for the third note to be played.
#include "pitches.h";

const int threshold = 20;      // minimum reading of the sensors that generates a note
// if the threshold is higher it allows for the third note to be played
// for serial to be printed you need to put serial print and serial begin in the
// setup
const int speakerPin = 8;      // pin number for the speaker
const int noteDuration = 20;   // play notes for 20 ms

// notes to play, corresponding to the 3 sensors:
int notes[] = {
NOTE_A4, NOTE_B4,NOTE_A6 }; // C3 wasn't working

void setup() {
  // put your setup code here, to run once:

}

void loop() {
  Serial.println("Looping");
  for (int thisSensor = 0; thisSensor < 3; thisSensor++) {
    // get a sensor reading:
    int sensorReading = analogRead(thisSensor);

    // if the sensor is pressed hard enough:
    if (sensorReading > threshold) {
      // play the note corresponding to this sensor:
      tone(speakerPin, notes[thisSensor], noteDuration);
    }
  }
}
Then, I wanted to do the 'Create Your Instrument' experiment, but I played with the code. What I tried to do was as you pressed on the FSR, sections of the Mario Kart intro would play. However, I struggled with creating a nested look in C++. I tried making a multidimensional array, but I was unable to do so, so William helped me with it. However, the size of the multidimensional array needs to be declared at the beginning. I wanted to know if there's a possibility of making different-sized arrays within an array. What helped was that William assisted me in debugging this a lot. We initially struggled to get any output, but then we finally got some output. However, the sound was playing too quickly, so we needed to add a delay and adjust the note duration. However, I'm still confused about what note duration does exactly. But it was really fun creating this.
#include "pitches.h";

const int threshold = 50;      // minimum reading of the sensors that generates a note
// if the threshold is higher it allows for the third note to be played
// for serial to be printed you need to put serial print and serial begin in the
// setup
const int speakerPin = 8;      // pin number for the speaker
const int noteDuration = 200;   // play notes for 20 ms

// notes to play, corresponding to the 3 sensors:
int notes[3][7] = { {NOTE_E1, NOTE_E1, NOTE_E1, NOTE_C2, NOTE_C2, NOTE_G1, NOTE_GS1}, {NOTE_C2, NOTE_G1, NOTE_E1, NOTE_A2, NOTE_B0, NOTE_B1, NOTE_A2}, {NOTE_G1, NOTE_E1, NOTE_GS1, NOTE_A2, NOTE_F3, NOTE_G1, NOTE_E1}}; // C3 wasn't working

void setup() {
  // put your setup code here, to run once:
  Serial.begin(9600);
  Serial.println("finished setup");
}

void loop() {
  Serial.println("Lopping ");
  for (int thisSensor = 0; thisSensor < 3; thisSensor++) {
    // get a sensor reading:
    int sensorReading = analogRead(thisSensor);
    Serial.print("sensorReading: ");
    Serial.println(sensorReading);

    // if the sensor is pressed hard enough:
    if (sensorReading > threshold) {
      // play the note corresponding to this sensor:
      Serial.print("thisSensor: ");
      Serial.println(thisSensor);

      for (int i = 0; i < 7; i++) {
        Serial.print("thisSensor: ");
        Serial.println(thisSensor);

        Serial.print("  i: ");
        Serial.println(i);

        tone(speakerPin, notes[thisSensor][i], noteDuration);
        delay(noteDuration);
      }
      delay(1000);
    }
  }
}
Also while making this circuit, I felt like I could feel a slight shock but I’m not sure.
I think the 'Lab: Servo Motor Control with an Arduino' felt really intuitive. It was easy to replicate the circuit. However, I had a question with the code, which was that I didn't quite understand this line of code:
if (millis() - lastMoveTime > 20)
I didn't have enough time to work on the creative part of the lab, but I will work on it this week and familiarize myself. Another question I had was figuring out how to create different formations for the servo motor.


#include "Servo.h"      // include the servo library

Servo servoMotor;       // creates an instance of the servo object to control a servo
int servoPin = 9;       // Control pin for servo motor
// time when the servo was last updated, in ms
long lastMoveTime = 0;

void setup() {
  Serial.begin(9600);       // initialize serial communications
  servoMotor.attach(servoPin);  // attaches the servo on pin 9 to the servo object
}

void loop() {
  int analogValue = analogRead(A0); // read the analog input
  Serial.println(analogValue);      // print it

  // if your sensor's range is less than 0 to 1023, you'll need to
  // modify the map() function to use the values you discovered:
  int servoAngle = map(analogValue, 0, 952, 0, 179);

  // move the servo using the angle from the sensor every 20 ms:
  if (millis() - lastMoveTime > 20) {
    servoMotor.write(servoAngle);
    lastMoveTime = millis();
  }
}
I adjusted the range based on the values displayed in the serial monitor. I also used a 47 microfarad capacitor because I couldn’t find a 10 microfarad capacitor.